• Skip to primary navigation
  • Skip to main content
  • Skip to primary sidebar
Tulips and Twill
  • About Me
    • About Me
    • Disclosure Policy & Privacy Policy
  • Tutorials
  • Recipes
menu icon
go to homepage
  • Recipes
  • Tutorials
  • Lifestyle
  • About Me
    • Facebook
    • Instagram
    • Pinterest
  • subscribe
    search icon
    Homepage link
    • Recipes
    • Tutorials
    • Lifestyle
    • About Me
    • Facebook
    • Instagram
    • Pinterest
  • ×
    Home » Tutorials

    How to Dry Orange Slices in the Oven

    Published: Dec 1, 2022 · Modified: Mar 13, 2024 by Mariana · This post may contain affiliate links · 4 Comments

    Share with your friends!

    342 shares
    • Facebook
    • Twitter
    Jump to Instructions Print Instructions

    Figuring out how to dry orange slices in the oven can seem daunting. You have to consider the temperature, time, how thin to cut the slices, etc...and the last thing you want to have to do is restart from a failed batch!

    This holiday season, bring those natural touches into your decor! Create an orange garland, beeswax ornaments, orange slice ornaments, and even other garlands for different parts of your home such as cranberry, popcorn, dried fruit, or a combination! I love that timeless old-world look that these handmade decorations bring into our home. There's something so cozy and nostalgic about it!

    It's very easy to dehydrate orange slices in the oven. It's inexpensive and doesn't require a bunch of fancy equipment or supplies. It's the perfect way to get creative without spending a ton of money!

    orange slices are freshly dried and ready to be used next to some pine branches

    This Post May Contain Affiliate Links. Please Read Our Disclosure Policy.

    Jump to:
    • How long does it take to dehydrate oranges in the oven?
    • Uses for oven-dried orange slices
    • What you need
    • How to dehydrate oranges in the oven
    • Helpful tips
    • Shop this post
    • You may also like
    • How to Dry Orange Slices in the Oven

    How long does it take to dehydrate oranges in the oven?

    It takes anywhere from 4-6 hours to dry orange slices in the oven! Flip about halfway through to ensure even drying. It may take longer depending on the thickness of your slices. Keep an eye on them now and then to check for doneness!

    How long do dried orange slices last?

    Your dried orange slices will last for about 2-3 years! They will eventually begin to brown over time. Store them in an airtight container or plastic zip bag to help extend their lifespan.

    dried orange slices on a parchment lined baking sheet

    Uses for oven-dried orange slices

    • Orange garlands - Create a lovely orange garland with your dried orange slices!
    • Orange slice ornaments - Get creative and make different styles of orange slice ornaments! Keep them simple or add other natural items and/or wood beads to create unique ornaments for your tree.
    • Gift tags - Add an orange slice behind your gift tag to add even more classic charm to a lovely package under the tree!

    What you need

    • Fresh oranges (as many as desired)
    • A sharp knife
    • Baking sheet
    • Parchment paper
    • Tea towel or paper towels
    • Drying rack
    • Airtight container or plastic zip bag
    • Optional: Mod Podge

    How to dehydrate oranges in the oven

    1. Preheat your oven to 200°F.

    2. Set up your baking sheet with parchment paper lining the bottom.

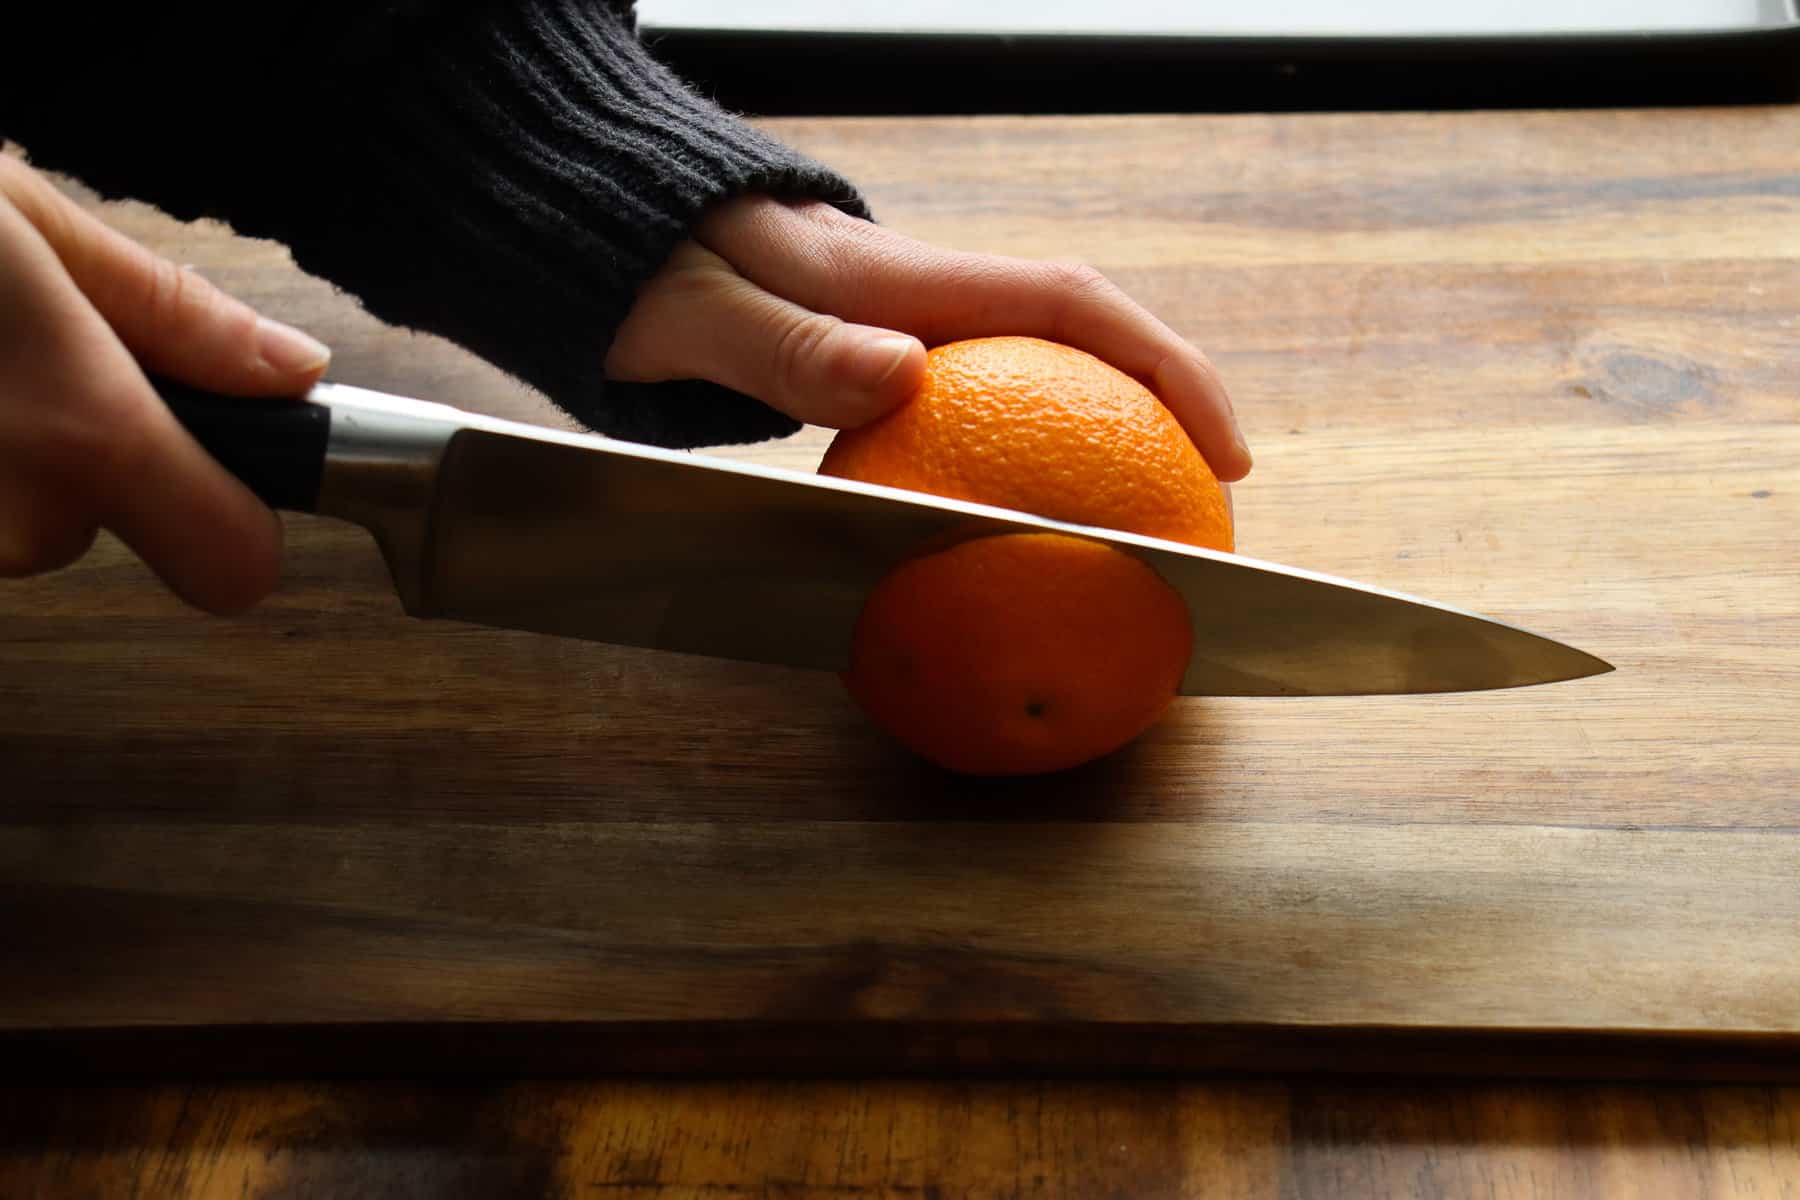
    3. Lay your orange on its side (if you but the other direction, it will be a juicy mess!) Cut Your orange slices thin (but not too thin that they burn!)

    cutting the top of the orange off
    slicing the orange

    4. Lay your slices out across the parchment paper lined baking sheet in a single layer.

    5. Blot your oranges on both sides with a dry tea towel or paper towel.

    blotting the oranges with a paper towel

    6. Pop them in the oven for 4-6 hours (or until dry!) Flip about halfway through to ensure even drying.

    orange slices dried and ready to cool off on a parchment lined baking sheet

    7. Pull them out and carefully transfer all the slices to a drying rack. Allow them to sit out to dry overnight. This will help remove any excess moisture still lingering around if there is any.

    orange slices on the table next to pine branches

    Helpful tips

    • Slice your orange into thin circles but not so thin that they will crisp up. On the flip side, if they are too thick, they will take a long time to dry and may even burn!
    • Store your dried orange slices in an airtight container or plastic zip bag until you are ready to craft with them!

    Shop this post

    • Drying rack
    • Tea towel
    • Jars with lids
    • Parchment paper
    • Mod Podge
    • Wooden beads

    You may also like

    • How to Make an Orange Slice Garland
    • Orange Slice Ornaments and Gift Tags
    • DIY Beeswax Ornaments
    • Handmade Salt Dough Ornaments
    • DIY Unscented Soy Wax Candles
    orange slices next to pine branches on the kitchen table

    How to Dry Orange Slices in the Oven

    Mariana
    Figuring out how to dry orange slices in the oven can seem daunting. You have to consider the temperature, time, how thin to cut the slices, etc...and the last thing you want to have to do is restart from a failed batch!
    5 from 5 votes
    Print Recipe Pin Recipe
    Inactive Time 10 minutes mins
    Active Time 6 hours hrs
    Additional Time 12 hours hrs
    Total Time 18 hours hrs 10 minutes mins
    Type Cottagecore Projects & DIYs
    Yield 12

    Equipment

    • A sharp knife
    • Baking sheet.
    • Parchment paper.
    • Tea towel or paper towels
    • Drying rack
    • Airtight container or plastic zip bag
    • Optional: Mod Podge

    Ingredients
      

    • Fresh oranges as many as desired

    Instructions
     

    • Preheat your oven to 200°F.
    • Set up your baking sheet with parchment paper lining the bottom.
    • Lay your orange on its side (if you but the other direction, it will be a juicy mess!) Cut Your orange slices thin (but not too thin that they burn!)
    • Lay your slices out across the parchment paper lined baking sheet in a single layer.
    • Blot your oranges on both sides with a dry tea towel or paper towel.
    • Pop them in the oven for 4-6 hours (or until dry!) Flip about halfway through to ensure even drying.
    • Pull them out and carefully transfer all the slices to a drying rack. Allow them to sit out to dry overnight. This will help remove any excess moisture still lingering around if there is any.

    Notes

    • Slice your orange into thin circles but not so thin that they will crisp up. On the flip side, if they are too thick, they will take a long time to dry and may even burn!
    • Store in an airtight container or plastic zip bag until you are ready to craft with them!
    Share on Facebook Pin Recipe

    More Cottagecore Projects & DIYs

    • a tallow candle lit by a stack of books
      How to Make Tallow Candles
    • Homemade Tallow Balm Recipe
    • Handmade Popcorn Garland
    • a cranberry garland by a pine branch, cinnamon stick, and an orange pomander
      Handmade Cranberry Garland

    Reader Interactions

    Comments

    1. Mariana

      November 17, 2024 at 2:10 pm

      Judy,
      Yes you can! Dry times may vary depending on the size of the citrus fruit you select as well as the thickness. Keep them thin and consistent! Enjoy!
      -Mariana

    2. Judy Harnum

      November 09, 2024 at 10:13 am

      Can I do this with all citrus fruits? Thx, Judy

    3. Sara

      December 10, 2022 at 6:11 pm

      5 stars
      I made these following your directions and they came out great. They had a nice rustic touch to my holiday decor. I didn't have a cookie sheet so I placed the slices right onto parchment paper within the oven . Worked great!

    4. Julie

      December 06, 2022 at 1:16 pm

      5 stars
      I followed your directions and they came out perfect. I love how easy the orange slices were make in the oven. They look so pretty up on the tree and hung in the windows.

    Leave a Reply

    Your email address will not be published. Required fields are marked *

    Recipe Rating


    Primary Sidebar

    mariana of tulips and twill

    hello, friends!

    Welcome to Tulips and Twill. I have a heart for helping homemakers in every part of their homes!

    Learn more about me

    Summer Recipes & Living

    • a woman having a picnic with a book, lemonade in a punch glass with a lemon slice in it, a candle, dried lavender, dried hydrangeas, and her straw hat rests nearby. There are lovely fairy lights around.
      Summer Aesthetic | Summer Slowdown
    • a woman holds a pineapple popsicle with a bite taken from it in front of more laid out on ice to share!
      The Best Pineapple Popsicle Recipe
    • a glass bowl of fresh made salsa surrounded by chips and roma tomatoes
      Pineapple Pico de Gallo
    • a gorgeous Mexican charcuterie board set up to share
      Mexican Inspired Charcuterie Board
    • pressing a pink flower in a book
      How to Press Flowers in a Book
    • a glass of ice cold lemonade with a sprig of basil in it next to the pitcher, some strawberries, and a bowl of lemons that have been squeezed
      Strawberry Basil Lemonade

    Popular Now

    • 5 different set ups for mini charcuterie boards
      5 Small Charcuterie Board Ideas
    • pouring brine over pineapples and jalapenos
      Pickled Pineapple
    • an adrenal cocktail with an orange slice on the side of the glass and oranges and orange slices all around
      Adrenal Cocktail Recipe 3 Ways
    • a woman holds up a serving knife with herb butter on it. behind her hand on the table is a butter board with 5 butters on it!
      Butter Board Set Up and 5 Easy Recipes!
    • spreading board butter across a wooden cutting board. there is a jar of wood butter to the side
      How to Seal a Cutting Board
    • wood butter in use
      2 Ingredient Homemade Wood Butter

    Footer

    back to top

    Information

    • Disclaimers & Privacy Policy

    Keep in Touch

    • Sign up for email updates!

    Contact

    • About & Contact Me

    As an Amazon Associate I earn from qualifying purchases. (Read the disclosure policy here.)

    Copyright © 2024 Tulips and Twill - Powered by Feast+

    Rate This Recipe

    Your vote:


    A rating is required
    Name and email are required