
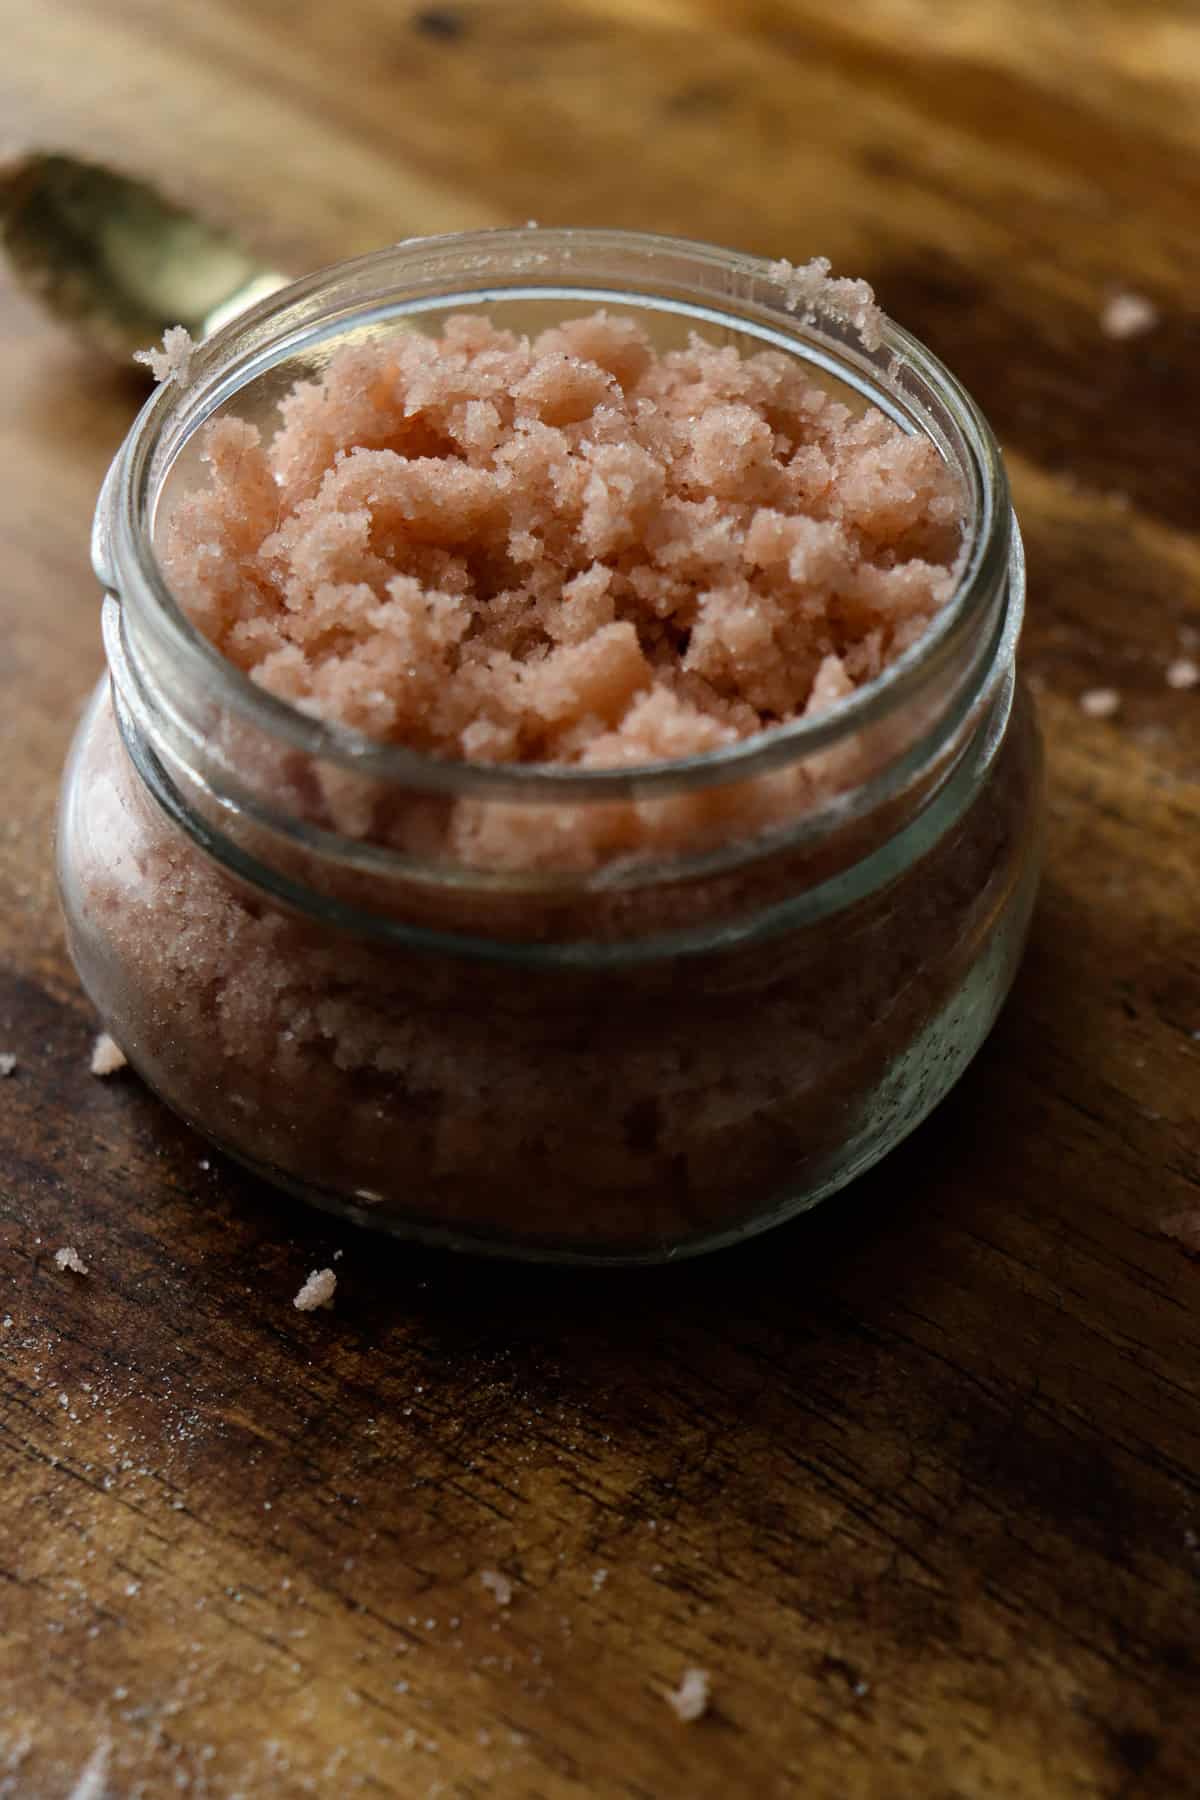
Creating your own Himalayan salt scrub is a simple way to replace a storebought product in your skincare routine. Naturally pink, this scrub is so beautiful it can be left out on the counter to create a comfortable and relaxing feel in the bathroom without the need for decor cluttering the space up.
Have you ever taken a moment to look up the ingredients listed on some exfoliators at the store or online? I have and it can be really shocking. Finding better options out there can be time consuming and a lot of them carry a hefty price tag. This DIY is inexpensive and takes just 2 minutes to put together!
Homemade Himalayan salt scrubs are great for exfoliating your hands, face, legs, arms, etc after a shower or bath. You can also try your hand at making a simple table salt scrub or sea salt scrub if you want to change it up the next time you go to make a batch. For sensitive skin, sometimes sugar scrubs are favorable as they are very gentle. You should try each on a small patch of skin to see what works best for you!

This Post May Contain Affiliate Links. Please Read Our Disclosure Policy.
Jump to:
What is Himalayan salt scrub?
This is a natural DIY exfoliator that uses just 2 ingredients! You use it to gently remove dead skin after showering or bathing with warm water and soap.
You want to be sure to use this product on clean damp skin then rinse it off and pat dry!
Yes! Use fine grain pink Himalayan salt to make your scrub as anything more coarse will be much too harsh on your skin.

Pink Himalayan salt scrub ingredients
- Fine grain pink Himalayan salt - Fine grain Himalayan salt is gorgeous and naturally pink! Don't use the coarse kind as it can damage your skin badly.
- Oil - This DIY will use sweet almond oil but you can also use jojoba oil or olive oil!
- (Optional) Essential oils - Using 5-10 drops of your favorite essential oil makes your salt scrub smell lovely while you use it! This is entirely optional. (Note: Please be sure to use an oil that is meant for topical use and be responsible with use around children and pets.)
- Airtight container - You can store this product for up to 6 months in a cool dark place using an airtight container.
Lemon and lavender are both fantastic options! Use them individually or half and half for a lovely scent.
Store in an airtight container in a cool dark place for up to 6 months.
How often should you use Himalayan salt scrub?
Exfoliate with your DIY Himalayan salt scrub 1-2 times a week! You don't want to over do it as it can make your skin very sensitive. If you already have sensitive skin, start by testing on a small patch of skin and try just once a week to see how your skin does with it!
Yes! Be sure your face is clean and damp before use. Use very gentle circular motions when exfoliating.
What you need
- ½ cup fine grain pink Himalayan salt
- 2 tablespoons of oil (jojoba oil, olive oil, or sweet almond oil)
- Optional: 5-10 drops essential oil of choice (lemon and/or lavender)
- Airtight jars with lids
- Spoon
- Optional: canning funnel

Himalayan Salt Scrub Recipe
- Combine your pink Himalayan salt and oil. (Optional: add essential oils)

2. Stir together ensuring all of the salt is covered in the oil.
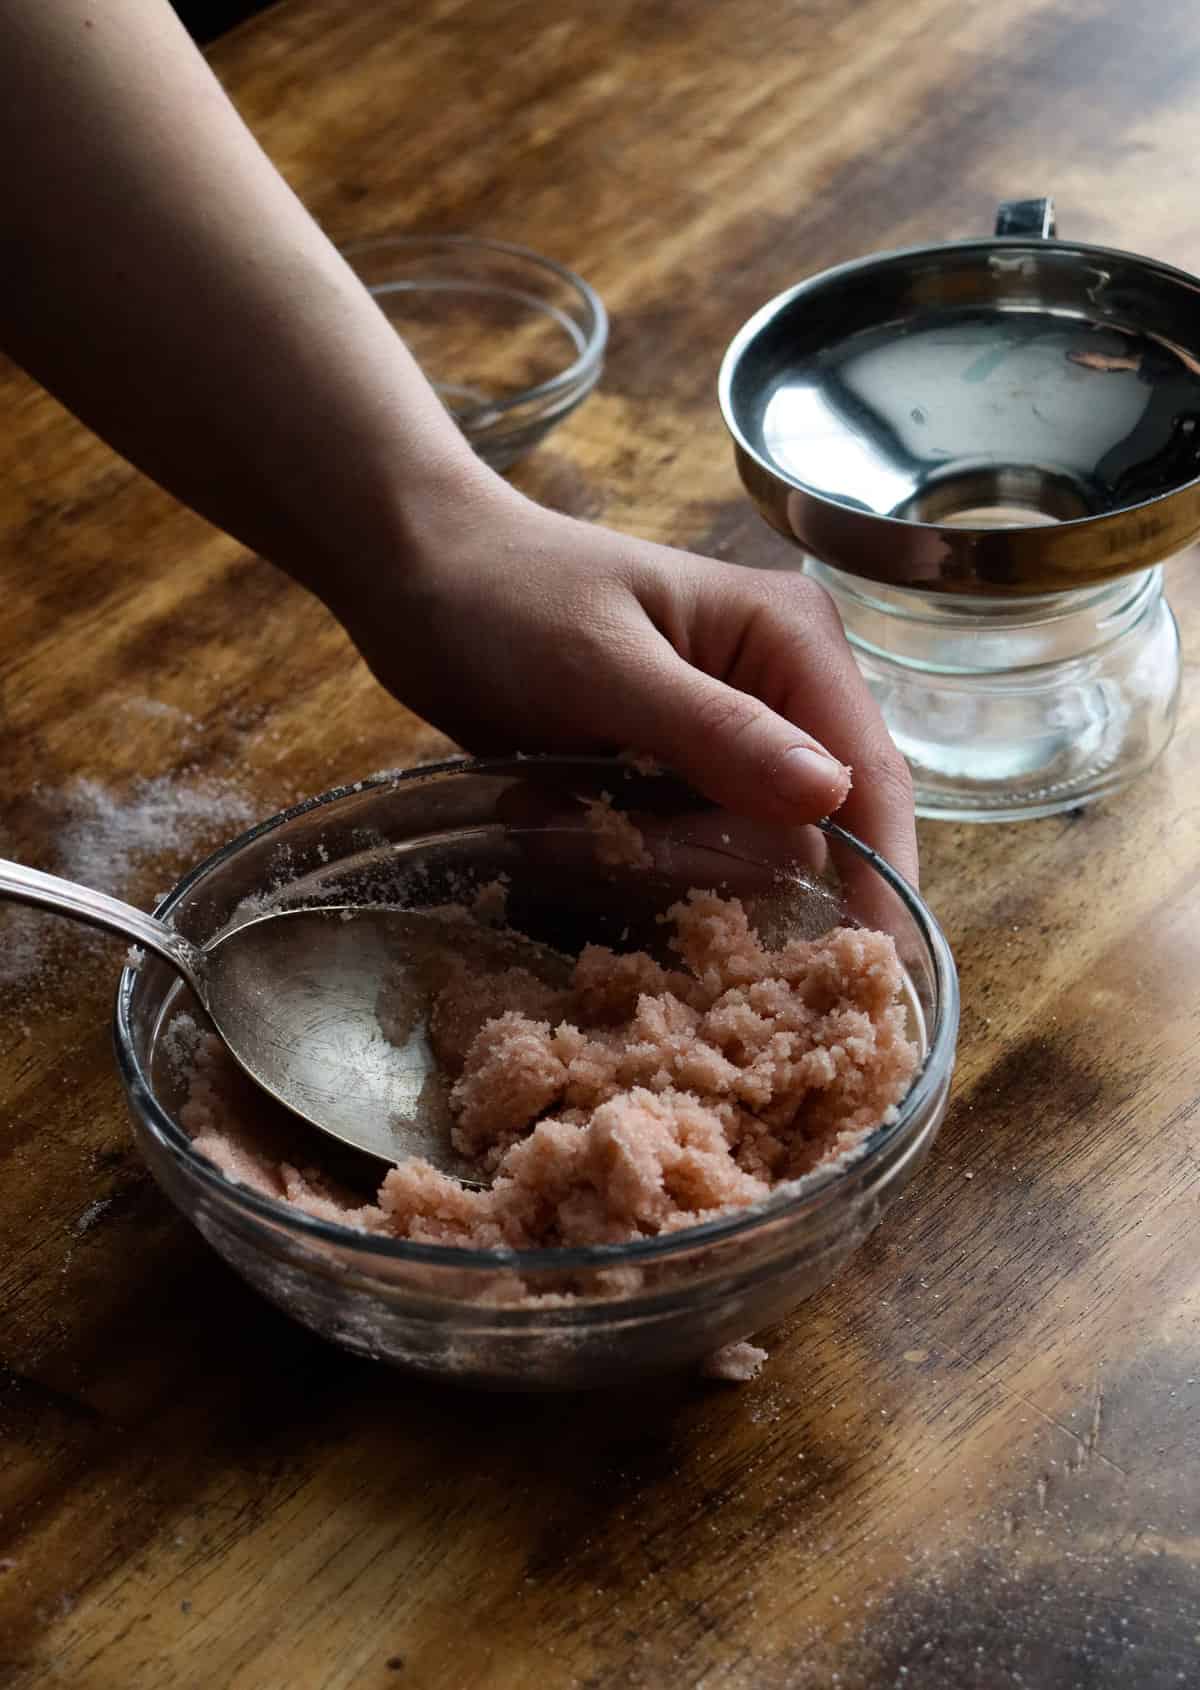
3. Transfer to an airtight container with a lid. Use a spoon to do so (optional: use a canning funnel to avoid some of the mess!)

4. Store in an airtight container in a cool dark place for up to 6 months. Add a label with the product name, ingredients, and date.

Tips
- Use a small spoon to scoop your Himalayan salt scrub out to ensure no water gets into it.
- Before use, shower or bathe with warm water and soap.
- Himalayan salt scrub is to be used on damp skin! Never exfoliate dry skin as it can cause microtears.
- If using essential oils: use essential oils that are safe for topical use. Use responsibly around children and pets.
- Label the jar with the product name, ingredients, and date. Store for up to 6 months in an airtight container in a cool dark place.

Himalayan Salt Scrub Recipe
Equipment
- Measuring cup.
- Measuring spoon.
- Airtight jars with lids
- Spoon.
- Optional: canning funnel
Ingredients
- ½ cup fine grain salt
- 2 tablespoons oil jojoba oil, olive oil, or sweet almond oil
- Optional: 5-10 drops essential oil of choice lemon and/or lavender
Instructions
- Combine your salt and oil. (Optional: add essential oils)
- Stir together ensuring all of the salt is covered in the oil.
- Transfer to an airtight container with a lid. Use a spoon to do so (optional: use a canning funnel to avoid some of the mess!)
- Store in an airtight container in a cool dark place for up to 6 months. Add a label with the product name, ingredients, and date.
Notes
- Use a small spoon to scoop your Himalayan salt scrub out to ensure no water gets into it.
- Before use, shower or bathe with warm water and soap.
- Himalayan salt scrub is to be used on damp skin! Never exfoliate dry skin as it can cause microtears.
- If using essential oils: use essential oils that are safe for topical use. Use responsibly around children and pets.
- Label the jar with the product name, ingredients, and date. Store for up to 6 months in an airtight container in a cool dark place.


Monique
I love how easy this is to make! I can't wait to make a batch for myself and for my mom's birthday.