
Making a handmade dried orange garland is easy, inexpensive, and helps to create that lovely old-world charm in your home that we all long for this time of year. Simply dehydrate orange slices in your oven and string them up!
Make different natural Christmas decor with orange slices! First, you need to dry your orange slices in the oven and then create ornaments and garlands. I like to add dried orange slices to gifts too with gift tags.
Consuming less, creating more, and wasting as little as possible. All of these concepts seem to be on everyone's mind these days. Natural holiday decor is the way to go in order to tick all these boxes! I try to create things that can be reused every year like beeswax ornaments or salt dough ornaments with my children's handprints on them. Store them in an airtight container and treasure them for years to come!
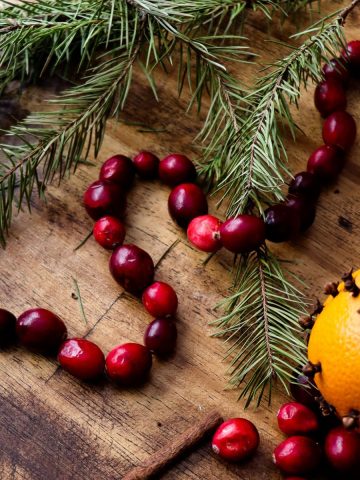
Want to create other handmade garlands? Try stringing up a cranberry garland or even a popcorn garland! These old fashioned yet timeless handicrafts are simple and lovely!

This Post May Contain Affiliate Links. Please Read Our Disclosure Policy.
Jump to:
Why you'll love this DIY!
- Easy and inexpensive - There are far too many things that demand your wallet's attention this time of year. Making this super easy orange slice garland for very little cost is a beautiful way to create a cozy holiday feel in your home without spending a ton of money!
- Timeless beauty - Bringing natural elements into your home decor is beautiful and isn't something that will go out of fashion. Orange garlands have been around forever and won't be something that gets tossed next year!
- Use for years - If adequately dried and properly stored, dried orange garlands can last 2-3 years! The trick is to ensure your orange slices are fully dehydrated and that no moisture can touch them in storage.
- Customizable - Add other elements to make yours completely one of a kind! Cinnamon sticks, rosemary, bay leaves, cranberries, plain popcorn, star anise, wooden beads, other dried citrus slices, etc can be added to your garland if you so desire.
Dried orange garlands can last for years! I have had one for 2 years now. If properly dried out and stored in an airtight container, it can last for years to come!

Where to hang your orange garland
- On the tree - Drape this lovely orange garland around your Christmas tree for that old-world feel.
- In the window - Hang your dried orange garland from one end of your curtain rod to the other or let it dangle in a straight line to catch the light and add charm to your window pane!
- Across the mantle - Secure your garland on both ends of your mantle to enjoy while the fire crackles below.
- Take them outside - Decorate a tree in your yard with this lovely natural decor!
Supplies
- Dried orange slices (as many as needed for desired length)
- Large darning needle
- Butcher twine or jute cord
- Optional: Mod Podge
- Airtight container or plastic zip bag

How to make a dried orange garland
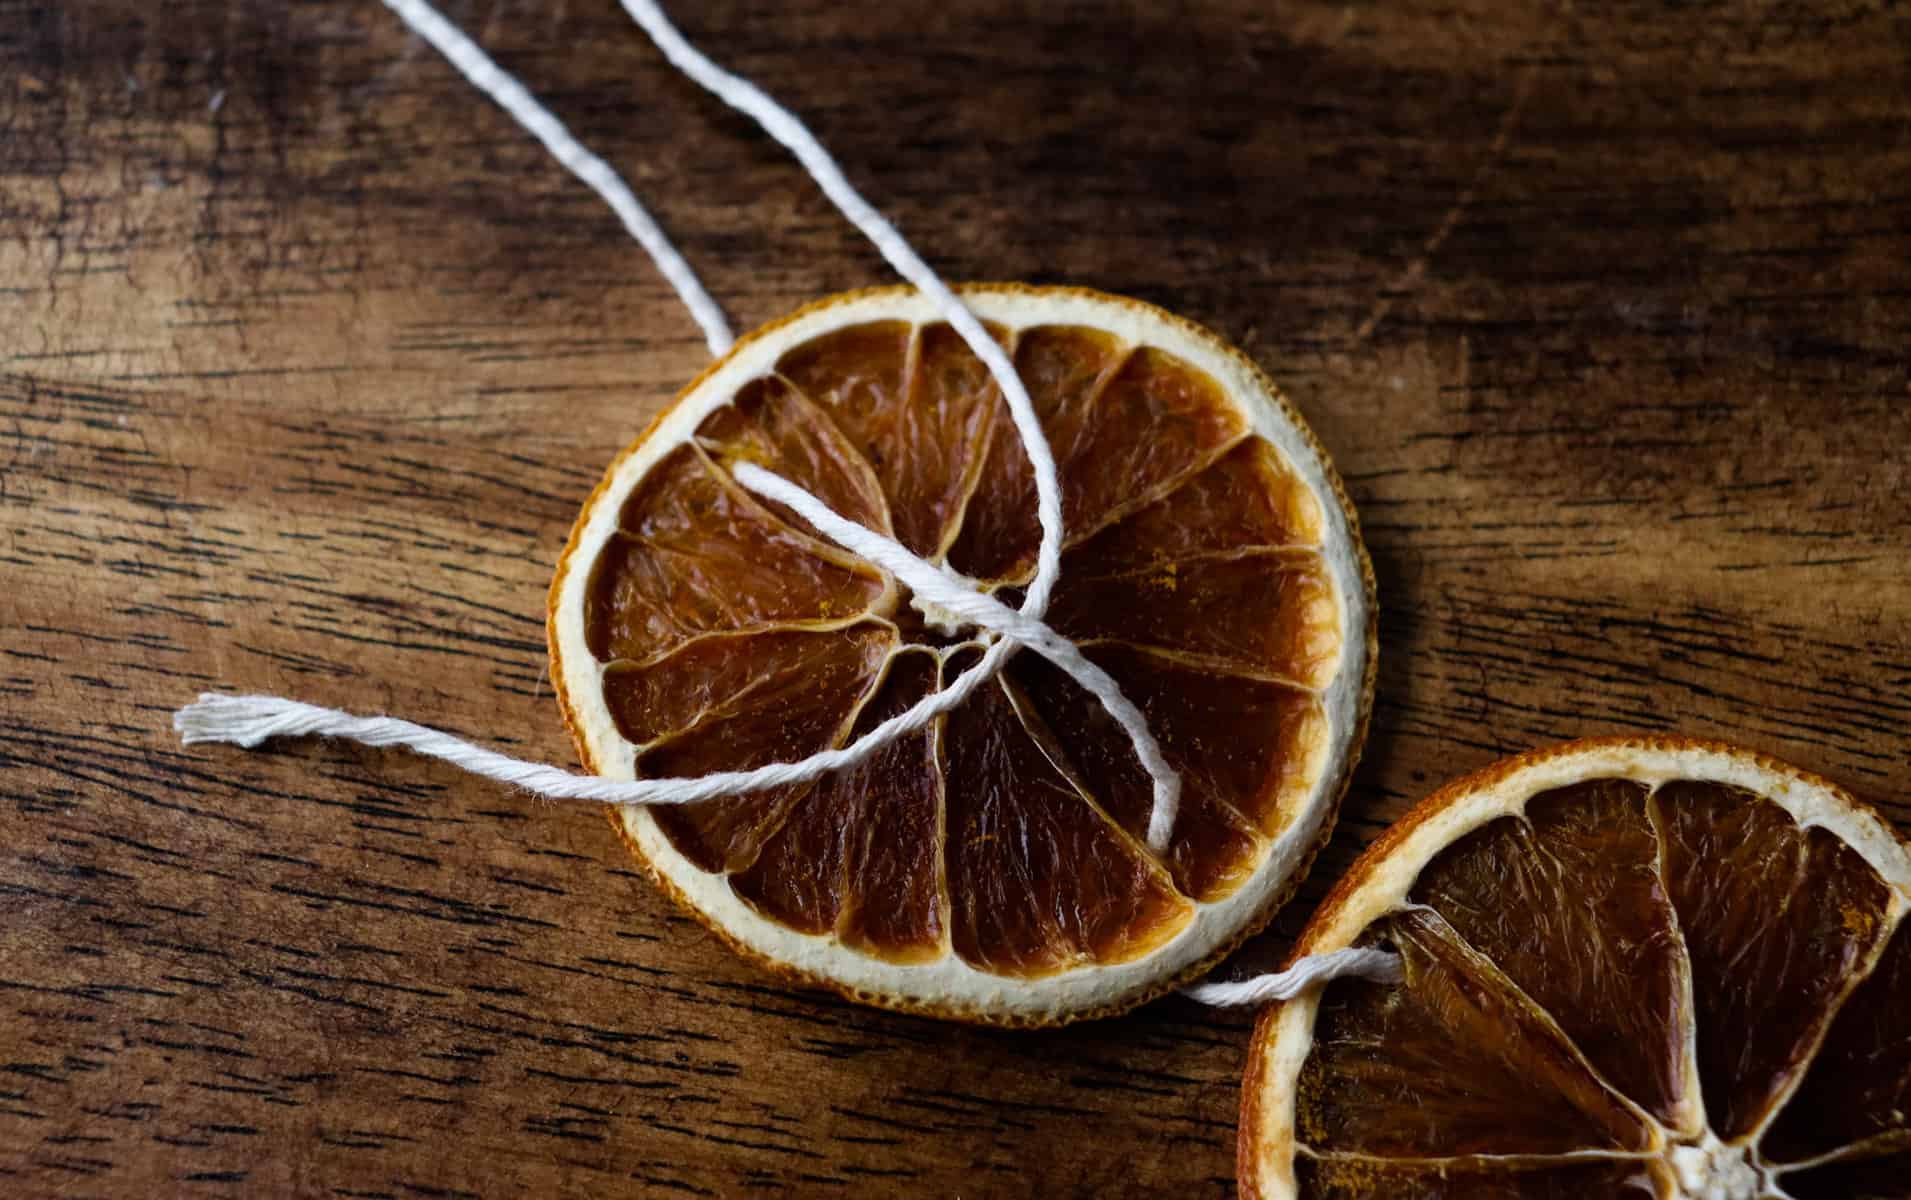
- Thread your darning needle. Poke a hole through the front of the dried orange slice and pull through the back.

2. Poke a hole through the back side of the orange slice and pull through the front.

3. Continue this process through as many orange slices as you want on your garland. The length is up to you!

4. At each end, flip your orange slice over and feed the end of your butcher twine through the back loop. Pull gently to tighten and flip it back over. Your end is now secure!

5. Hang to enjoy through the holiday season and then store in an airtight container for next year!
Tips
- If sealing with Mod Podge, be sure you get every surface fully covered!
- Add other elements! Cinnamon sticks, rosemary, bay leaves, cranberries, plain popcorn, star anise, wooden beads, etc can be added to your garland if you so desire.
- Hang around your tree, across a curtain rod, hang across your mantle, or wherever else you like to decorate your home!
- Store in an airtight container or plastic zip bag so it lasts for next year.
Shop this post

Handmade Dried Orange Garland
Equipment
- Large darning needle
- Optional: Mod Podge
- Airtight container or plastic zip bag
Ingredients
- Orange slices as many as needed for desired length
- Butcher twine or jute cord
Instructions
- Thread your darning needle. Poke a hole through the front of the dried orange slice and pull through the back.
- Poke a hole through the back side of the orange slice and pull through the front.
- Continue this process through as many orange slices as you want on your garland. The length is up to you!
- At each end, flip your orange slice over and feed the end of your butcher twine through the back loop. Pull gently to tighten and flip it back over. Your end is now secure!
- Hang to enjoy through the holiday season and then store in an airtight container for next year!
Notes
- If sealing with Mod Podge, be sure you get every surface fully covered!
- Add other elements! Cinnamon sticks, rosemary, bay leaves, cranberries, plain popcorn, star anise, wooden beads, other dried citrus slices, etc can be added to your garland if you so desire.
- Hang around your tree, across a curtain rod, hang across your mantle, or wherever else you like to decorate your home!
- Store in an airtight container or plastic zip bag so it lasts for next year.


Leave a Reply