
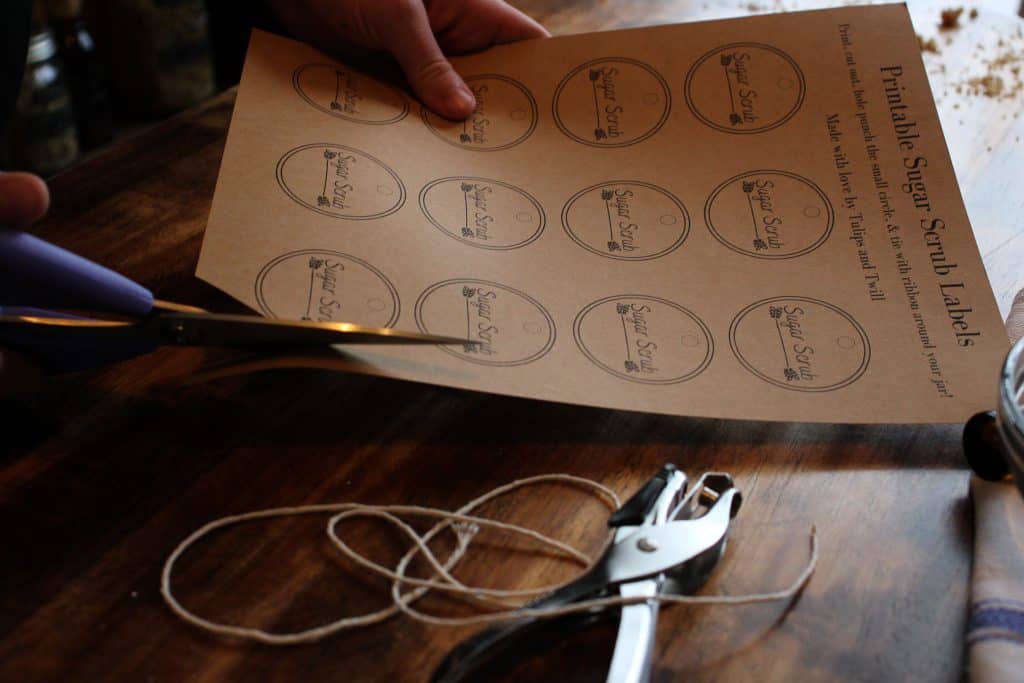
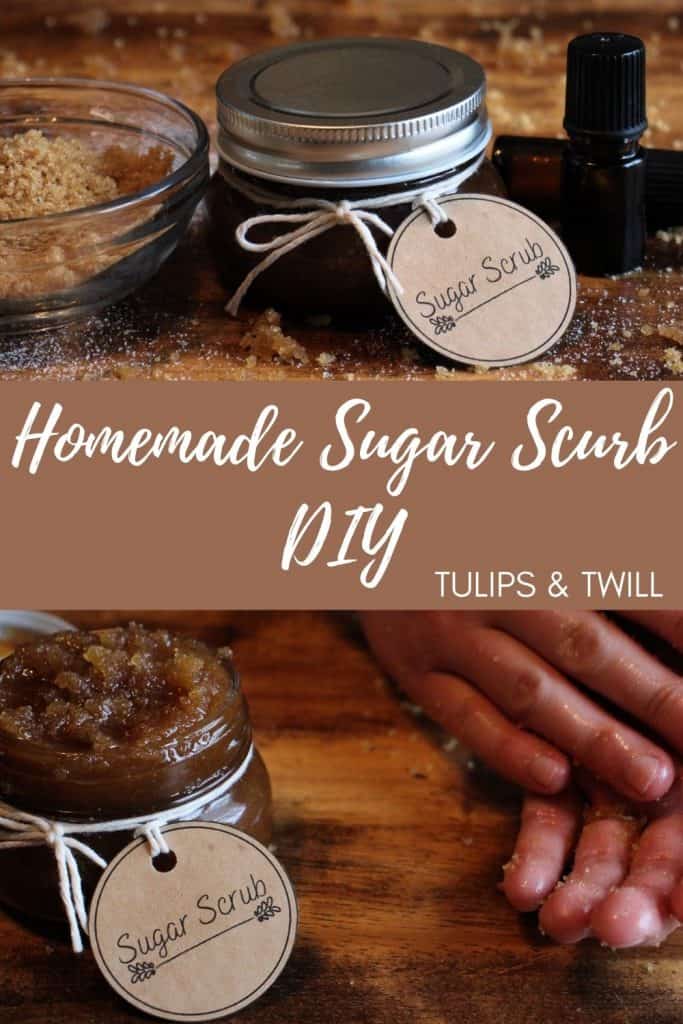
This natural homemade sugar scrub is one of my all-time favorite DIY skincare recipes! It is so simple and leaves my skin feeling amazing. Whenever a holiday present, birthday gift, or small thank you gift is needed I will package some of this in a cute container with one of these PRINTABLE LABELS. Such a lifesaver when a last-minute idea is needed!
I love using this as a part of my natural skincare routine. The fewer chemicals I expose my skin to, the better! I use this sugar scrub on my face, hands, arms, feet, and legs. Pretty much all over honestly! The only exceptions are my bikini zone (since sugar should never be used in that area) and I omit essential oils if I am making this as a lip scrub.

This Post May Contain Affiliate Links. Please Read Our Disclosure Policy.
What is a sugar scrub? Why use it?
Homemade sugar scrubs are an all-natural way to exfoliate your skin! This scrub can be used to gently exfoliate your face and body. This means it helps remove the top layer of dead skin cells which leaves your skin feeling fresh and gives you a natural glow! It is awesome for treating dry skin.

Is sugar scrub good for your skin?
Yes! It is a great way to treat dry areas or can help to prevent them from happening. Using this all-natural sugar scrub can also help to prevent ingrown hair. It leaves a gorgeous glow on your skin as well!
What kind of sugar do I need to make this non-toxic scrub?
I recommend using brown sugar as it is best for sensitive skin like mine. It is also the best option to use on your face as it is not as abrasive as other sugars. You can absolutely use white sugar in its place if that’s what you have on hand!
Want to use white sugar? My friend Arica over at The Simple Homeplace has an Easy Homemade Sugar Scrub using organic cane sugar!
You can also use salt to make a salt scrub!

What oil is the best to use when making a sugar scrub?
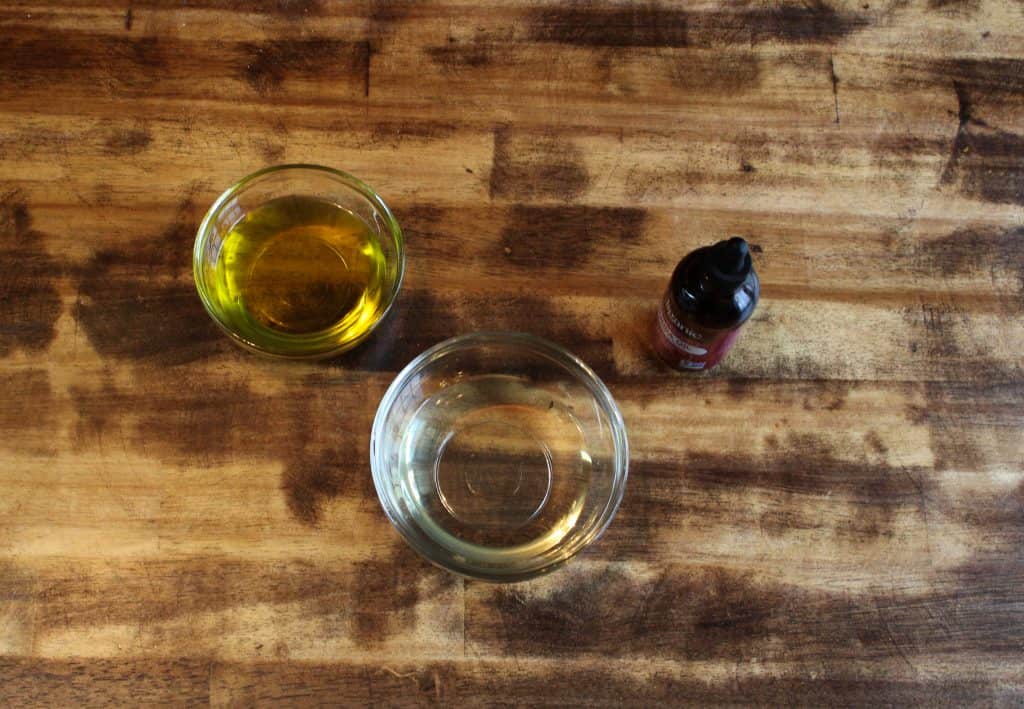
You have a lot of different options when it comes to what oil to use! I do NOT recommend using coconut oil if you plan on using this scrub on your face. I use coconut oil when I make this for my hands and body. When I make this non-toxic sugar scrub for my face, I use either jojoba oil or olive oil. Coconut oil can clog the pores on your face which is why I make this recommendation.
When do I use a sugar scrub?
I use mine at night before bed a few times a week. It may leave your skin a little red temporarily because you are gently removing dead skin on the surface.
Tips for choosing the perfect essential oil for your sugar scrub!
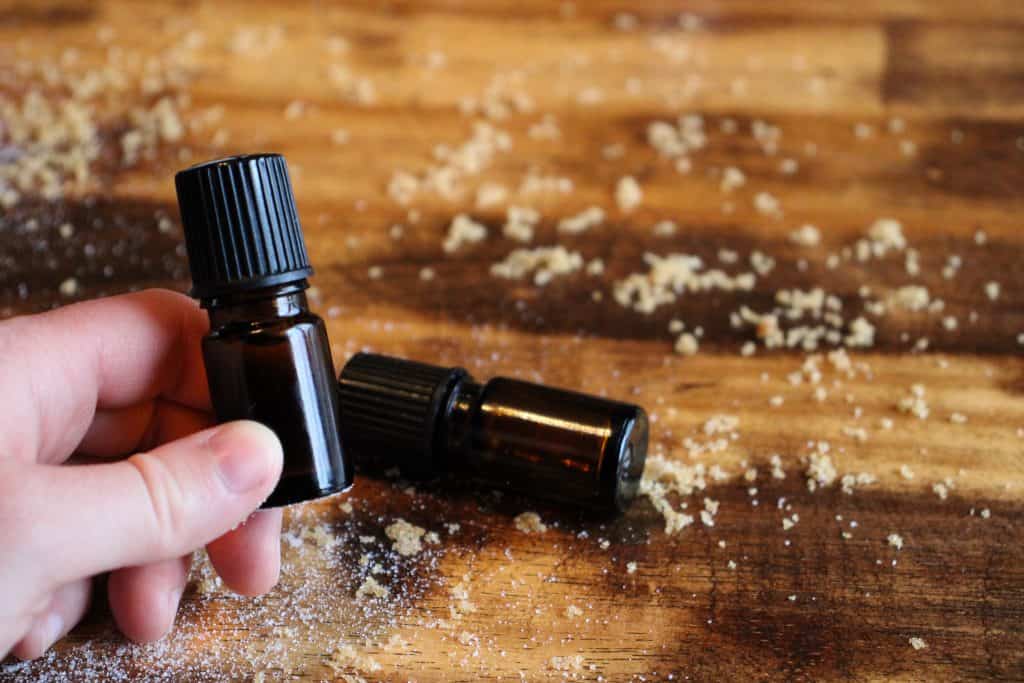
You have the option to add a few drops of essential oils to your sugar scrub. If you do not want to or your skin is sensitive to it, you can simply omit it! When choosing an essential oil, it’s about more than just fragrance. Different oils have qualities that are beneficial to your skin. Whenever I make this scrub for myself, I choose a different oil each time according to my needs. The oils I recommend are tea tree, peppermint, lavender, eucalyptus, chamomile, or geranium.
Tea tree essential oil is known for its anti-inflammatory, antimicrobial properties, and its ability to reduce the appearance of scars.
Peppermint essential oil has an amazing cooling effect on the skin. I love how it feels! This feeling reduces inflammation. More importantly, it possesses antiseptic and antibacterial properties.
Lavender essential oil is both anti-inflammatory and antibacterial. It can reduce the appearance of scarring as well as redness.
Eucalyptus essential oil has a lovely cooling effect that reduces redness and inflammation, just like peppermint! It is antibacterial and anti-inflammatory. This is my go-to oil for making skincare products when I have a bit of sunburn as it helps to promote healing.
Chamomile essential oil is anti-inflammatory and can help even skin tone. It can be used to relieve some under-eye puffiness. Always be careful when using oils in sensitive areas, such as close to your eyes!!
Geranium essential oil has antibacterial, antimicrobial, and antiseptic properties. It is famed for its skin tightening properties that help with antiaging.
If your priority is glow, I recommend using tea tree, geranium, or lavender from this list!
What if I want to use an oil that is not on this list?
There are so many fantastic options out there! So many different essential oils have properties making them amazing for your skin. These are just a few that I personally use! Look up the oil you are hoping to use and be sure it is a safe option, especially if you plan to use this on your face.
Tip: Always test your homemade skin care products on a small inconspicuous area before using them on a large scale or on your face! You need to be sure that the recipe itself and your chosen essential oil will not cause a reaction!
DIY Sugar Scrub for Dry Skin
Ingredients:
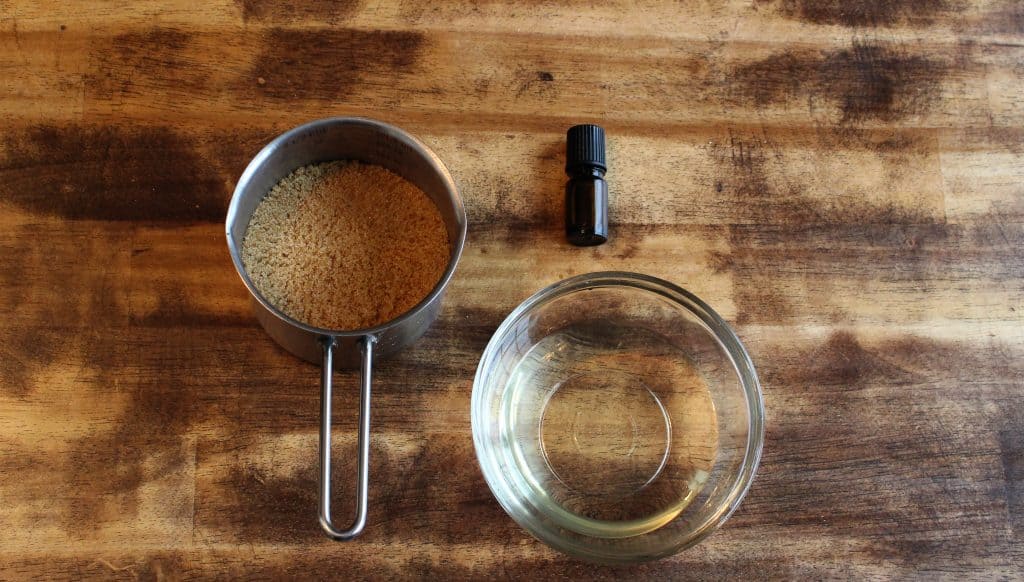
- 1 cup brown sugar (or white sugar)
- ¼ - ½ cup softened coconut oil (or jojoba oil or olive oil)
- Optional: 2-4 drops of any of the following essential oils: tea tree, peppermint, lavender, eucalyptus, chamomile, or geranium.
Directions:
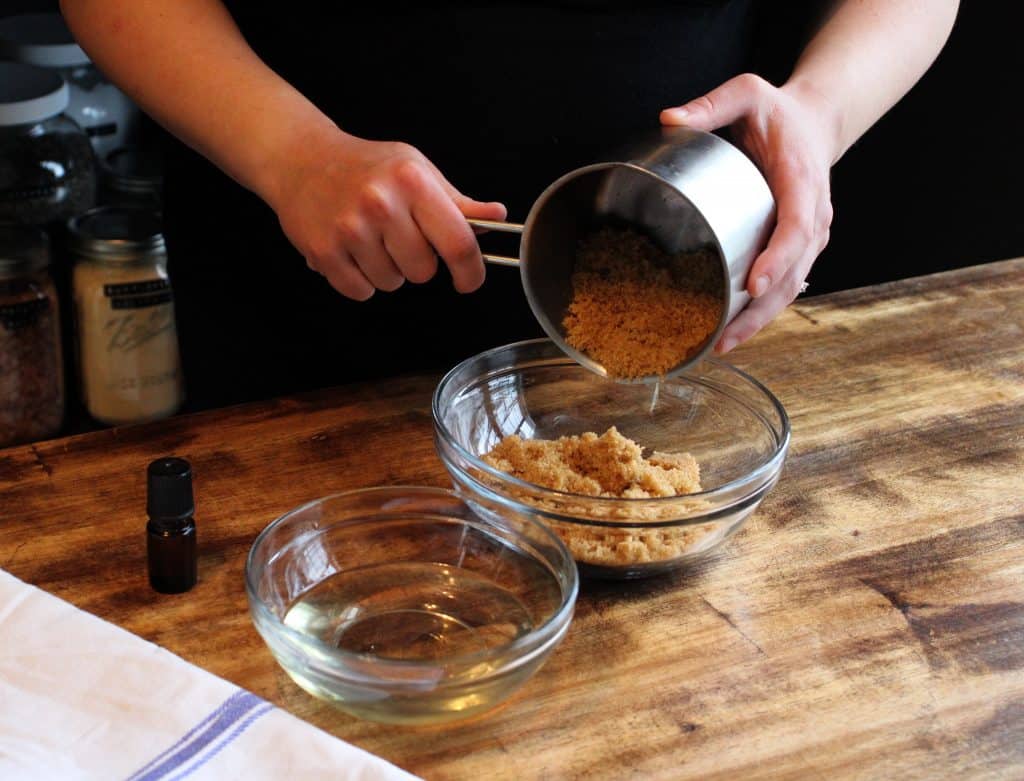
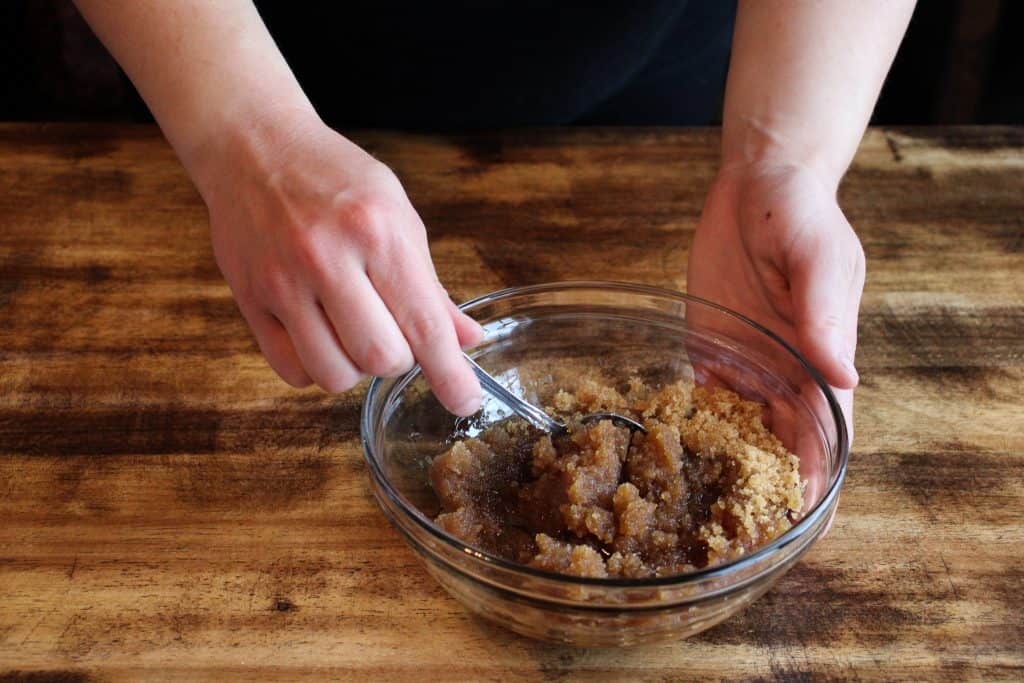
- Pour your sugar into a mixing bowl.

- Soften your coconut oil either on the stovetop or in the microwave and add it to your sugar.

- Mix well until you achieve your desired consistency. If you want a more oily texture, gradually add in more oil. If you prefer a dryer scrub, gradually add in more sugar.

- Optional: Add in 2-4 drops of an essential oil of your choosing and mix it into the scrub until it is well incorporated.
- Spoon into a mason jar to store and use as needed!


How to Use:

- Wet your skin with warm water.
- Gently use your homemade sugar scrub to exfoliate. Make small circles across your skin with your fingertips.
- Rinse off with warm water.
- Pat your skin dry with a soft towel!
I can’t wait to see your creations looking beautiful in their jars! Be sure to post a picture on Instagram and tag me AND use the hashtag #tulipsandtwill so I can see your homemade sugar scrub!
PIN IT FOR LATER!
Do you use natural beauty products? Tell us in the comments below!

Homemade Sugar Scrub
Equipment
- Microwave or stovetop.
- Mason jar.
Ingredients
- 1 cup brown sugar or white sugar
- ¼ - ½ cup softened coconut oil or jojoba oil or olive oil
- Optional: 2-4 drops of any of the following essential oils: tea tree, peppermint, lavender, eucalyptus, chamomile, or geranium.
Instructions
- Pour your sugar into a mixing bowl.
- Soften your coconut oil either on the stovetop or in the microwave and add it to your sugar.
- Mix well until you achieve your desired consistency. If you want a more oily texture, gradually add in more oil. If you prefer a dryer scrub, gradually add in more sugar.
- Optional: Add in 2-4 drops of an essential oil of your choosing and mix it into the scrub until it is well incorporated.
- Spoon into a mason jar to store and use as needed!
Notes
- Wet your skin with warm water.
- Gently use your homemade sugar scrub to exfoliate. Make small circles across your skin with your fingertips.
- Rinse off with warm water.
- Pat your skin dry with a soft towel!


Leave a Reply