
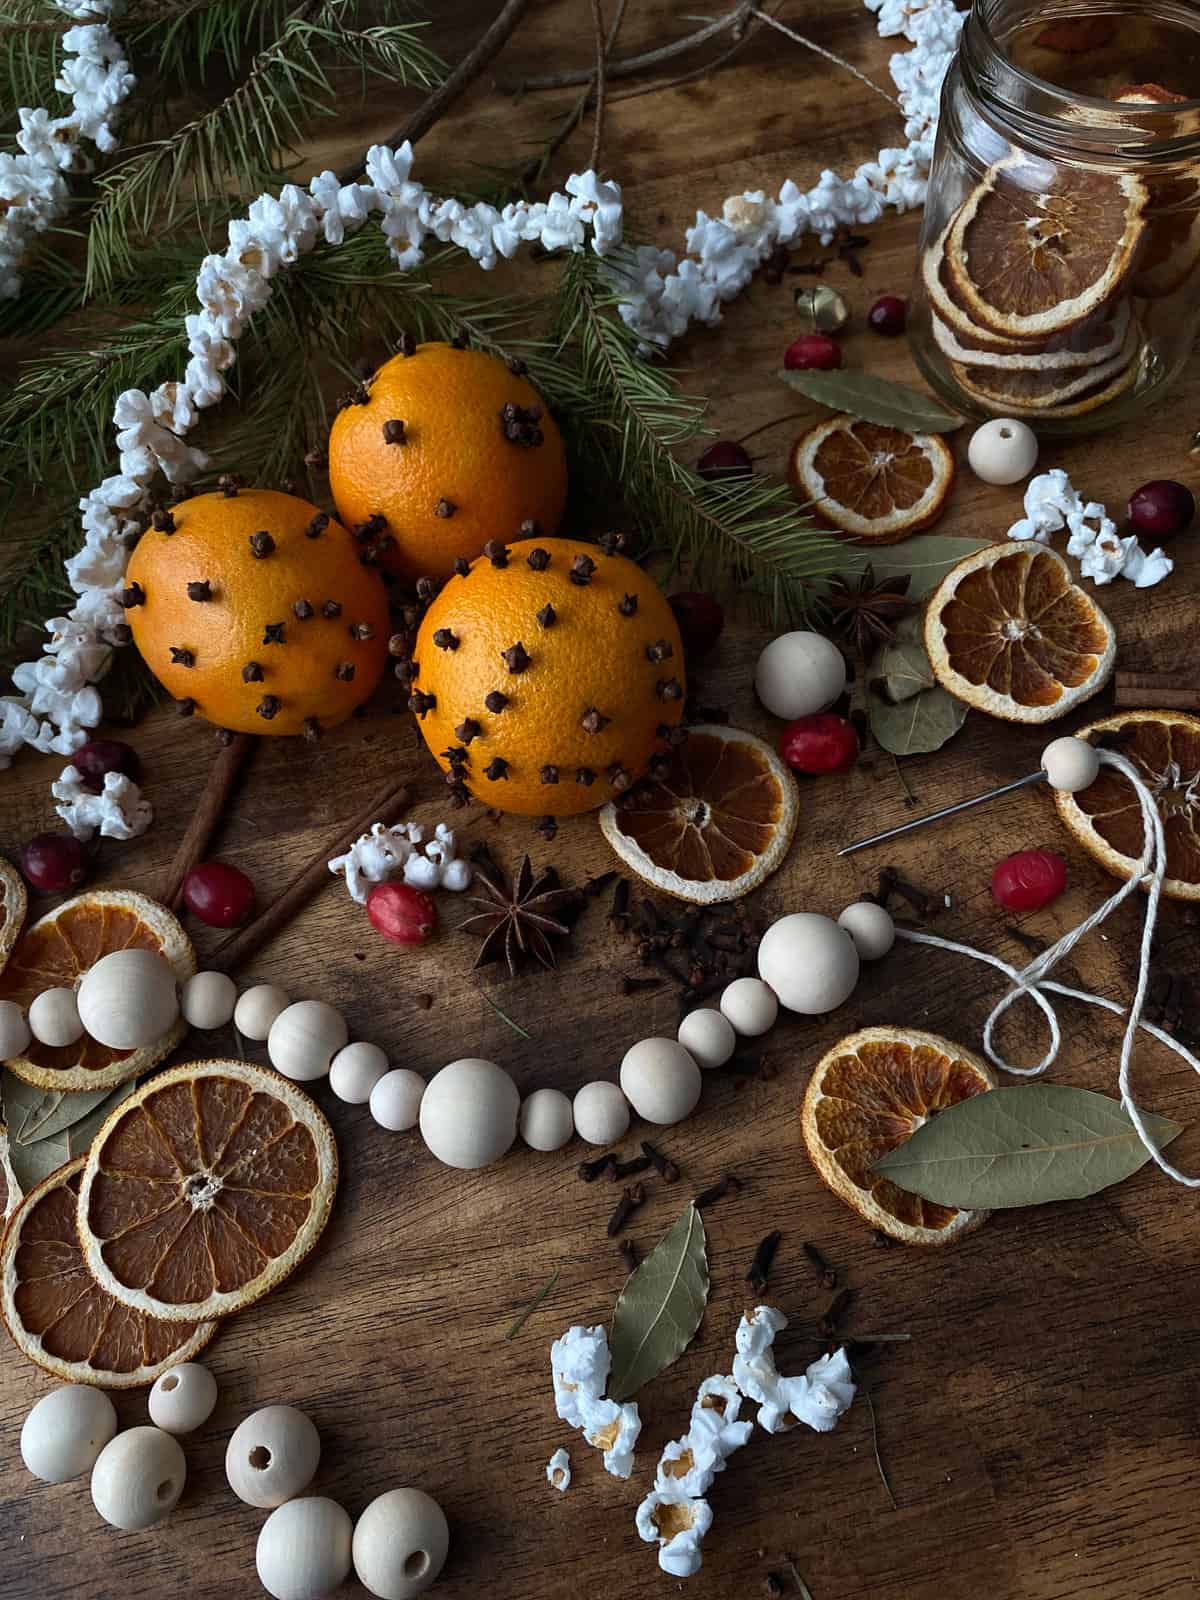
Orange pomander balls are a traditional and all-natural DIY Christmas decoration! They give off a light citrusy and spicy scent that's sure to add to the coziness of any space in your home.
Making orange pomanders is a holiday tradition that has existed for centuries. Start this memory up in your home this season! This project doesn't take long to create and is super simple.
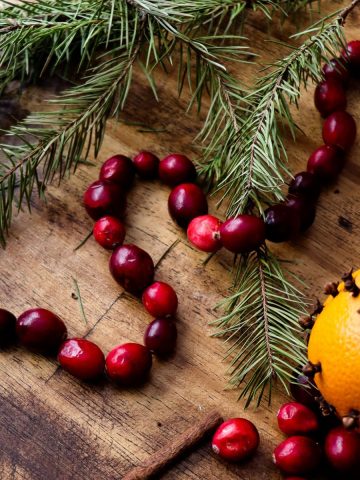
You can also create some dried orange slice decorations such as ornaments and garlands with cloves in them to enhance the aroma. All of your orange and clove Christmas decorations are sure to be lovely and fragrant all season long!
This Post May Contain Affiliate Links. Please Read Our Disclosure Policy.
Jump to:
Why you'll love this project!
- Timeless - These classic orange pomander balls aren't some trend that will come and go. They've been enjoyed as Christmas decor for centuries and will add an old-fashioned feel to your home!
- Get creative - Before popping your cloves in place, plan out how you want them to look. Now's the time to get creative! Plan out some lines horizontally, little clusters of 3 or 4, a cross, or anything else you can come up with!
- Display - Choose how you want to display them to suit your space. They can go on a small decorative plate, be placed in a glass vase, or have a ribbon attached in a few different ways to hang them from the tree!
- Natural - Orange pomanders are a totally natural DIY! Compost them after the holidays for them to be zero waste.

What you need
- Cloves and oranges - These two ingredients are all you need! Cloves and oranges pair well together both in aesthetics and scent! No essential oils or fragrances are needed for this DIY.
- Something pointy - A darning needle, toothpick, or even a ballpoint pen will do the trick! You'll use one of these tools to gently poke holes where the cloves will be placed. I used a permanent marker to map out the spots I wanted my cloves to go in and a darning needle to poke the holes.
Materials
- Oranges
- Whole cloves
- Pen or permanent marker
- Darning needle
- Tea towel or paper towel
- Optional: ribbon and hot glue or pins

How to Make Orange Pomander Balls
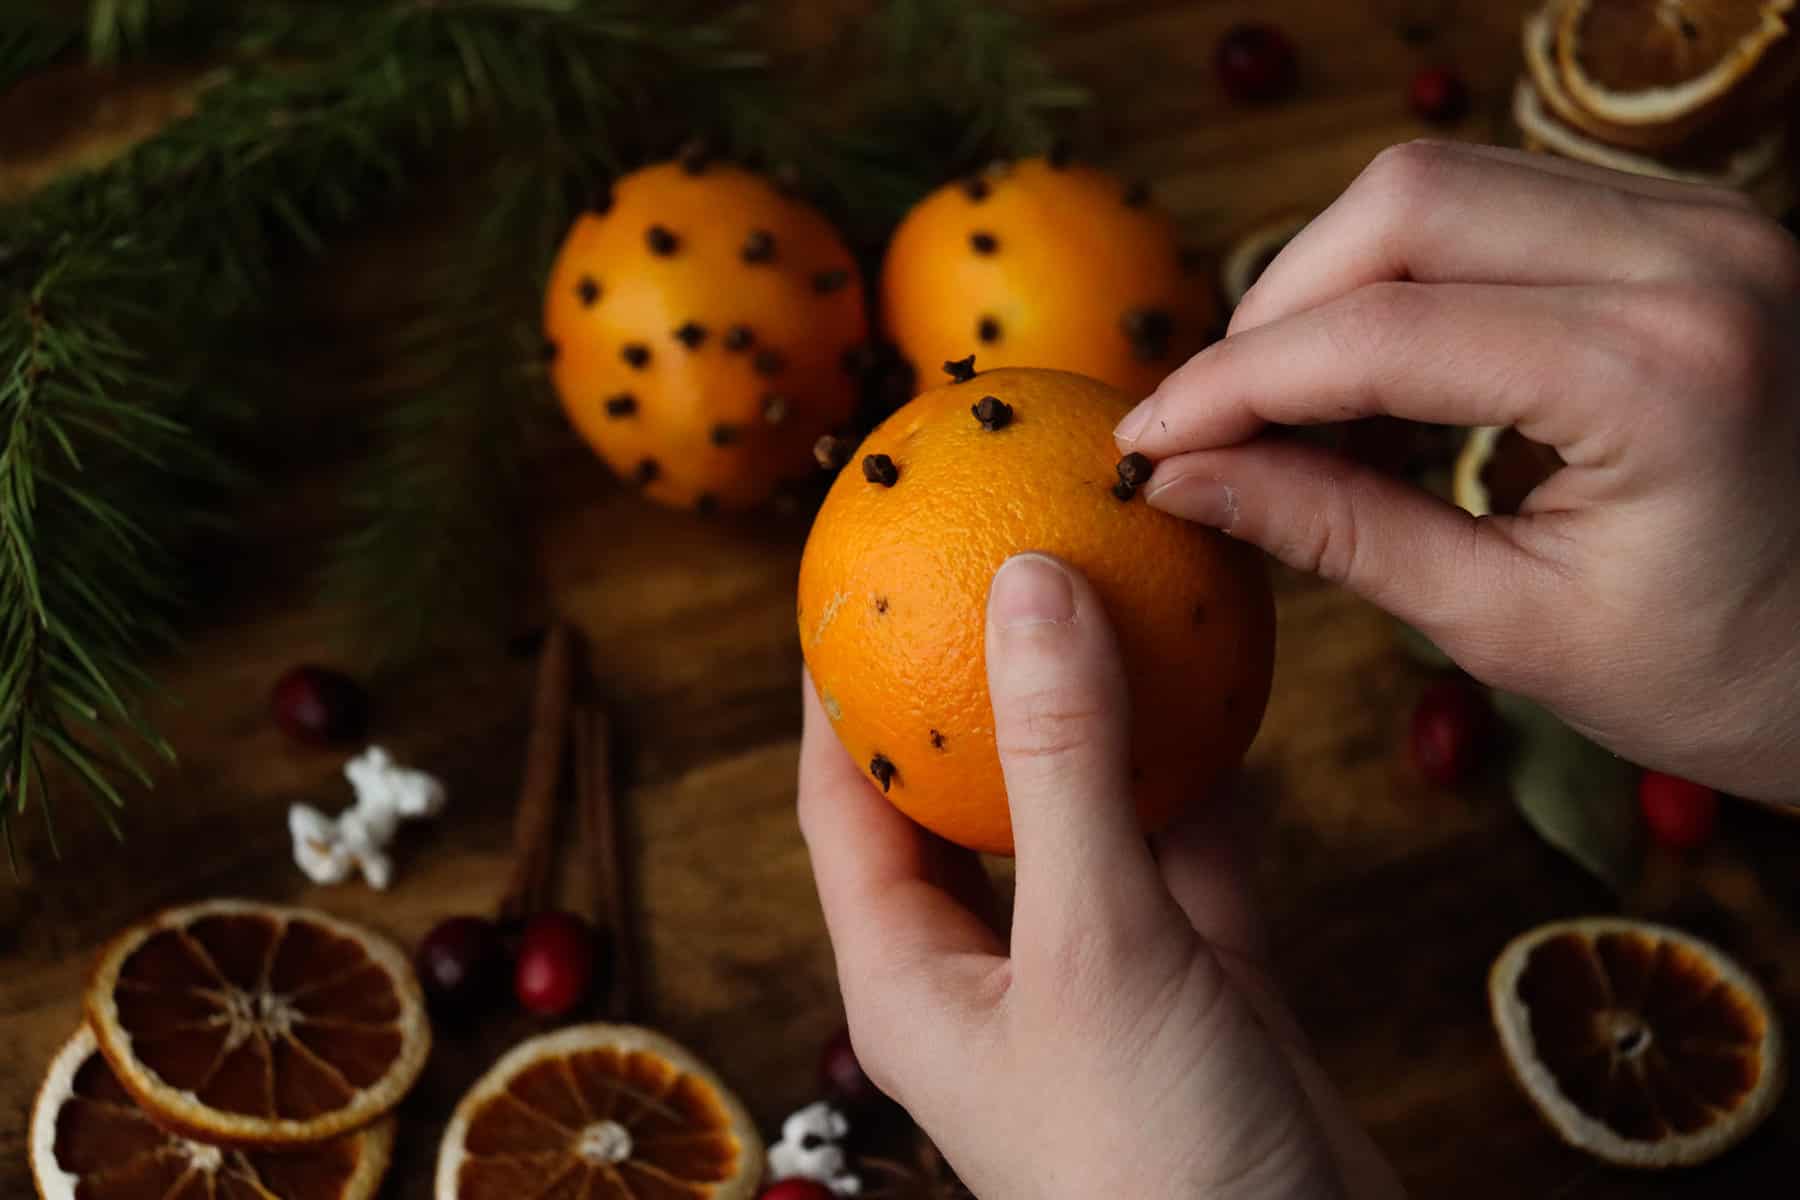
- Using a permanent marker or a pen, mark your design on the skin of your orange.

2. Poke holes on the dots you drew with a darning needle or use your pen to do so.

3. Take your tea towel or paper towel and gently pat the orange dry.

4. Very gently push whole cloves into each hole.
5. Look at your orange pomander. If needed, gently poke more holes to fill in any spaces. See notes for tips!
6. Optional: Use ribbon to make your orange pomander into an ornament. Use hot glue or pins to secure the ribbon in place on your orange.

Notes
- If using pins on ornament style pomander balls, hang them up high away from little hands! Safety first!
- To accentuate lines, poke more holes closer together to define it this style. Revise after you finish to perfect your orange pomander!
- Once dried, these can last for years to come! Store it in an air tight container for next year or you can either hang it or place it in a paper bag in your closet year round.

How to Make Orange Pomander Balls
Equipment
- Pen or permanent marker
- Darning needle
- Tea towel or paper towel
- Optional: ribbon and hot glue or pins
Ingredients
- Oranges
- Whole cloves
Instructions
- Using a permanent marker or a pen, mark your design on the skin of your orange.
- Poke holes on the dots you drew with a darning needle or use your pen to do so.
- Take your tea towel or paper towel and gently pat the orange dry.
- Very gently push whole cloves into each hole.
- Look at your orange pomander. If needed, gently poke more holes to fill in any spaces. See notes for tips!
- Optional: Use ribbon to make your orange pomander into an ornament. Use hot glue or pins to secure the ribbon in place on your orange.


Leave a Reply