
Making your own salt scrub is the easiest and most cost-effective way to swap out a store bought option. Have you ever read the ingredient list on the back of most skincare products at the drugstore? Standing there with your phone out looking up words you've never seen before and being shocked by the information that comes up? It's time to make the switch but man..some of the better options out there are incredibly expensive. This DIY salt scrub takes just a few minutes to create and is far less costly!
Homemade salt scrubs are great for exfoliating your hands, face, legs, arms, etc after a shower or bath. You can also try your hand at making a Himalayan salt scrub or sea salt scrub if you want to change it up the next time you go to make a batch. For sensitive skin, sometimes sugar scrubs are favorable as they are very gentle. You should try each on a small patch of skin to see what works best for you!
This Post May Contain Affiliate Links. Please Read Our Disclosure Policy.
Jump to:
What is salt scrub used for?
Salt scrub is used as a natural exfoliant. This means it removes dead skin while you gently rub it on your body. You can use it on your hands, face, legs, arms, etc!
Use salt scrub after you have showered or bathed with soap and warm water. Using soap first ensures your skin is clean which means it is safe to exfoliate. The warm water softens your skin and makes it damp which is necessary for this step.
What you need
- Salt - Fine grain salt is best as it will be the least rough on your skin. For this DIY, we are just using standard table salt! You can also use Himalayan pink salt or sea salt. (I prefer those options but table salt also gets the job done with something you may already have in your pantry right now. It helps keep the cost down, too!)
- Oil - This DIY will use jojoba oil but you can also use sweet almond oil or olive oil!
- (Optional) Essential oils - Using 5-10 drops of your favorite essential oil makes your salt scrub smell lovely while you use it! This is entirely optional. (Note: Please be sure to use an oil that is meant for topical use and be responsible with use around children and pets.)
- Airtight container - You can store this product for up to 6 months in a cool dark place using an airtight container.
Lemon and lavender are great options! Use individually or half and half for a lovely scent.

How often should I use a salt scrub?
Use salt scrub to exfoliate 1-2 times a week. You don't want to over do it as it can make your skin very sensitive. If you already have sensitive skin, start with just once a week to see how your skin does with it!
Yes! Unlike lotions, balms, salves, and body butters salt scrubs are meant to be rinsed off.
How long does salt scrub last?
Store in an airtight container in a cool dark place for up to 6 months.
Supplies
- ½ cup fine grain salt
- 2 tablespoons of oil (jojoba oil, olive oil, or sweet almond oil)
- Optional: 5-10 drops essential oil of choice (lemon and/or lavender)
- Airtight jars with lids
- Spoon
- Optional: canning funnel

Salt Scrub Recipe
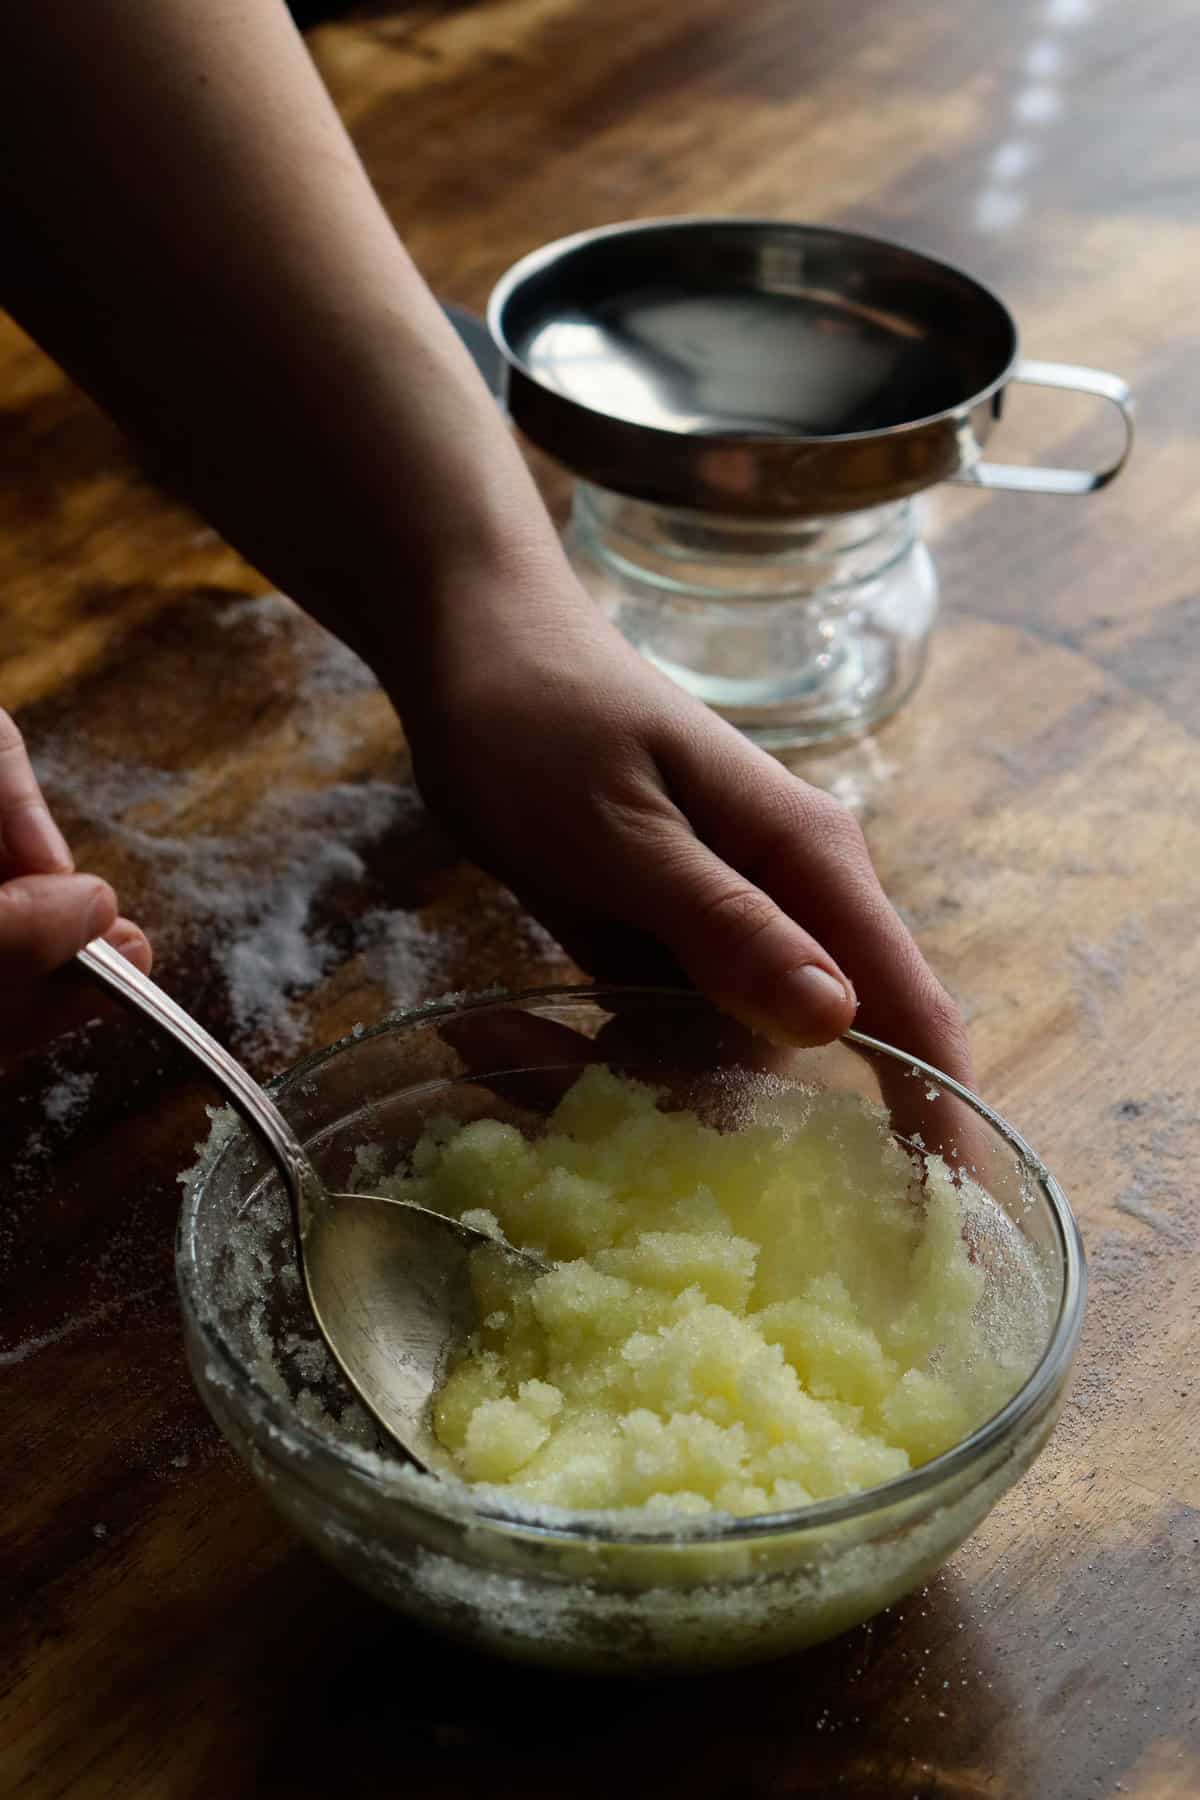
- Combine your salt and oil. (Optional: add essential oils)

2. Stir together ensuring all of the salt is covered in the oil.
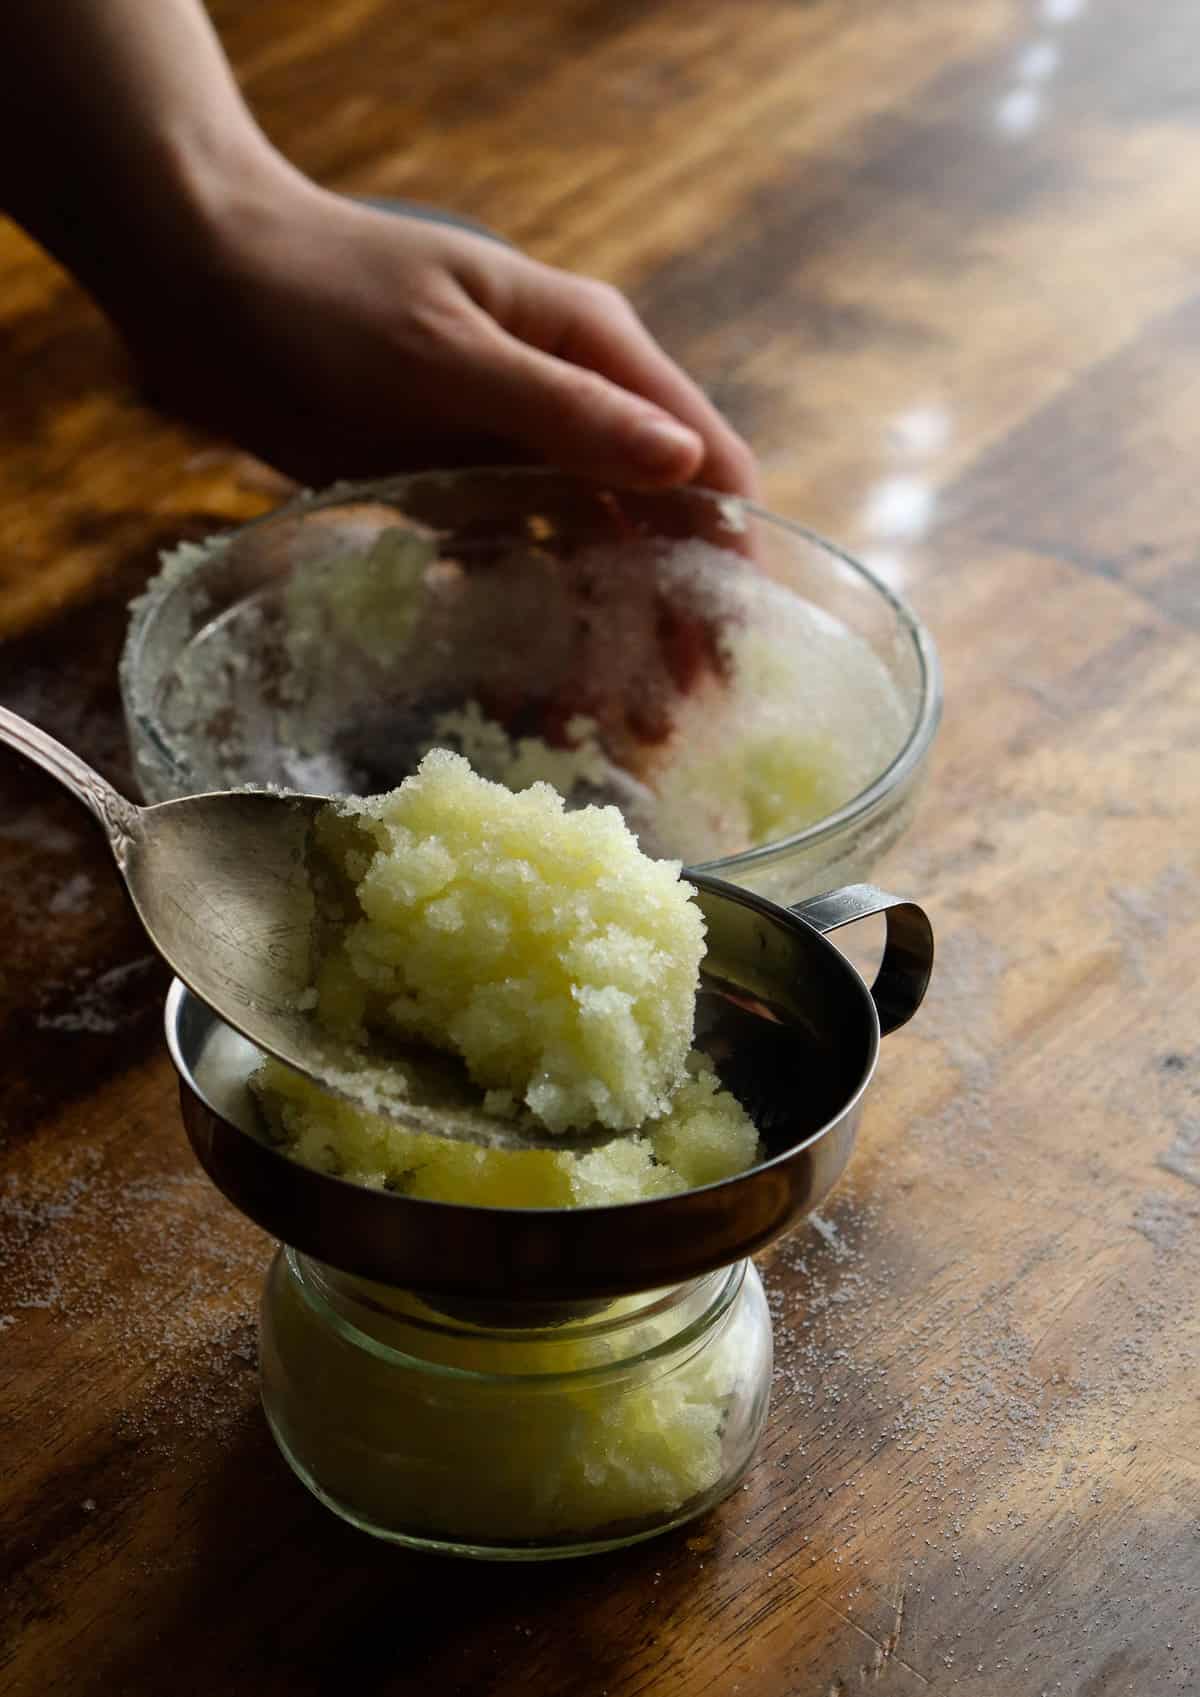
3. Transfer to an airtight container with a lid. Use a spoon to do so (optional: use a canning funnel to avoid some of the mess!)

4. Store in an airtight container in a cool dark place for up to 6 months. Add a label with the product name, ingredients, and date.

Notes
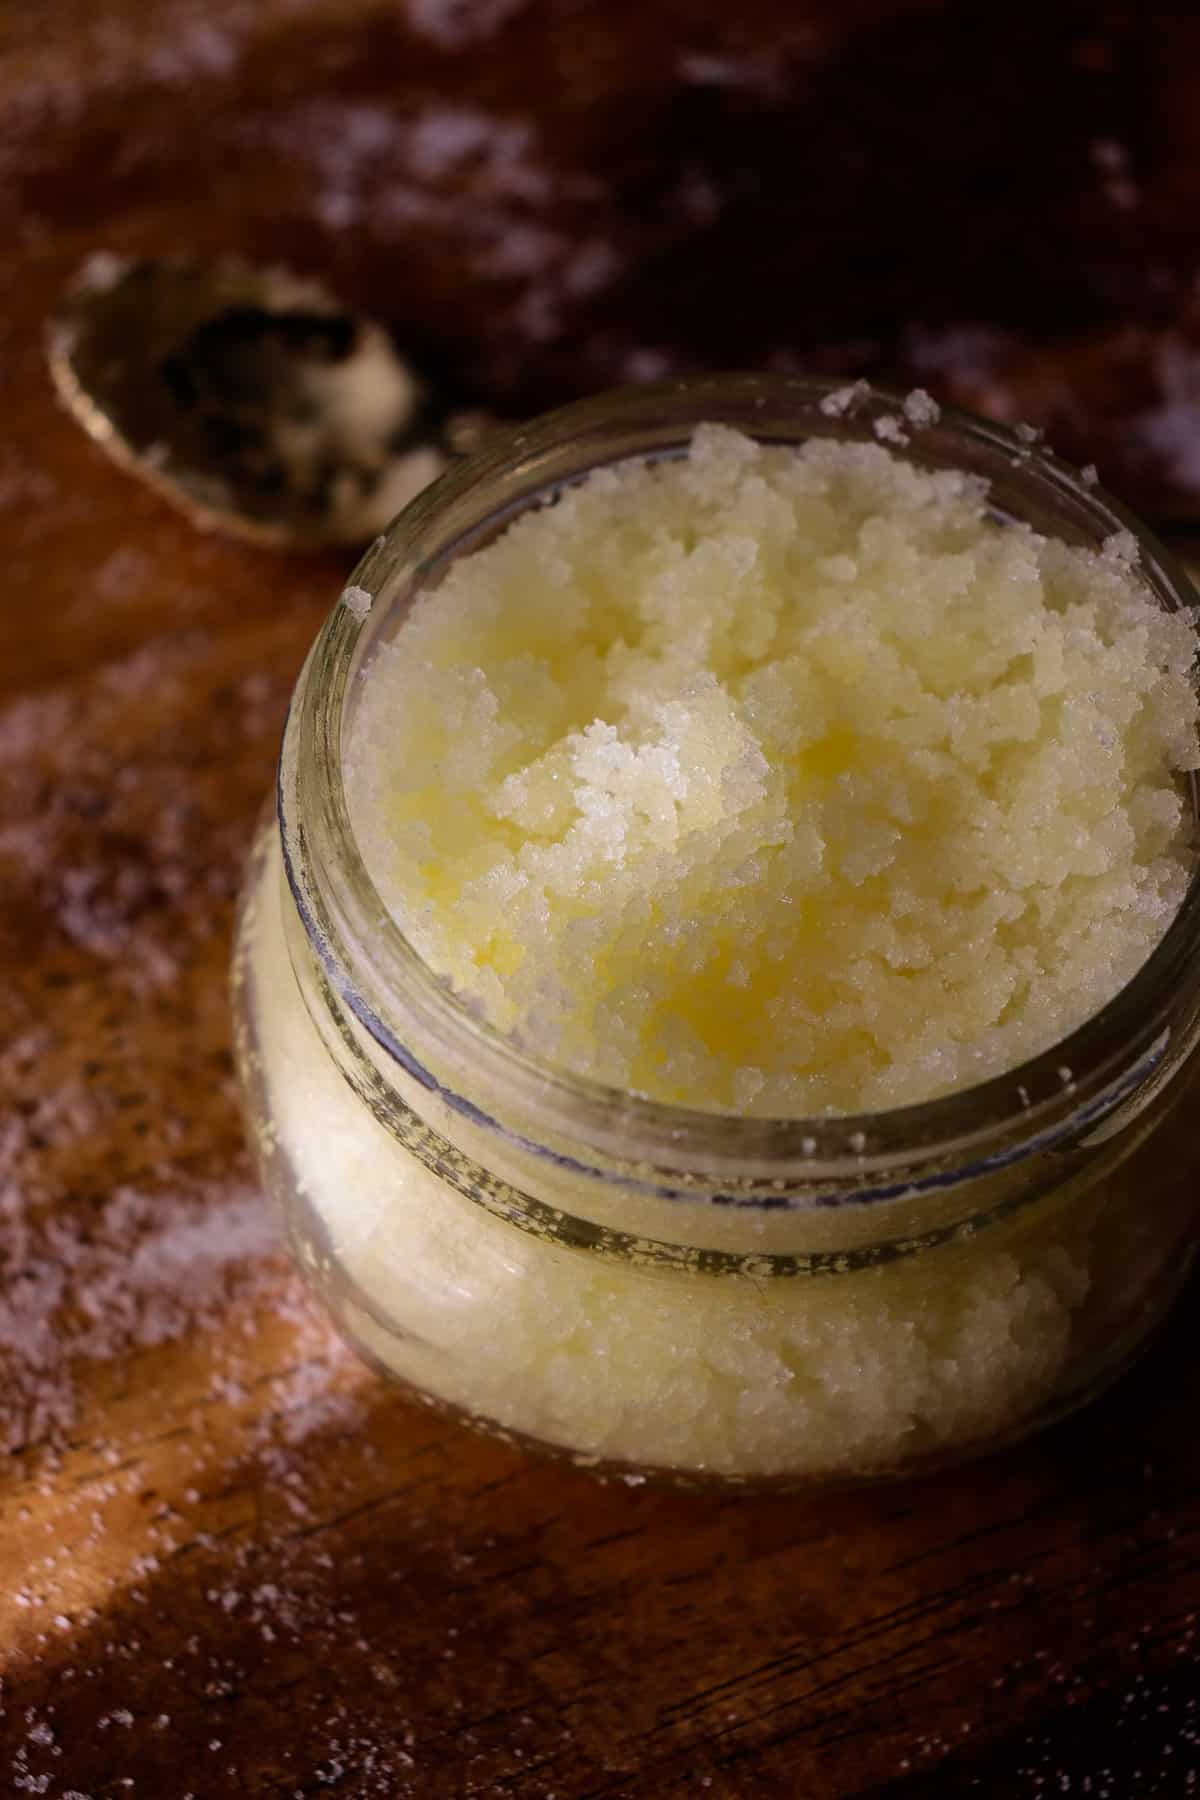
- If you use an oil that has a yellow tint to it (ex: jojoba oil or olive oil) your salt scrub will naturally have a yellow coloring to it! This is lovely as is or can add to the appeal of a lemon scented product!
- Use a small spoon to scoop your salt scrub out to ensure no water gets into it.
- Before use, shower or bathe with warm water and soap.
- Use on damp skin! Never exfoliate dry skin as it can cause microtears.
- If using essential oils: use essential oils that are safe for topical use. Use responsibly around children and pets.
- Label the jar with the product name, ingredients, and date. Store for up to 6 months in an airtight container in a cool dark place.
Homemade Salt Scrub
Equipment
- Measuring cup.
- Measuring spoon.
- Spoon.
- Airtight container
- Label (product name, ingredients, and date)
- Optional: canning funnel
Ingredients
- ½ cup fine grain salt
- 2 tablespoons oil jojoba oil, olive oil, or sweet almond oil
- Optional: 5-10 drops essential oil of choice lemon and/or lavender
Instructions
- Combine your salt and oil. (Optional: add essential oils)
- Stir together ensuring all of the salt is covered in the oil.
- Transfer to an airtight container with a lid. Use a spoon to do so (optional: use a canning funnel to avoid some of the mess!)
- Store in an airtight container in a cool dark place for up to 6 months. Add a label with the product name, ingredients, and date.


Leave a Reply