
How do I remove my cuticles at home naturally?
This DIY cuticle oil is all-natural! No need for harsh chemicals or a professional to help with maintaining beautiful and healthy nails. When I first decided I wanted to try this at home, I was feeling very discouraged. Everything I searched for pointed towards buying a product filled with chemicals. After looking at various online shops, I decided I needed to try to come up with something on my own instead.
Taking care of your nails doesn’t have to take a ton of time. This never takes me long to do each time it is needed. It’s also a great way to have lovely nails at home to save a little money if you are trying to cut some stuff out of the budget. If you’re like me, you don’t go get your nails done anyway. This is a small way to show yourself a little tenderness, love, and care at home for very little cost! I also make my own sugar scrub to nourish my hands before taking care of my nails!

This Post May Contain Affiliate Links. Please Read Our Disclosure Policy.
Why treat my cuticles?
I personally maintain my cuticles to keep my nails looking nice with or without nail polish. When you go get your nails done, the technician will gently push back your cuticles before painting. It leaves your nail beds looking beautiful and even across your hands. I like the way it looks a lot!

What tools do I need to remove my cuticles at home?
I use a metal cuticle pusher along with cuticle clippers. There are also different options you can look into. There are wooden or plastic tools available online as well. Sometimes, I don’t even need the clippers! I can gently massage the pushed back cuticle with the tip of my finger and it will come off by itself.
Be careful! Be sure to take caution while using metal instruments on and around your nails. Make sure they are freshly cleaned before using. Wash your hands well before treating your cuticles. While you push your cuticles back, apply only a light amount of pressure so you don’t scrape the top of your nail! Be gentle and patient with this process, I promise you it's completely worth it.
Do I have to clip my cuticles off entirely?
No! You can just gently push them back if you are uncomfortable clipping them! I sometimes choose not to clip mine. Do whatever you are comfortable with.
Don't worry! I wrote out an easy to follow step-by-step of how to do this. Keep reading to see how I use my cuticle oil!
Can I add any essential oils to this DIY beauty product?
You can if you would like to! I love using essential oils in my homemade natural beauty products as well as DIY household cleaners! My skin is very sensitive so with that in mind, I add just 1-2 drops of lavender essential oil. Give it one last good stir before using!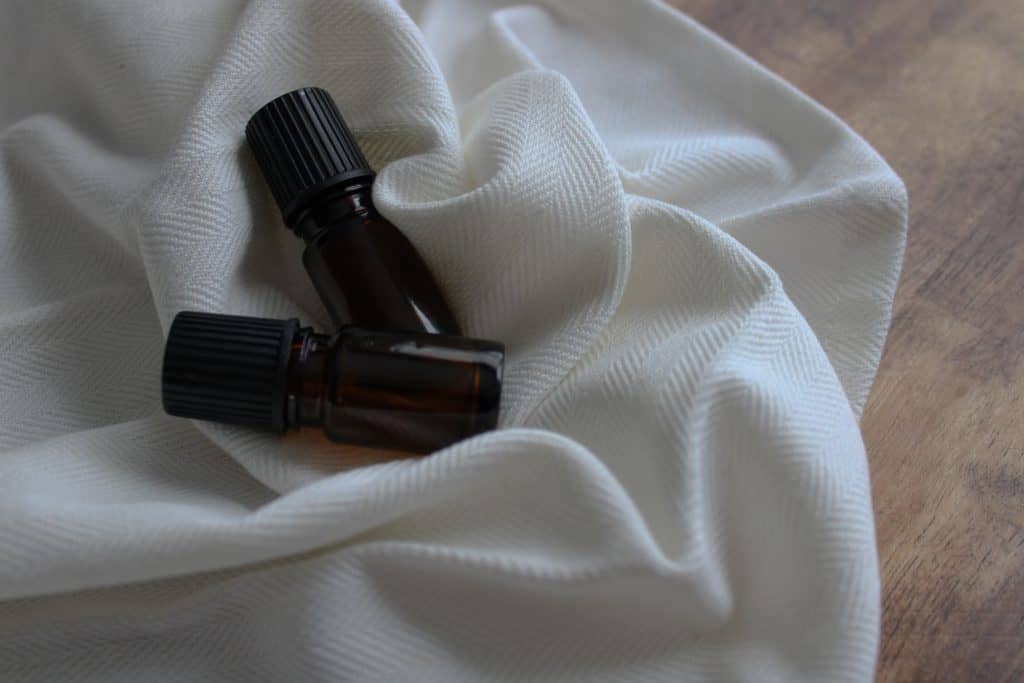
DIY Cuticle Oil
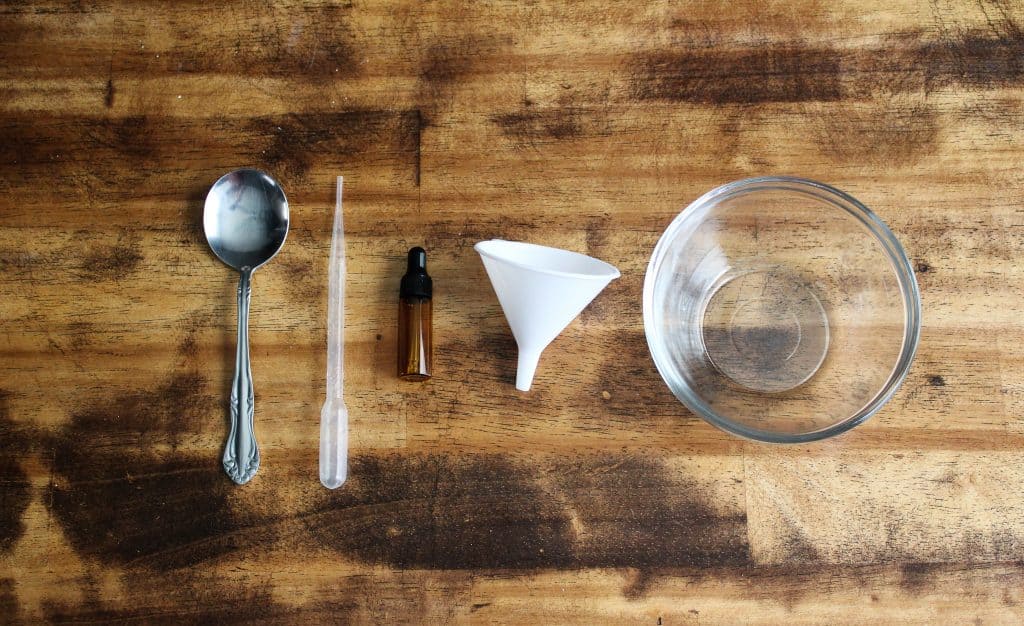
What You Need
- Small bowl
- Pipette
- Spoon
- Funnel
- Dropper bottle

Ingredients:
- 1 mL coconut oil
- 1 mL olive oil
- 1 mL jojoba oil
- Optional: 1-2 drops of an essential oil


Directions:
1.) Soften your coconut oil either on the stovetop or in the microwave.
2.) Add your olive oil and jojoba oil. Mix well!
3.) Allow your oils to cool off.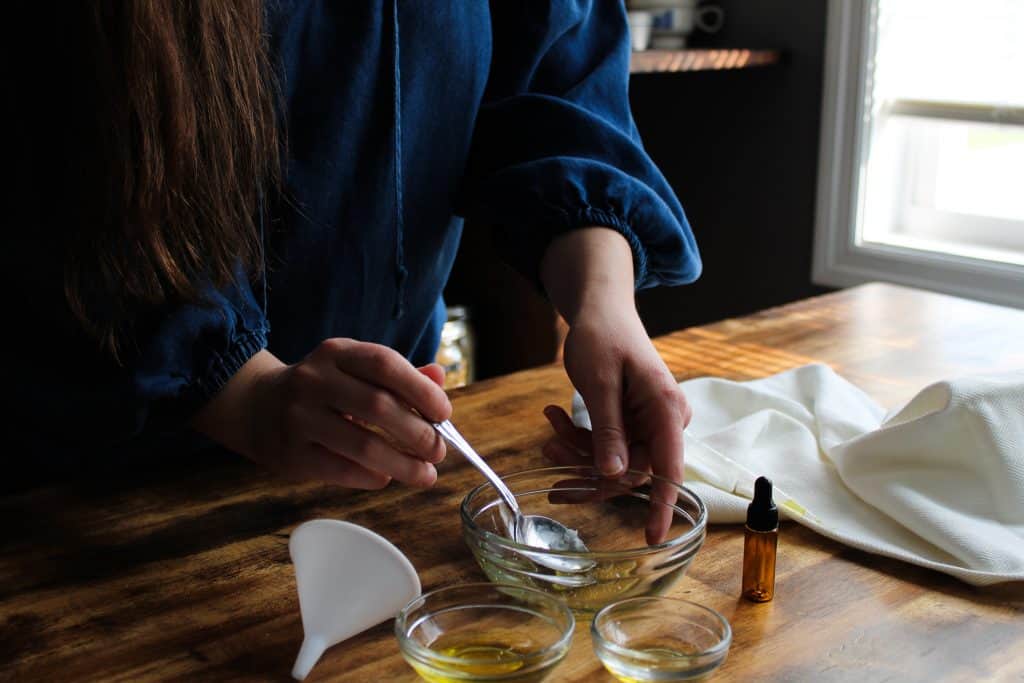
4.) Optional: add in 1-2 drops of an essential oil.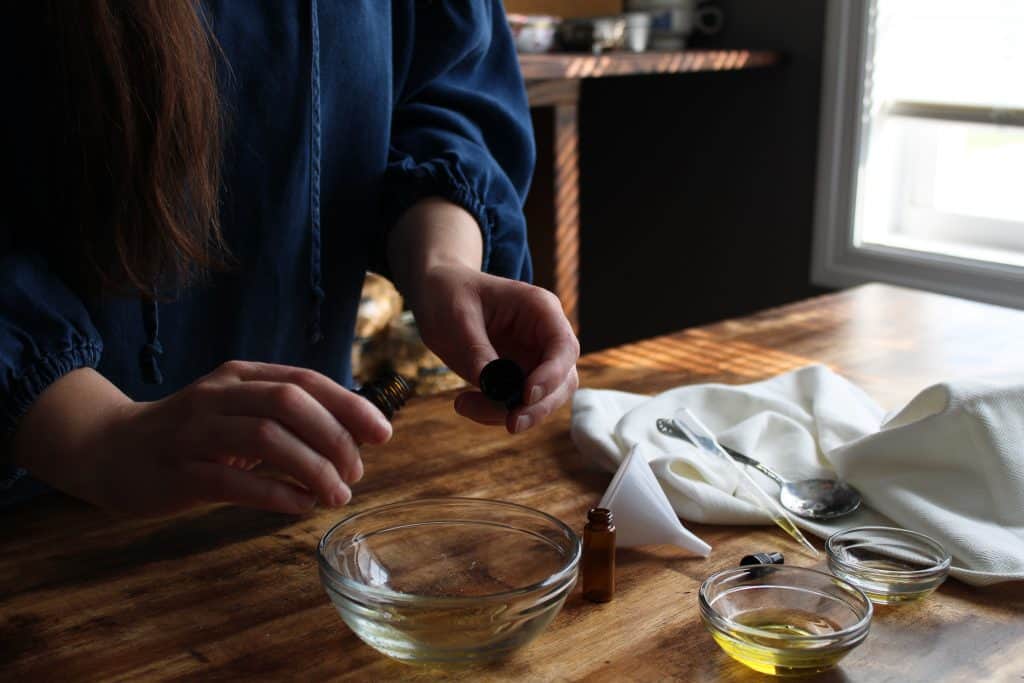
5.) Using a funnel, pour into a sterile dropper bottle.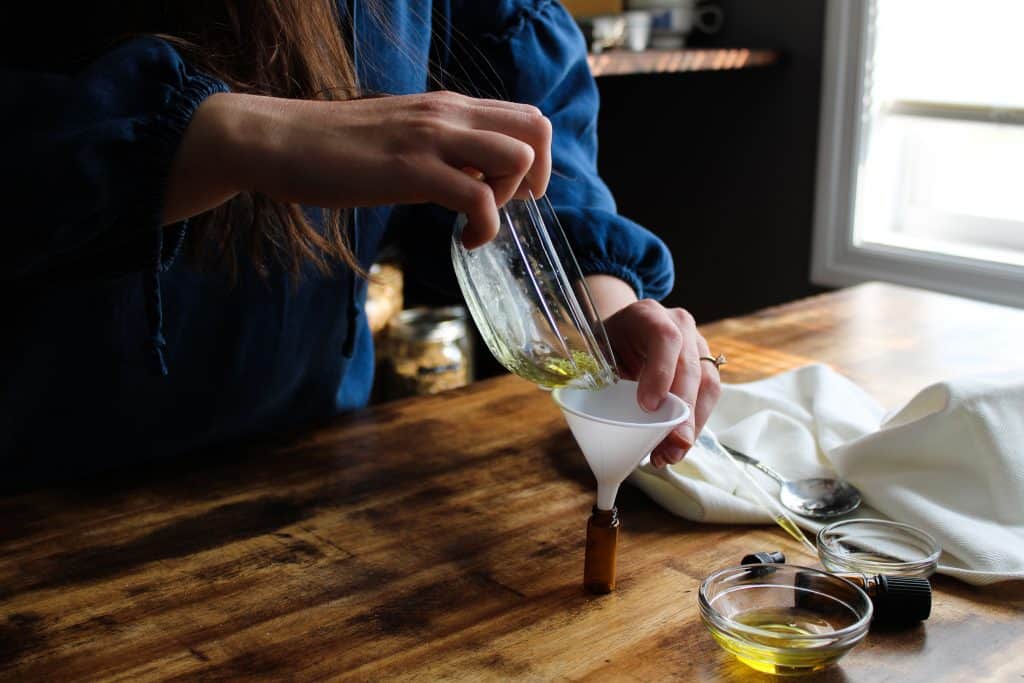
Taking small steps like this to make your own beauty products is not only better for the environment, but it is also better for you! Remember, your skin is your largest organ. You absorb so many chemicals through your skin every single day. Eliminating one small thing here and there truly does make a difference! This DIY cuticle oil is so simple and takes no time at all to prepare. What a great starting point!
How to Use Your Natural DIY Cuticle Oil
Here is how to use your newly made cuticle oil! It’s a very simple process to follow and will leave your nails looking gorgeous!
What you need:
- A small bowl
- Warm water
- DIY all-natural cuticle oil
- Cuticle pusher
- Cuticle clippers
- A clean hand towel
- Optional: nail clippers or file
- Optional: nail polish
Steps to Naturally Remove Your Cuticles at Home with your DIY Cuticle Oil
- Soak your fingertips in a bowl of warm water for 1-2 minutes.
- Using your fingertips, massage your DIY Cuticle Oil into the bed of each nail. Be sure to focus on gently massaging your cuticles with this oil to soften them. (Take your time and enjoy this step!)
- Using a cuticle pusher, gently push back your cuticles. (Take extra care when using metal instruments to not damage your nail beds or cut under your skin!)
- Massage each cuticle to work off the dead skin. Don’t apply too much pressure.
- Using cuticle clippers, carefully clip off your hangnails. If necessary, gently clip off the leftover cuticles that did not rub off.
- Optional: Clip and/or file your nails down to your preferred length and shape.
- Wash your hands with warm water and gently pat dry with a clean hand towel. Be sure your nails are dry too!
- If you plan to paint your nails, now is the time! Allow them time to dry completely.
Pin it for later!
My hands feel and look amazing! I always use my diy sugar scrub before caring for my cuticles and finish it off with some body butter. This is a small thing I like to do now and then to make myself feel a little bit more put together. I invite you to join me in doing this for yourself tonight! Maybe even take a moment to paint your nails, too!
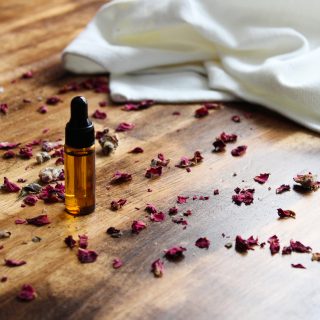
DIY Cuticle Oil | Natural Beauty Product
Equipment
- Small bowl
- Pipette
- Dropper bottle
Ingredients
- 1 mL coconut oil
- 1 mL olive oil
- 1 mL jojoba oil
- Optional: 1-2 drops of an essential oil
Instructions
- Soften your coconut oil either on the stovetop or in the microwave.
- Add your olive oil and jojoba oil. Mix well!
- Allow your oils to cool off a little.
- Optional: add in 1-2 drops of an essential oil.
- Using a funnel, pour into a sterile dropper bottle.
Notes
- If you would like, you can add 1-2 drops of a gentle essential oil to this recipe. Lavender is a great option!
- Be sure to refer back to the blog post to see the steps I take when using this DIY cuticle oil for my own nail care.
Leave a comment below and let me know what YOUR beauty routine looks like!


Leave a Reply