
Fermented lemons are easy to make and fantastic to have on hand to ensure you have them for any recipe you so choose at any time of year!
While most people think of fermenting as something that is done for vegetables, but you can do it to fruit as well! All you need to make this ferment is lemons and kosher salt. The brine is made from the juice of the lemons being used (and possibly an extra for more juice if needed) combined with the salt. It is inexpensive and doesn't take much effort. This is really an amazing way to preserve food while also enjoying a probiotic-rich option! You all know I love implementing healthy and nutrient-dense foods and drinks into my family's diet such as raw milk kefir.
This style of fermenting lemons is also known as Moroccan preserved lemons or even just preserved lemons. So if a recipe calls for either of those "kinds" of lemons, don't worry! They just mean fermented lemons, nothing crazy. There are many Middle Eastern, African, and Asian cultures that use these fermented lemons in their recipes. These lemons have a lovely flavor without the super sourness! (Fun fact: these are also the same as pickled lemons! Though that's not something you hear of often!)
This Post May Contain Affiliate Links. Please Read Our Disclosure Policy.
What are fermented lemons?
Preserved lemons are lemons packed with salt that ferment in a brine of their own juices mixed with salt. They are left to ferment for 4 weeks or even longer! They can be added to many dishes and even salad dressings!
The peel is used in some recipes and others call for the fruit itself. I love that every part of this ferment is used and nothing goes to waste! Since they keep for 6-12 months, you will have lemons any time of year, not just when they are in season! Fermenting is a preservation method that takes little effort and yields a lovely healthy result. Unlike canning, you don’t need any complicated instructions. I find it to be a lot less stressful and I prefer having the probiotics that come along with this method of food preservation.
This recipe is best when using Meyer lemons as they have a thin peel and lovely taste (both fresh and fermented!) but you can use any lemons. I did not use Meyer lemons and the peel is thicker so therefore it may take a bit longer to ferment and that is okay.
I keep my fresh lemons in the fridge until they are ready for use. Fermented lemons can be stored at room temperature or in the fridge (I prefer the fridge!) They can keep for 6-12 months so long as they are always fully submerged in the brine.

Your shopping list
Be sure to have these two ingredients on hand as well as the container itself and maybe even a glass fermenting weight.
- Lemons - Okay, yes. I know you realize this but hey add it to your list so you don't forget them! I choose smaller lemons to fit in a quart or pint-sized jar. Meyer lemons are best for this recipe but you can use any kind you would like. Organic is your best option but it's also okay if you can't source organic, just be sure to wash the outside extra well if so!
- Kosher salt - You are going to need a truckload of salt. Get the big container!
- Glass jar - Wide mouth glass jars are the way to go when fermenting. Choose either a quart or pint size jar depending on the number of lemons you are choosing to try this out with!
- Fermenting weights - While optional, they help to keep the lemons submerged in the brine.
Pin it for later

Do I need a fermentation weight?
No! I use either one half or both halves of a lemon I've juiced on top to act as a weight. But a fermentation weight is very useful to have on hand and can come in handy if you don't end up with enough lemons to make a weight out of!
Note: In my strawberry basil lemonade post, I show how I roll my lemons to get the most out of each one when you juice them!
Before beginning, ensure you are working with safety in mind. Sterilize your glass jar to prepare for this task, wash your lemons, and wash your hands well. You don't want any bad bacteria festering in your jar.
Want to try out other fermented and pickled recipes? Check these out!
How to prepare your lemons
- Wash your lemons well!
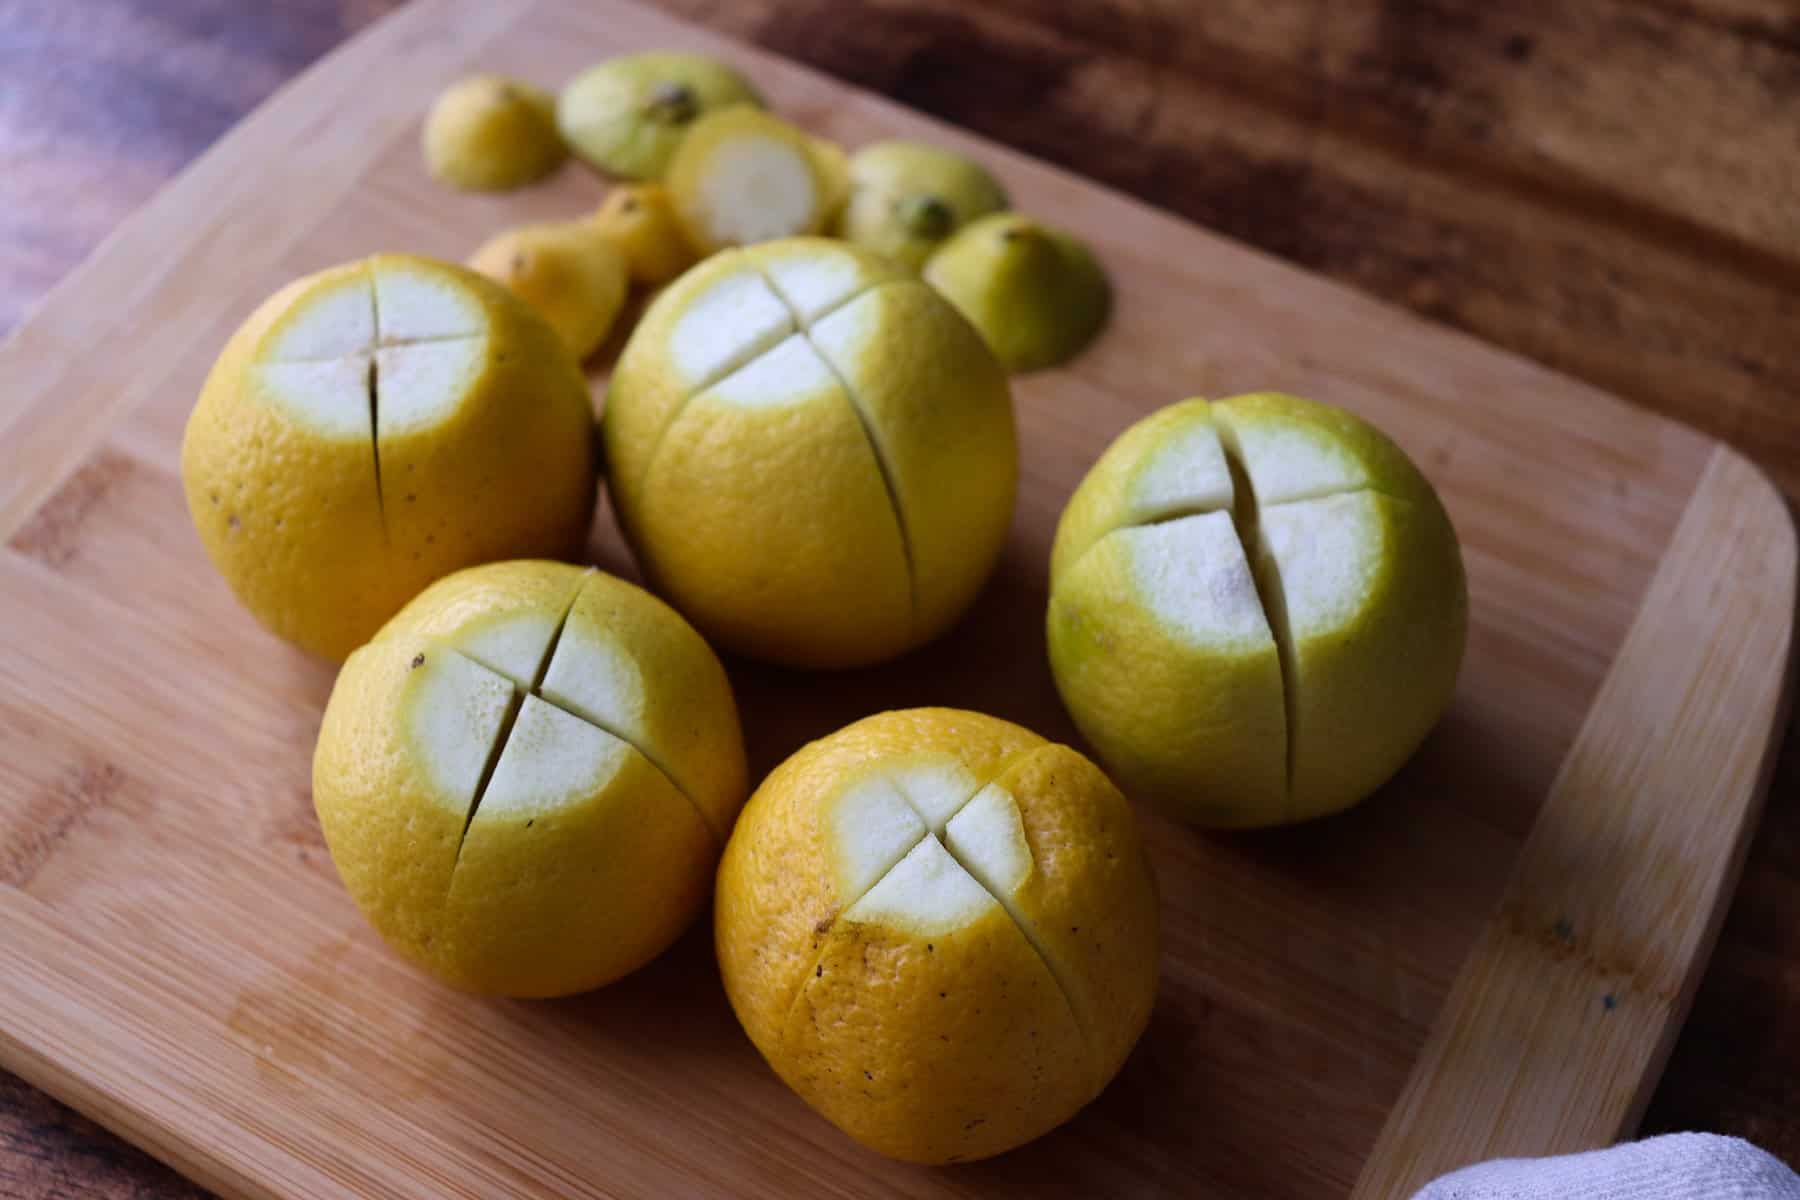
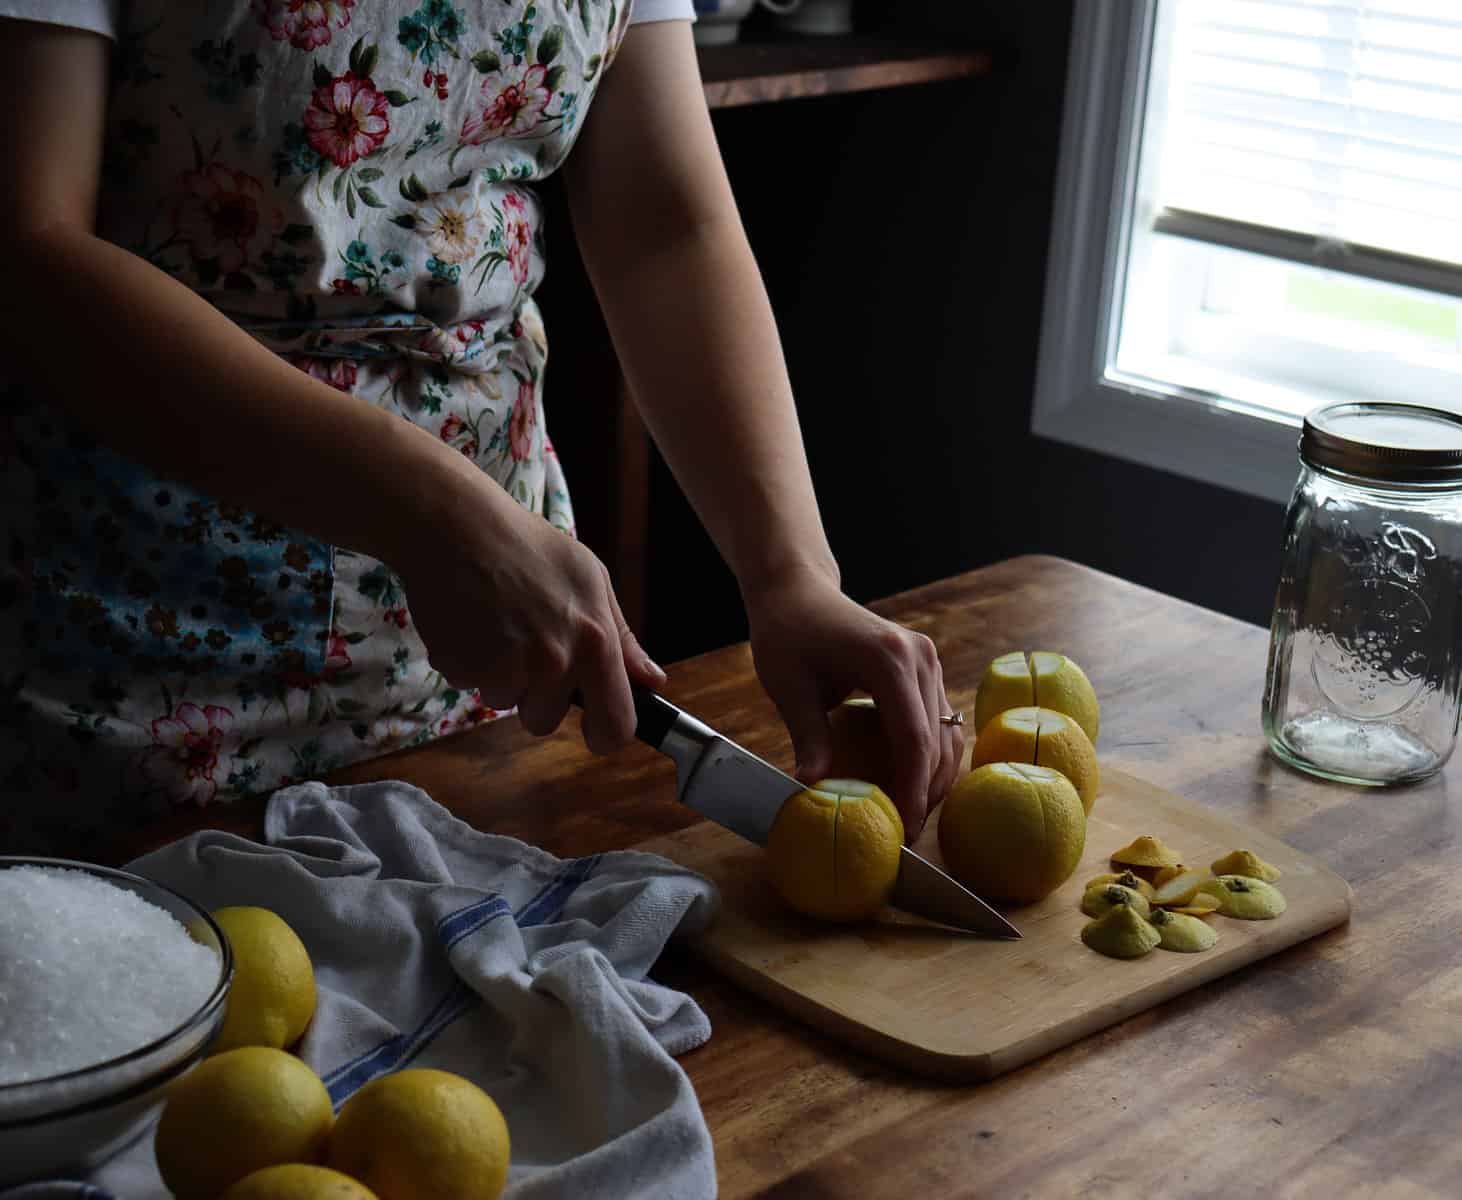
2. Cut the tops off of both the top and bottom. Don't chop off too much! I try to cut so that either no fruit shows or only a small amount.

3. Place them standing up on one of the chopped ends. Carefully cut downwards but not all the way through. Make an X on each lemon. You are ready to begin!
Uses for fermented lemons
While the peel seems to be the most popular part of a fermented lemon, the fruit itself can be used as well! You can rinse them off a little to remove some of the salt and then incorporate them into many different recipes.
- Soups and stews - Infuse this flavor into your soups and stews to add a little something new to the taste!
- Dips - Use the peel in a dip recipe for your next gathering.
- Seafood - Lemon and seafood are like best friends. Use these fermented lemons in place of fresh lemons in the wintertime!
- Couscous salad - Add in your fermented lemons to make this dish extra special.
- Roasted vegetables - Use these on and with your oven-roasted veggies or toss them in the pan on the stove top to add flavor!
- Vinaigrettes - Incorporate your Moroccan preserved lemons into your next homemade salad dressing.
- Roasted chicken - I add lemon into my oven-roasted chicken for added flavor. These preserved lemons make it possible to use a lemon any time of year in my recipes!
Fermented lemons have that distinct citrus taste you expect while also being tart and salty. They are not sour like fresh lemons.
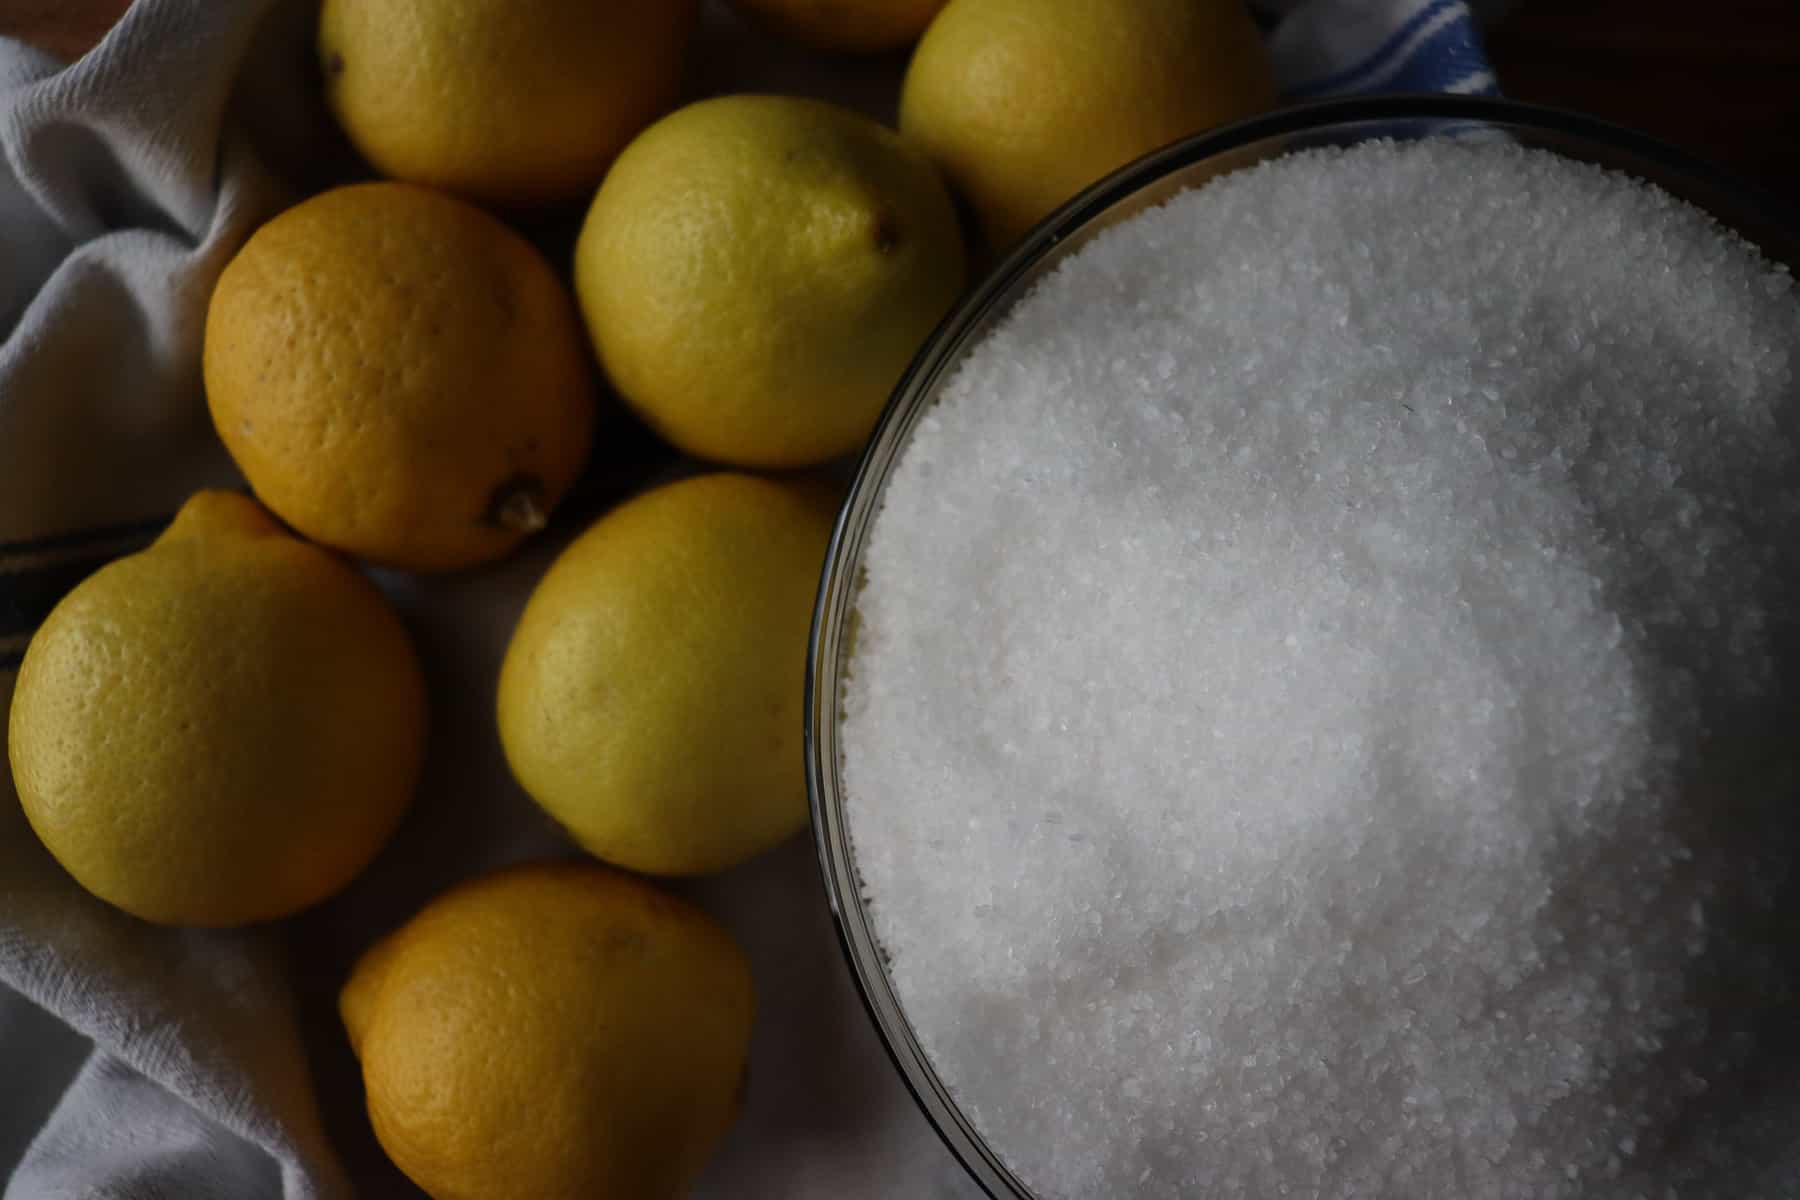
Ingredients
- 10 lemons.
- Kosher salt.

Recipe
- Wash your lemons thoroughly. Cut the tops off of each one (top and bottom.) Don't chop off too much! I try to cut so that either no fruit shows or only a small amount.

2. Place them standing up on one of the chopped ends. Carefully cut downwards but not all the way through. Make an X on each lemon.
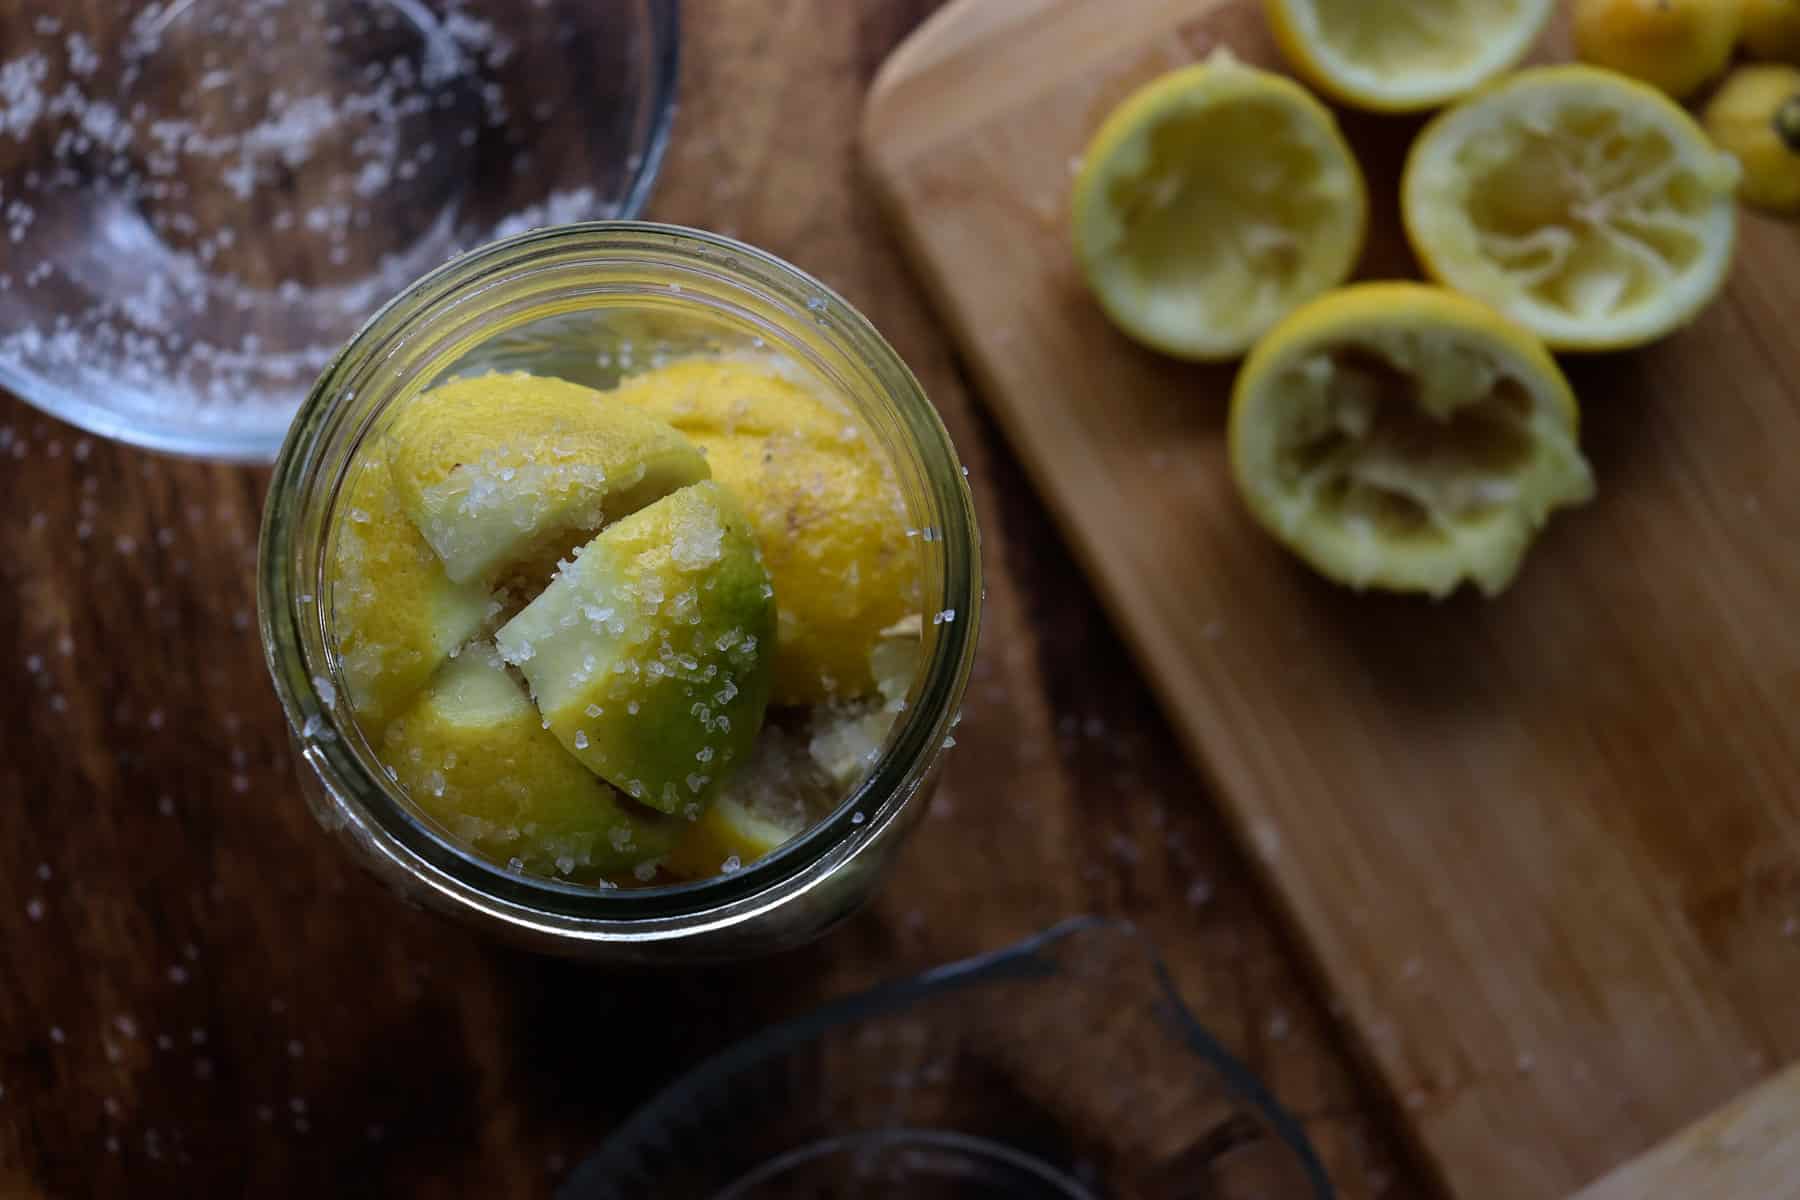
3. Pack each lemon with salt (roughly 1 teaspoon per lemon!) Add 1 table spoon of salt to the bottom on the jar.
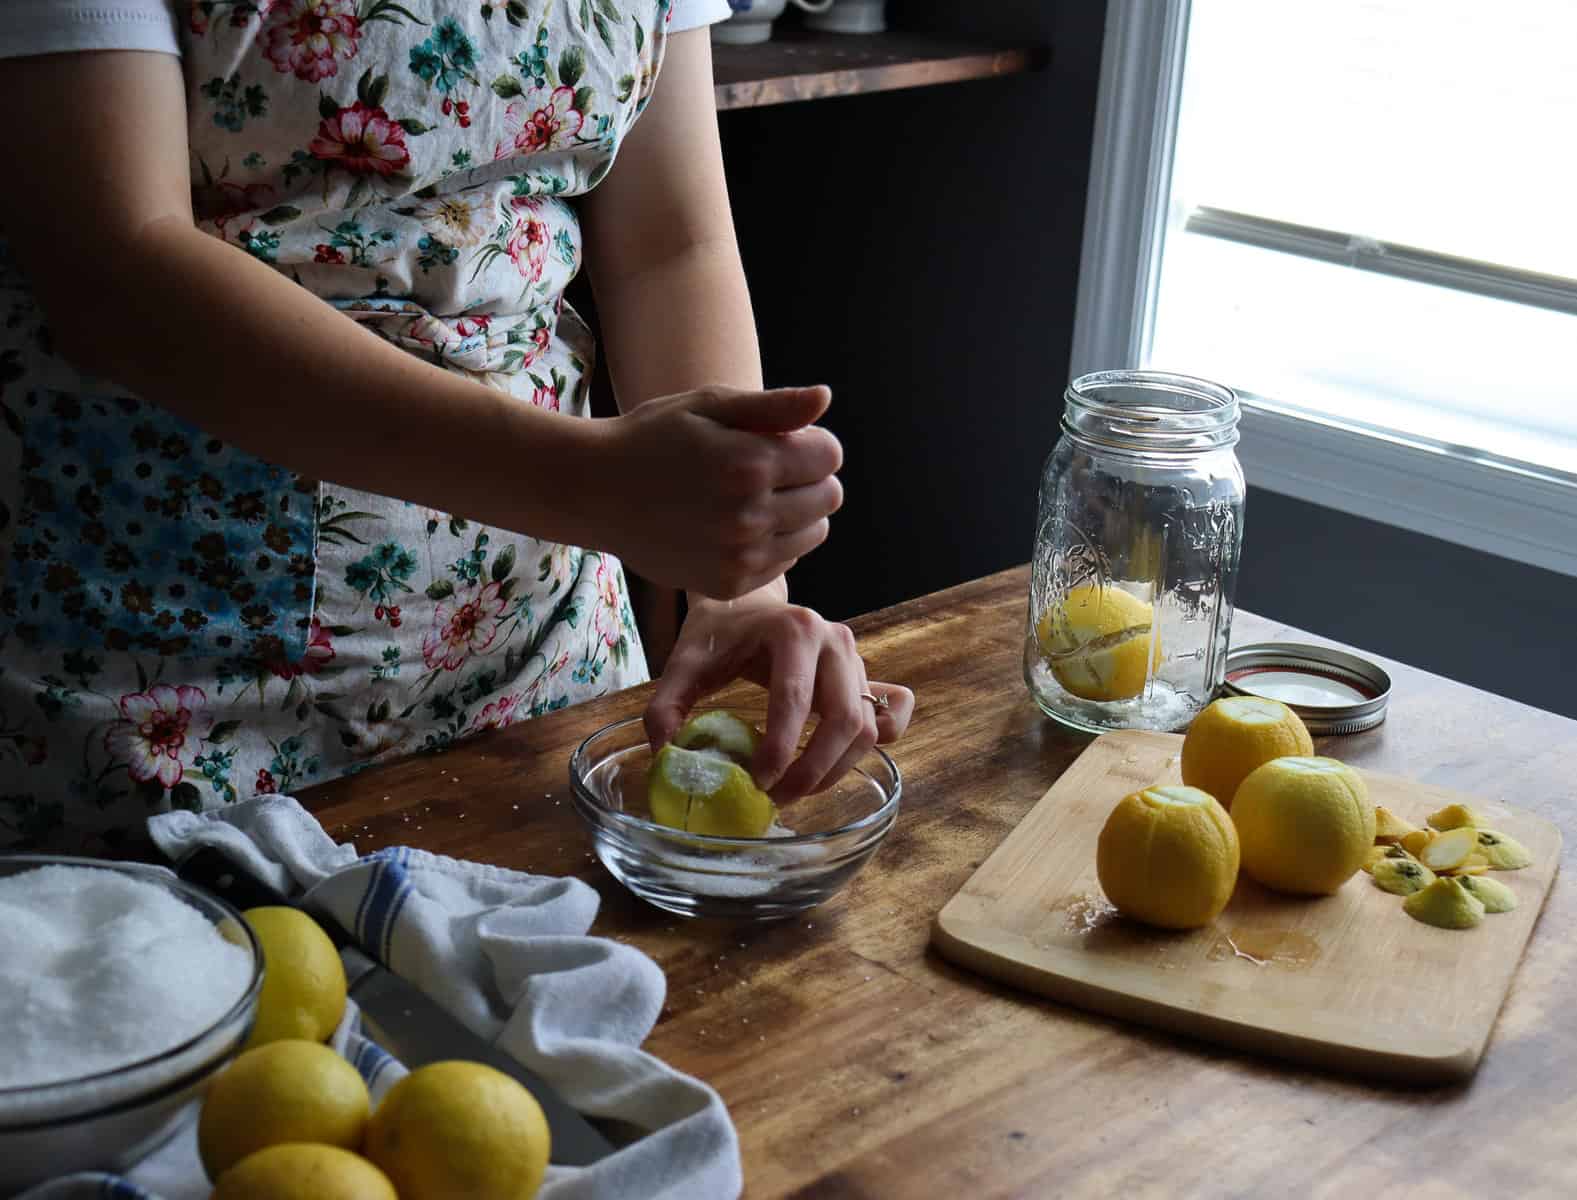
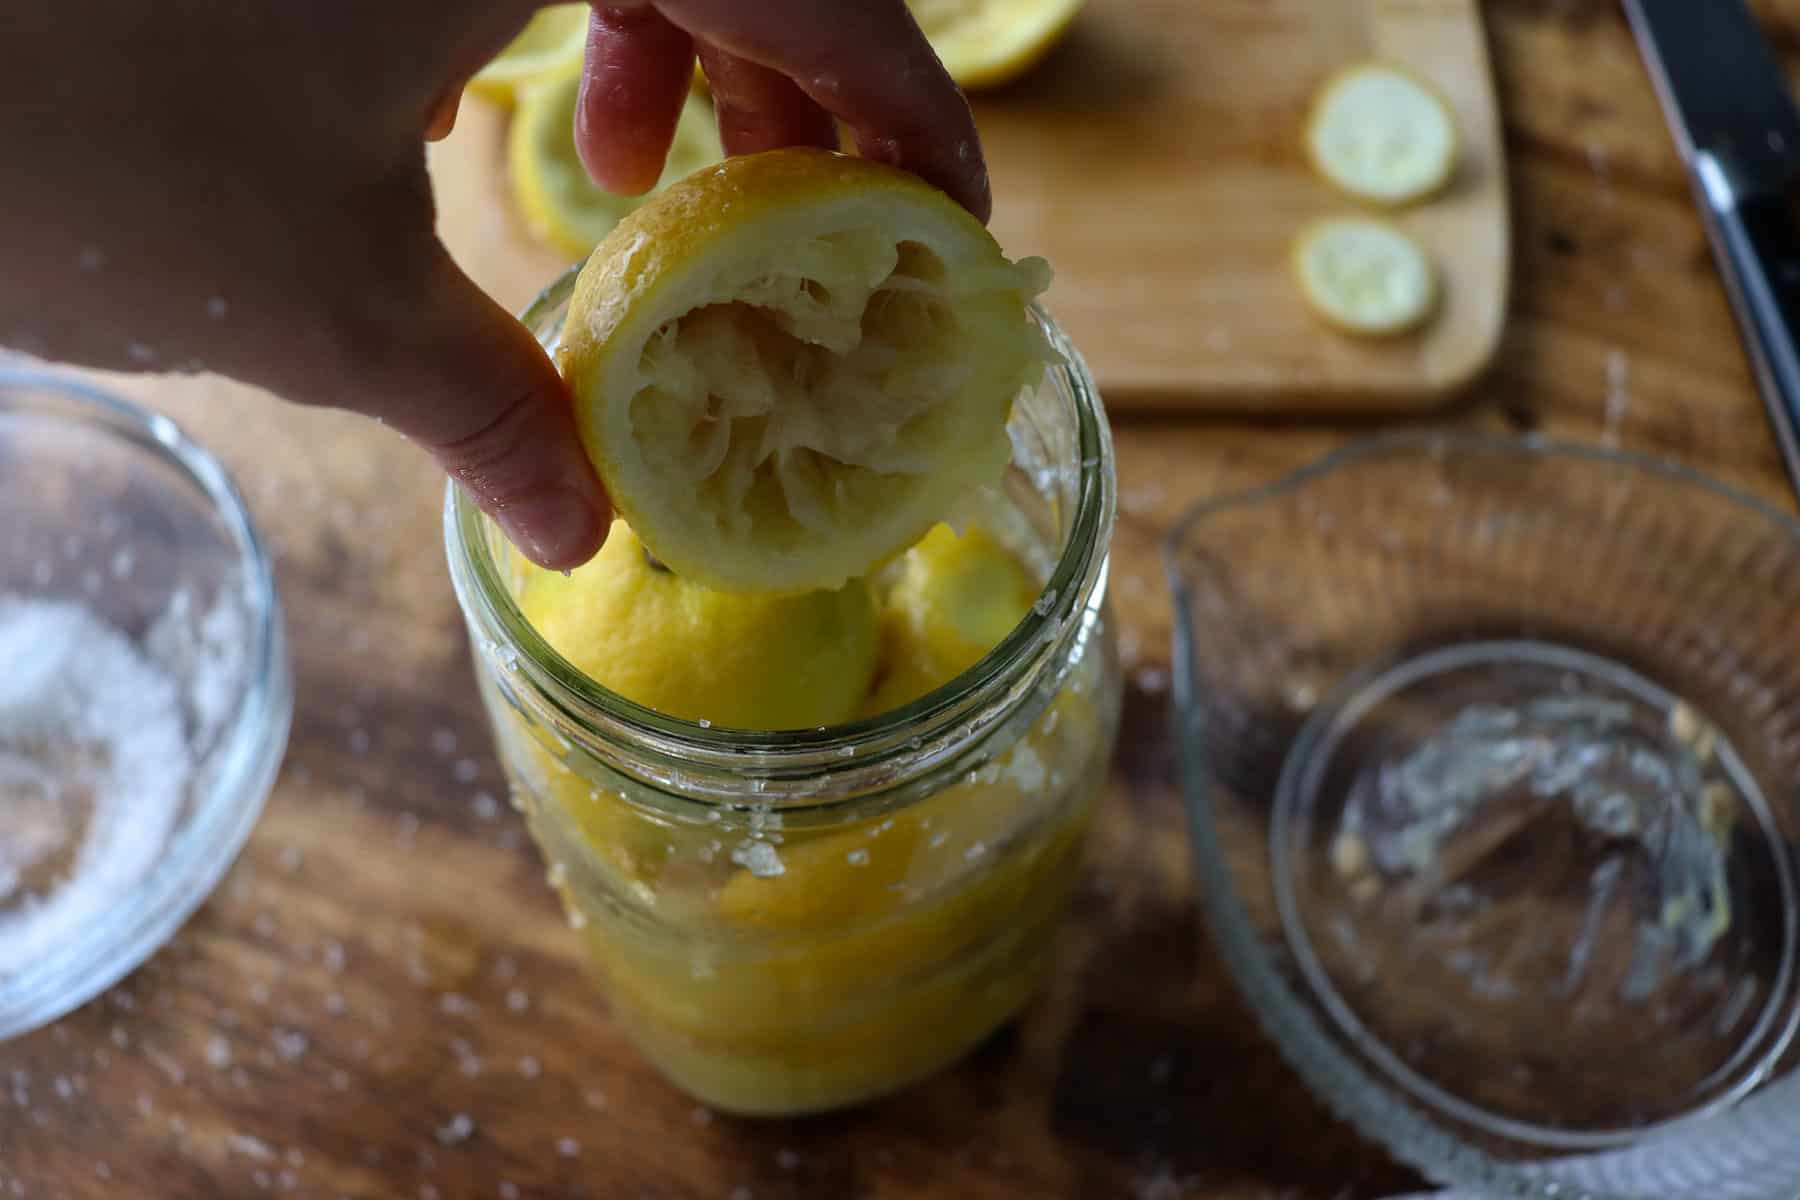
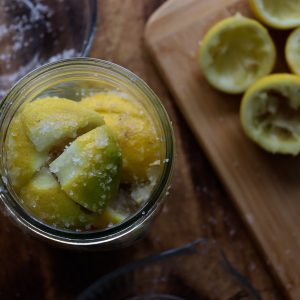
4. Fill your sterilized jar with as many prepared lemons as possible. Squish them to get as much juice out as possible.

5. Roll the other lemons with your palm to get the most of each. Juice them and add the juice to the jar. Cover the lemons with their juices. (I Keep pressing to release more juice as I go!)

6. Place your fermenting weight on top or use one half (or both halves of a lemon you juiced) in place of a weight.
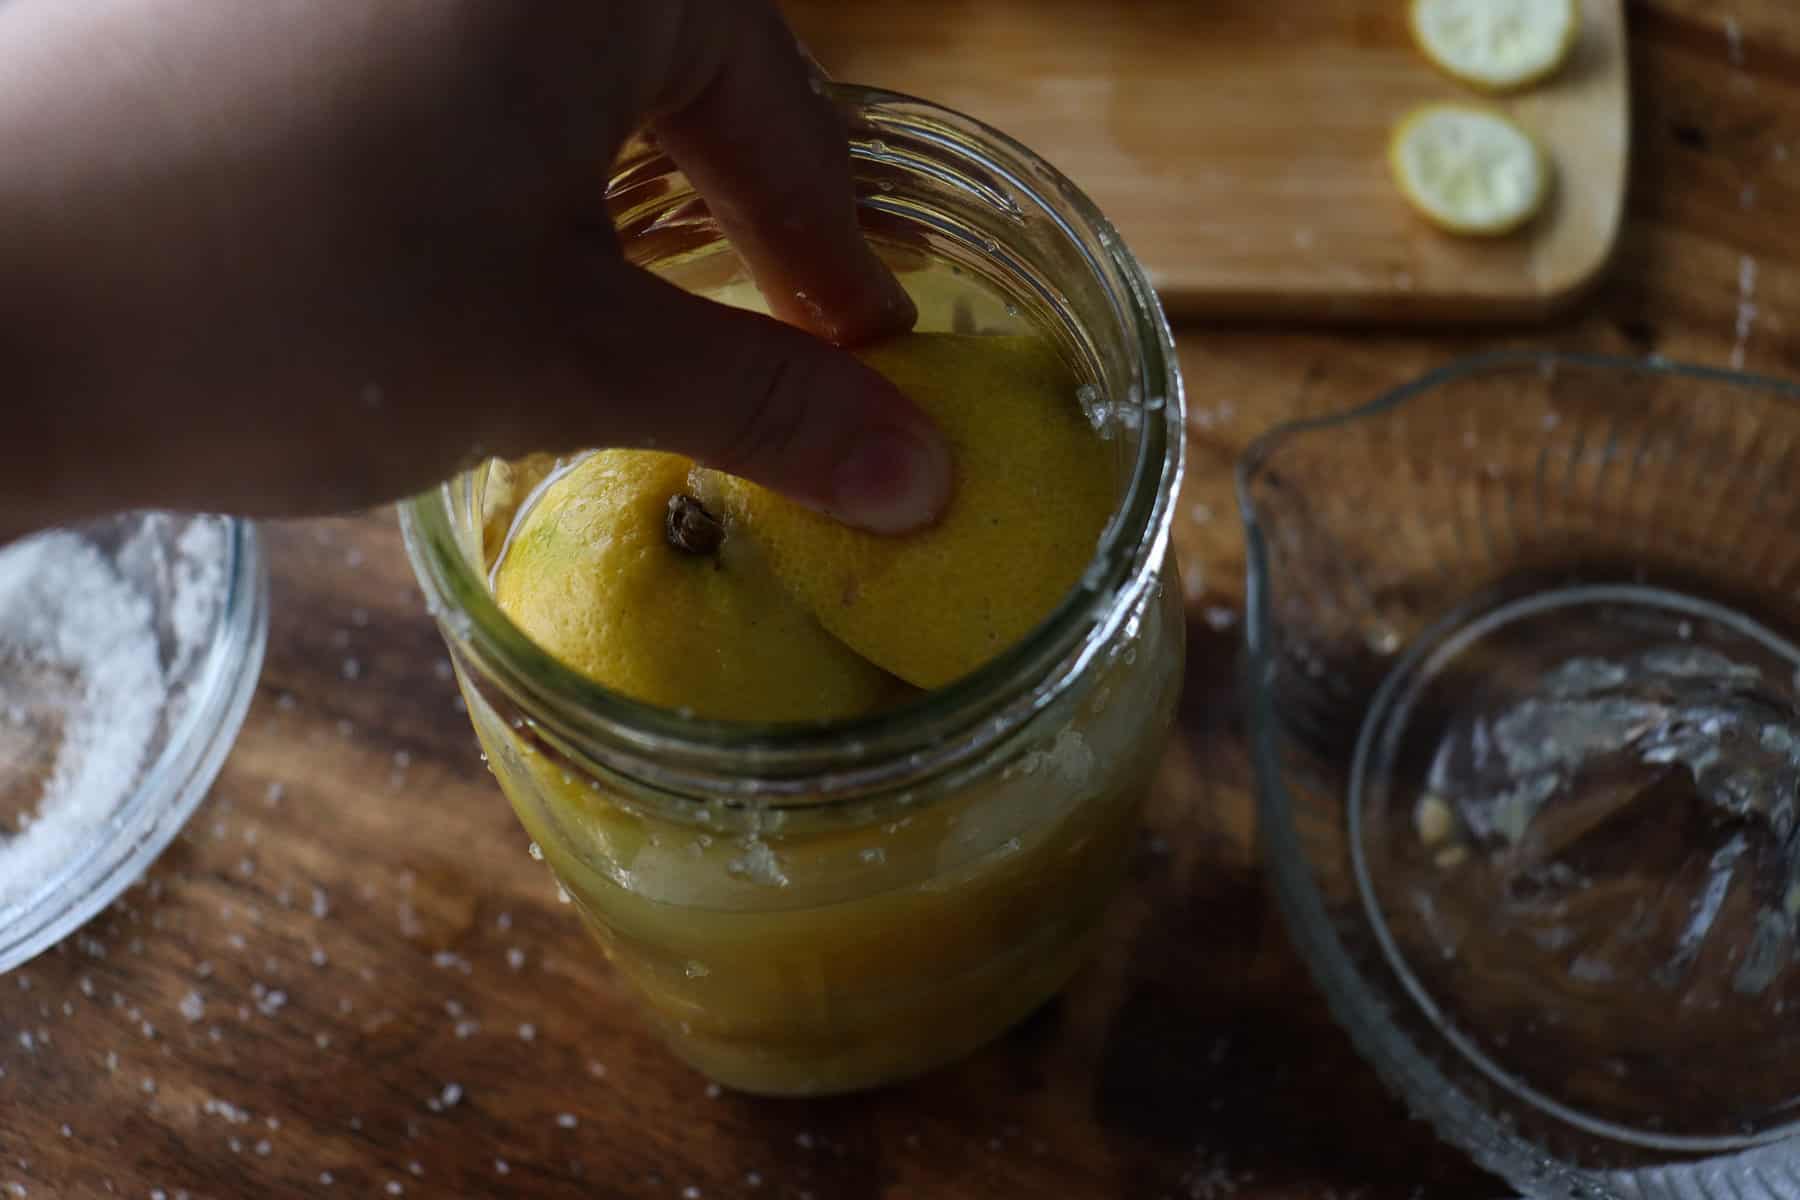
7. Cover your jar with a lid. Allow the lemons to ferment on the counter at room temperature for 4 weeks. Flip the jar and burp it every now and again.

Notes
- Fermented lemons will last 6-12 months either in the fridge or at room temperature so long as they are fully submerged in the brine.
- Burp the jar occasionally and flip it now and then to mix it up as it ferments.
- When you go to use the lemons, you can rinse some of the salt off.
- Keep your jar in a bowl or on a saucer to catch any dripping liquid.
- When going to juice lemons, roll them gently with your palm on the tabletop to get the most from each lemon.
- Meyer lemons are best for this recipe but you can use any you'd like! If your lemons have a thicker peel, fermentation time may be a bit longer!
I hope you enjoy adding these fermented lemons into your favorite recipes! Set a reminder or mark your calendar for when the fermentation time is up so you know they are ready for use.
What recipes will you incorporate your fermented lemons into? Leave a comment bellow to share your ideas with others!
Shop this post
Related Posts
Fermented Lemons (Moroccan Preserved Lemons)
Ingredients
- 10 lemons
- Kosher salt
Instructions
- Wash your lemons thoroughly. Cut the tops off of each one (top and bottom.) Don't chop off too much! I try to cut so that either no fruit shows or only a small amount.
- Place them standing up on one of the chopped ends. Carefully cut downwards but not all the way through. Make an X on each lemon.
- Pack each lemon with salt (roughly 1 teaspoon per lemon!) Add 1 table spoon of salt to the bottom on the jar.
- Fill your sterilized jar with as many prepared lemons as possible. Squish them to get as much juice out as possible.
- Roll the other lemons with your palm to get the most of each. Juice them and add the juice to the jar. Cover the lemons with their juices. (I Keep pressing to release more juice as I go!)
- Place your fermenting weight on top or use one half (or both halves of a lemon you juiced) in place of a weight.
- Cover your jar with a lid. Allow the lemons to ferment on the counter at room temperature for 4 weeks. Flip the jar and burp it every now and again.
Notes
- Fermented lemons will last 6-12 months either in the fridge or at room temperature so long as they are fully submerged in the brine.
- Burp the jar occasionally and flip it now and then to mix it up as it ferments.
- When you go to use the lemons, you can rinse some of the salt off.
- Keep your jar in a bowl or on a saucer to catch any dripping liquid.
- When going to juice lemons, roll them gently with your palm on the tabletop to get the most from each lemon.
- Meyer lemons are best for this recipe but you can use any you'd like! If your lemons have a thicker peel, fermentation time may be a bit longer!


Leave a Reply