
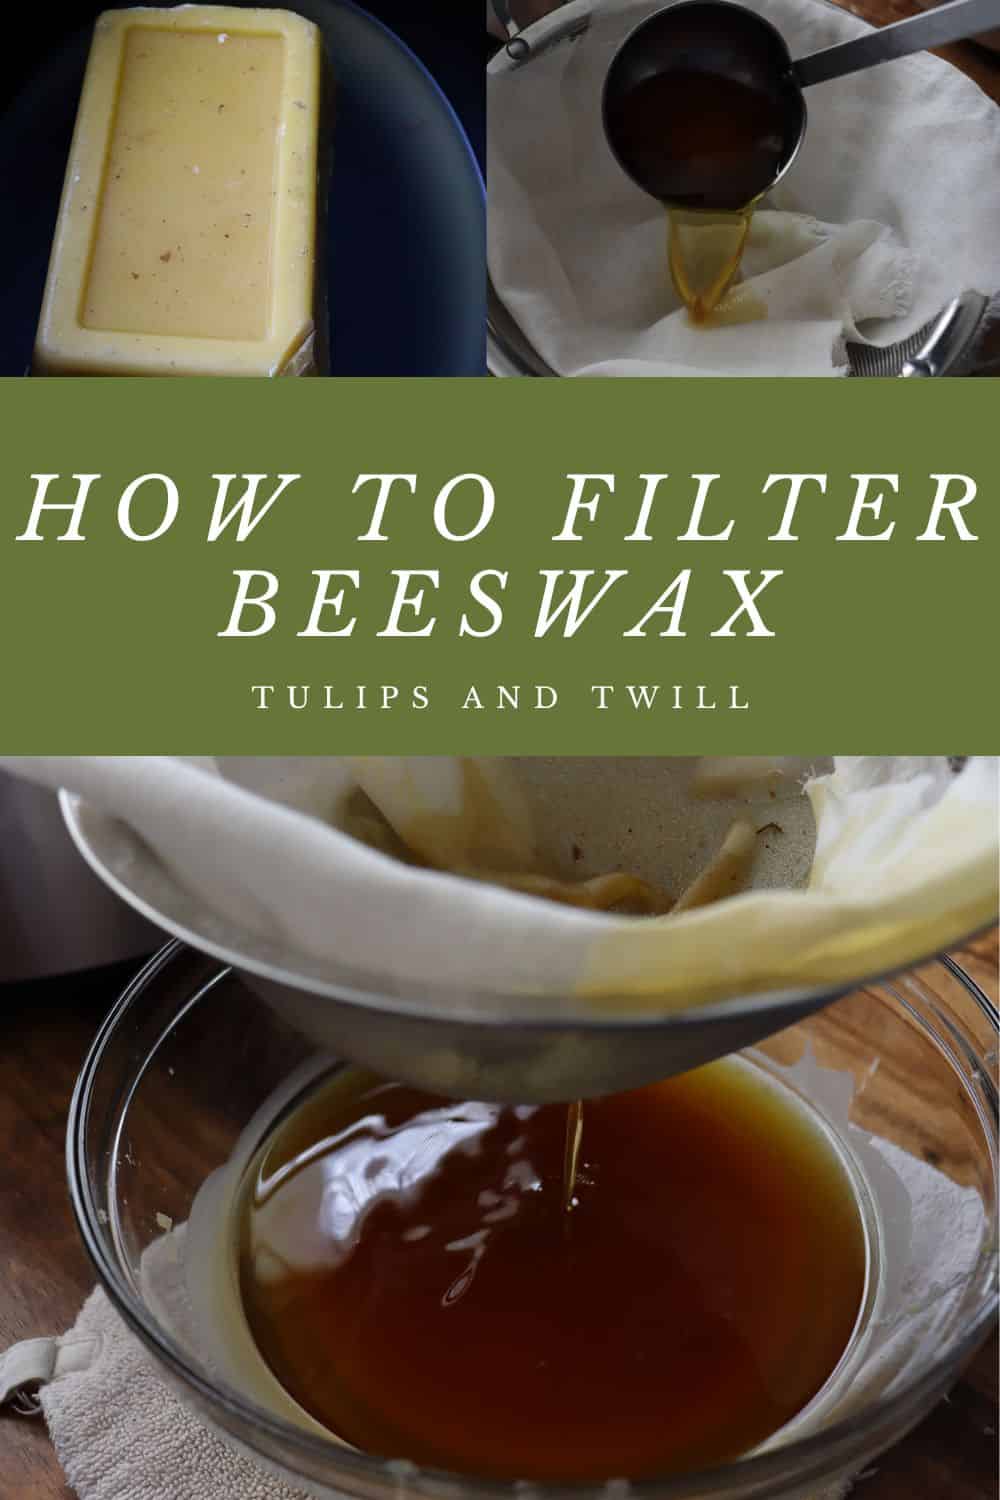
Wondering how to filter beeswax at home? If your local beekeeper doesn't adequately filter their beeswax before you buy it, you may need to do it 1-2 more times on your own. Don't worry! This isn't a difficult process. I enjoy doing this to make smaller blocks of wax and even my own pellets so it is easier to work with on future projects!
Sometimes the beeswax I buy from my local beekeeper is very clean and this process isn't necessary. But when I do need to get some debris filtered out, it's no big deal with this method. I worried about cleanup as well but I have that down to a science I will share with you here!

This Post May Contain Affiliate Links. Please Read Our Disclosure Policy.
Jump to:
Why is this necessary?
When you buy beeswax locally, sometimes it needs to be filtered one or two more times to remove anything that's in it. I do this so it is as clean as possible for use in projects such as calendula salve, beeswax ornaments, wax melts, dandelion salve, beeswax letters and numbers toys, candles, and so much more!
You can find local beekeepers by looking them up on Facebook or on local harvest! Ask them via message or a phone call if they sell beeswax as well as honey since some apiaries don't carry beeswax for purchase.
Clean up
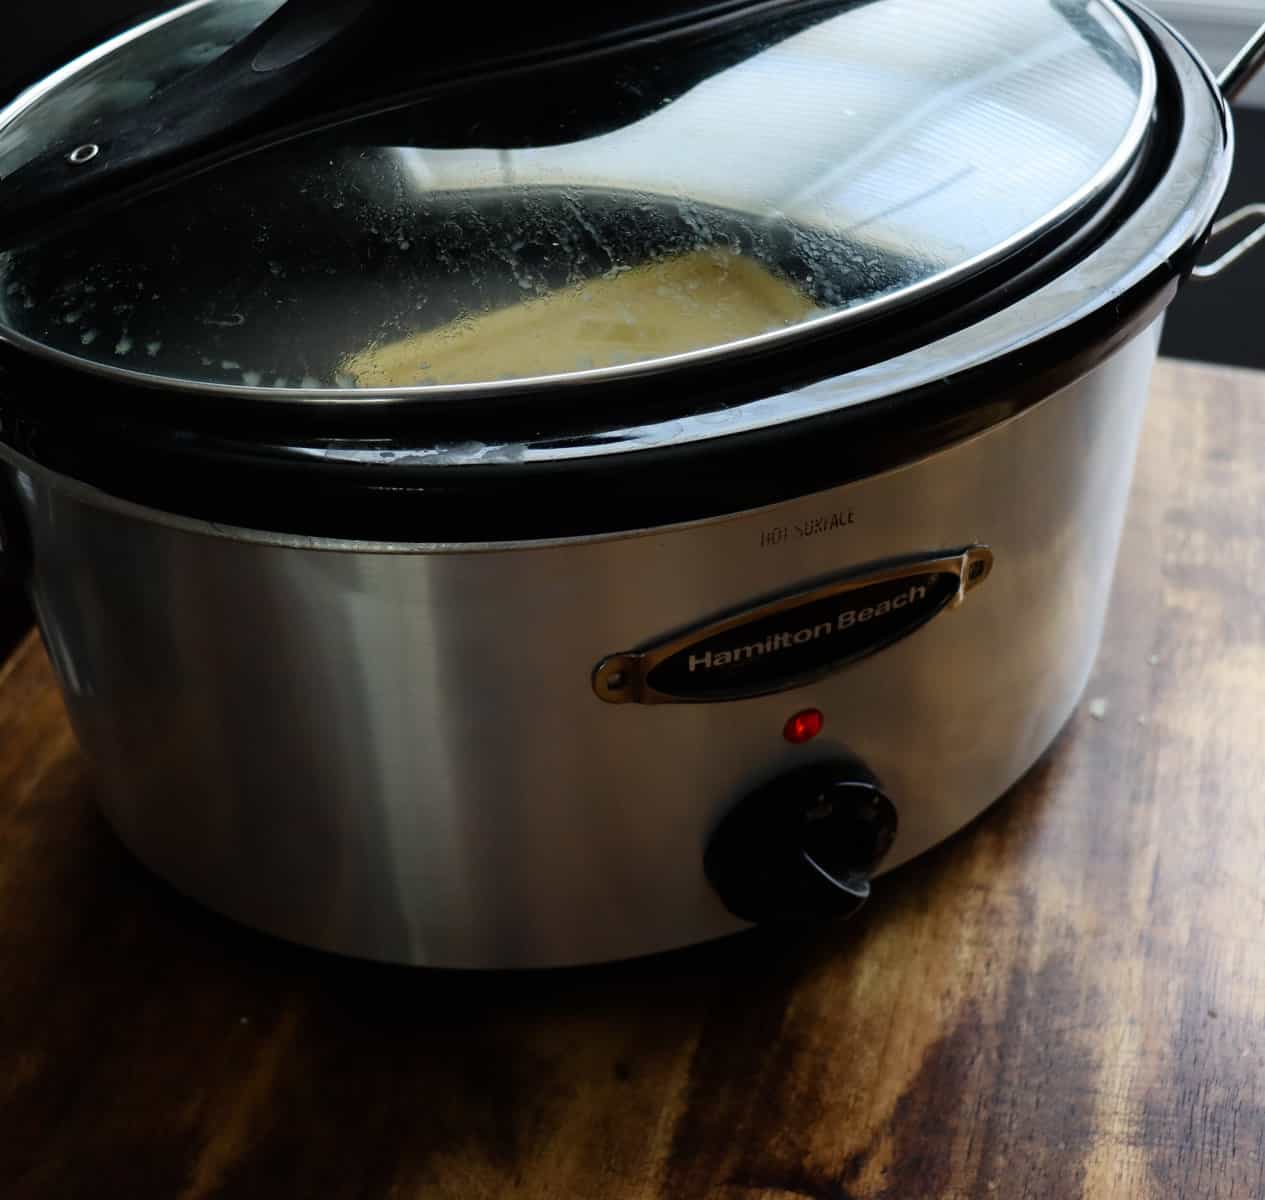
Beeswax can be a pain to clean up. I use parchment paper under my silicone molds/trivets to catch any spills. I also have a crockpot I bought secondhand on Facebook Marketplace that is strictly for beeswax, herbal, and other DIY projects so there is never any food in it!
Cleaning the tools, crockpot, and bowl can be annoying but I try to work quickly to remove what I can while it’s still warm. Here’s how I clean up if it hardens before I’m ready:
- The crockpot: I warm it again by turning it back on, allowing it to melt the wax a little, and I use a paper towel to soak up what’s left. Be careful, the crockpot and wax will be hot!
- The tools: Your bench scraper, strainer, and ladle probably have hard was on them. I clean mine by filling a bowl with hot water and letting them sit in it then I scrape it off with a butter knife and/or wipe it with a paper towel. Be careful working with hot water!
- The bowl: Use a microwave or the oven at 200°F to warm the bowl, melt the wax a bit, and wipe it clean with a paper towel. Be careful, the bowl and wax will be hot!

I like to filter my beeswax and pour it into trivets and molds. The small size of the pellets from the trivets and the small cubes from my silicone molds make it very easy to weigh out the beeswax for projects.
Pin it for later!
Supplies
- Crockpot
- Beeswax
- Ladle
- Mesh strainer
- Cheesecloth
- Scissors
- Potholder
- Large bowl
- Silicone trivet and/or molds
- Baking sheet
- Optional: parchment paper
Steps
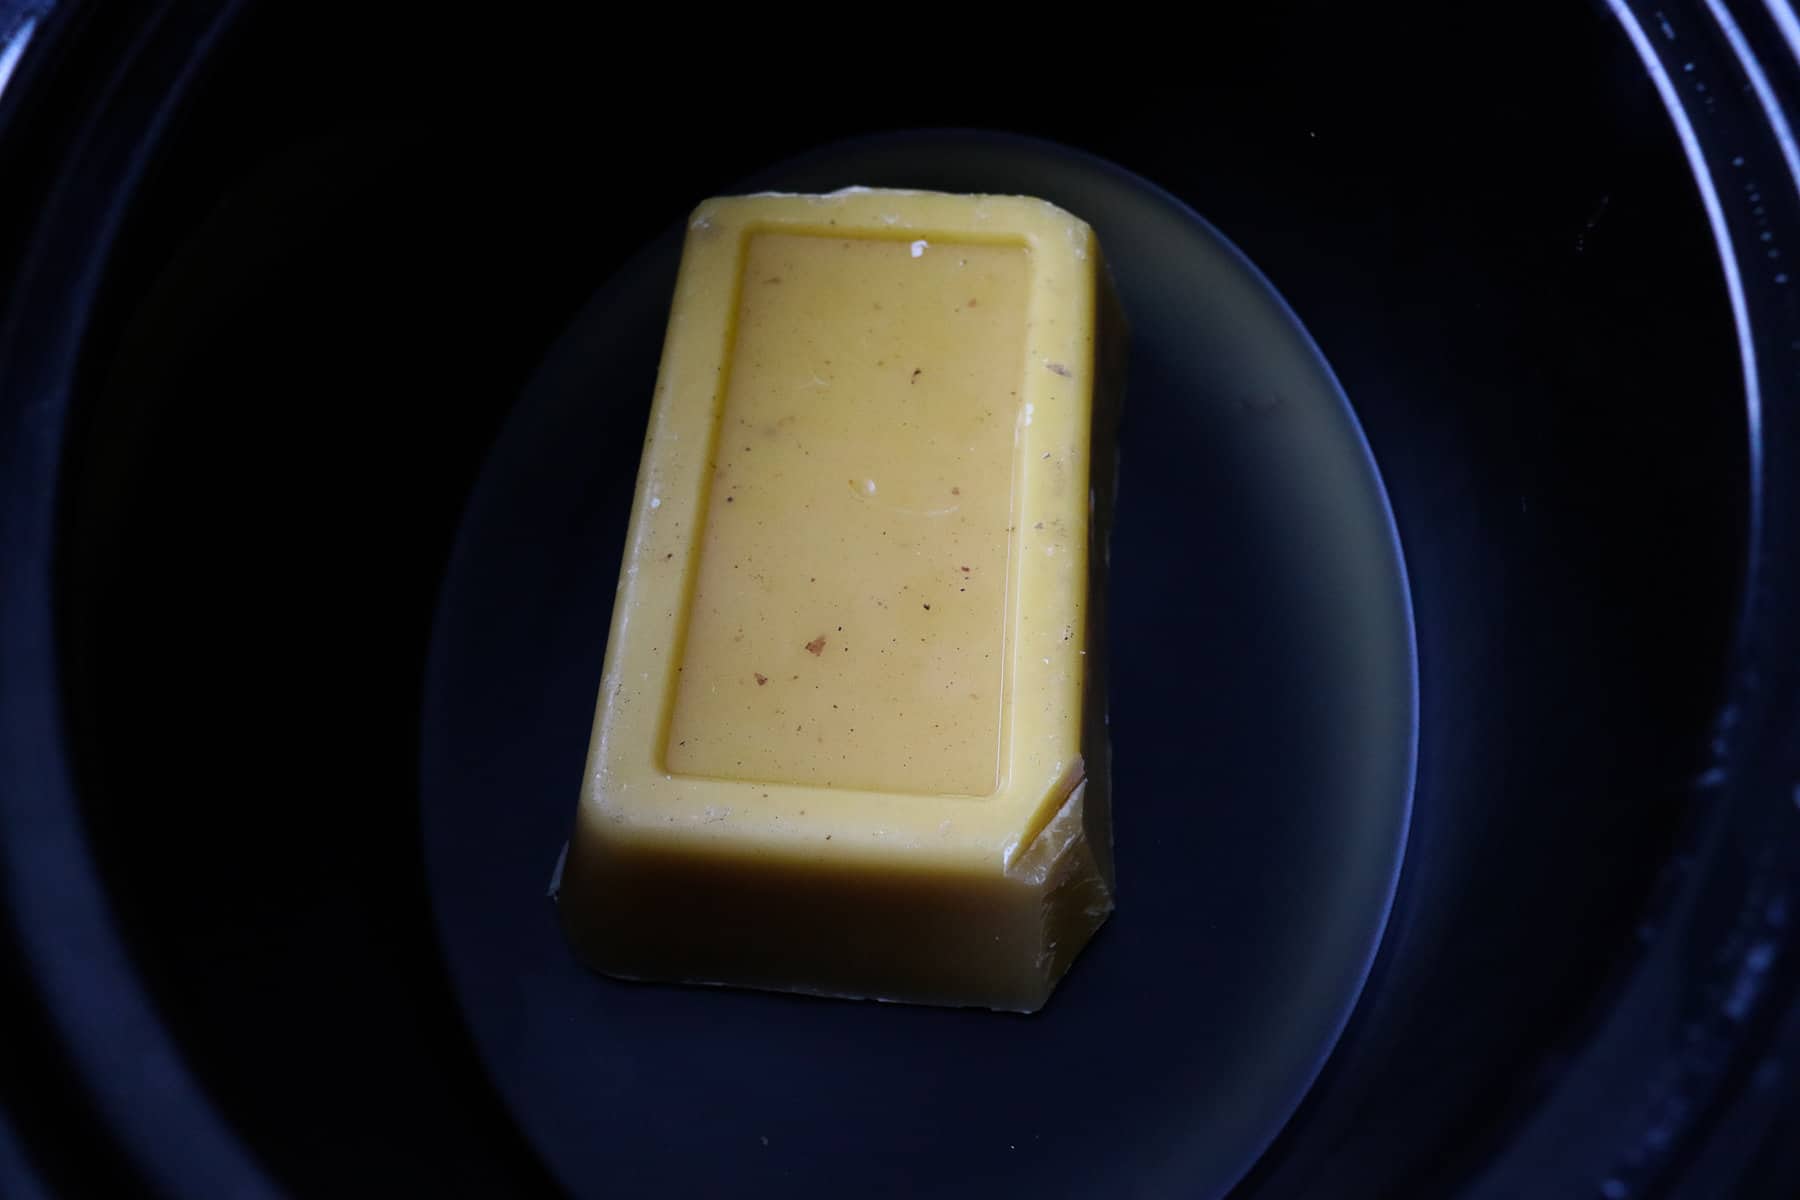
- Lay your beeswax block or bars in the bottom of a crockpot. Place the lid on and set it to high.
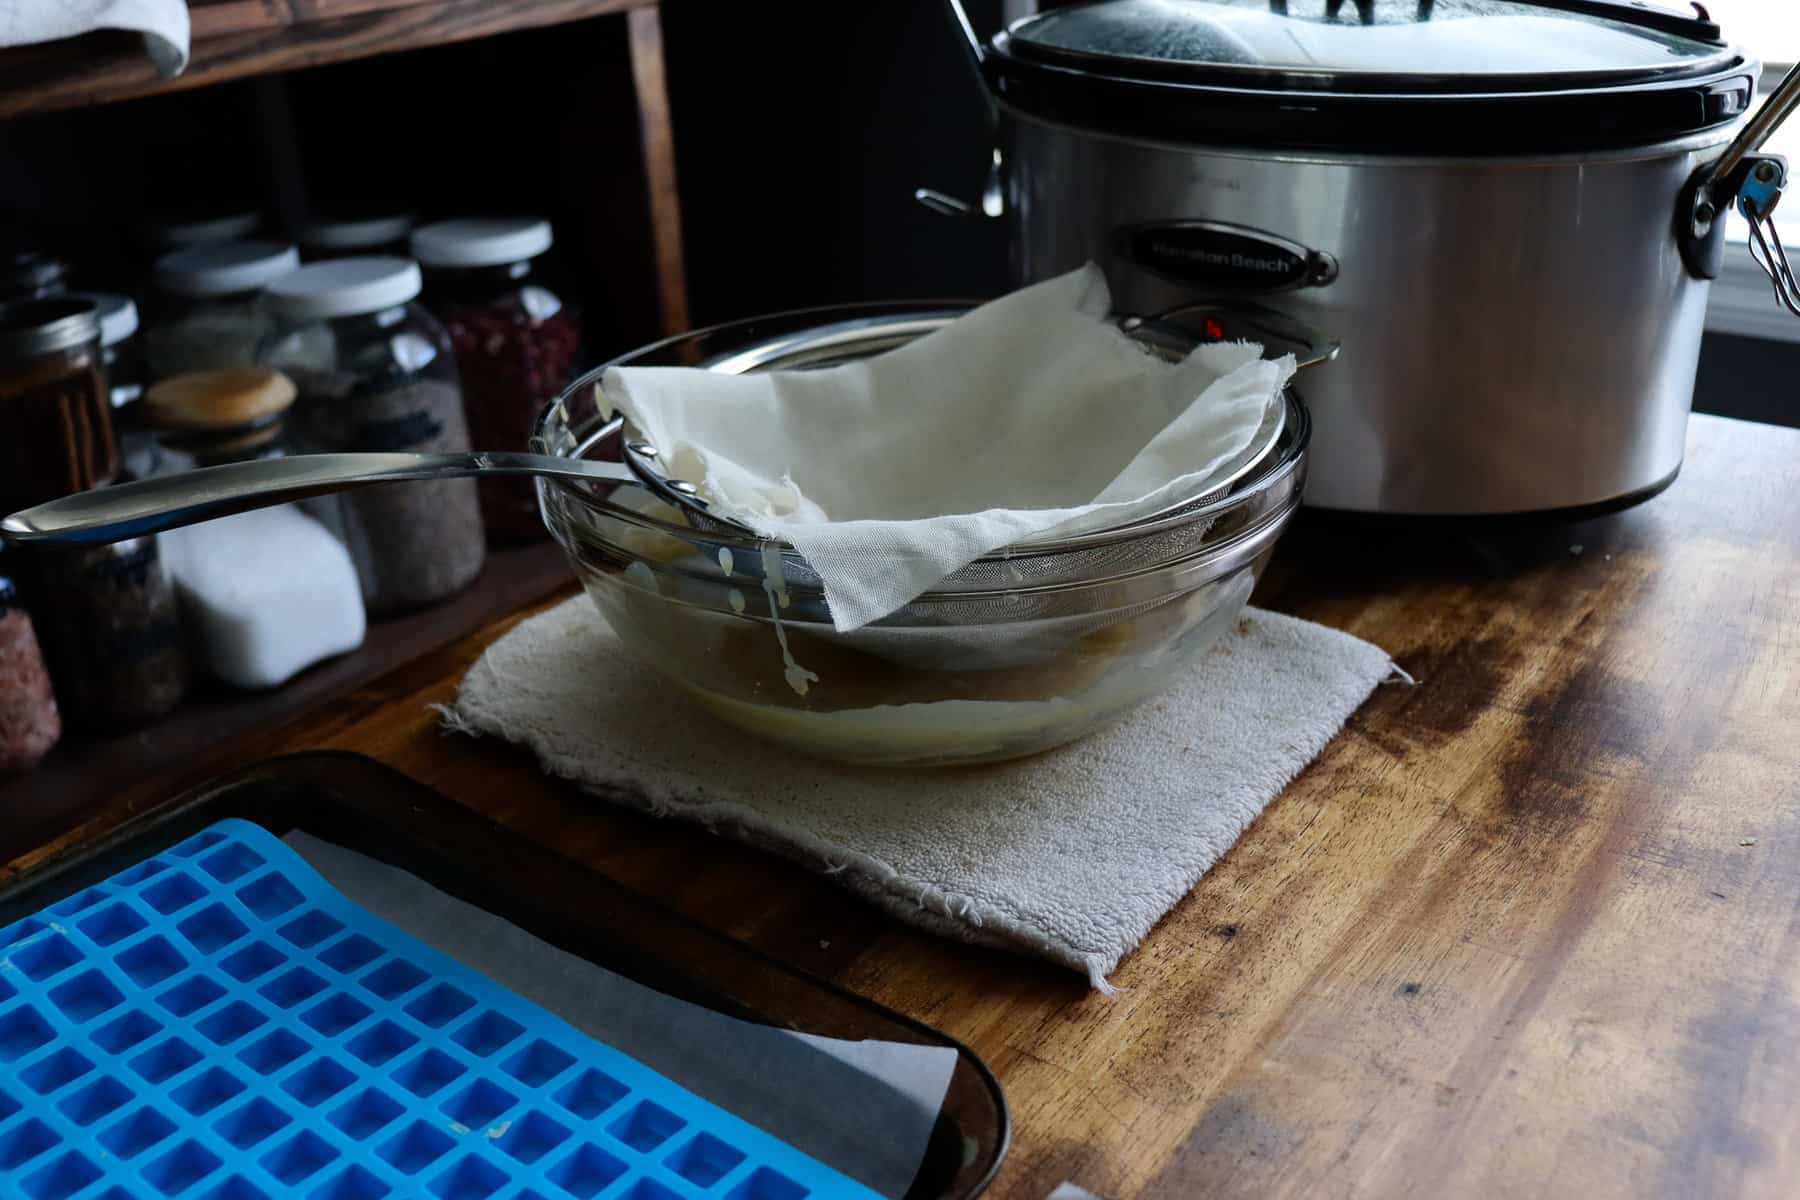
2. As it melts, prepare a mesh strainer over a glass bowl or a pot. Line the strainer with cheesecloth. Prepare a baking sheet with parchment paper and your silicone molds of choice.
3. Check on your wax periodically as the time will vary based on the size and amount of wax in the crockpot.
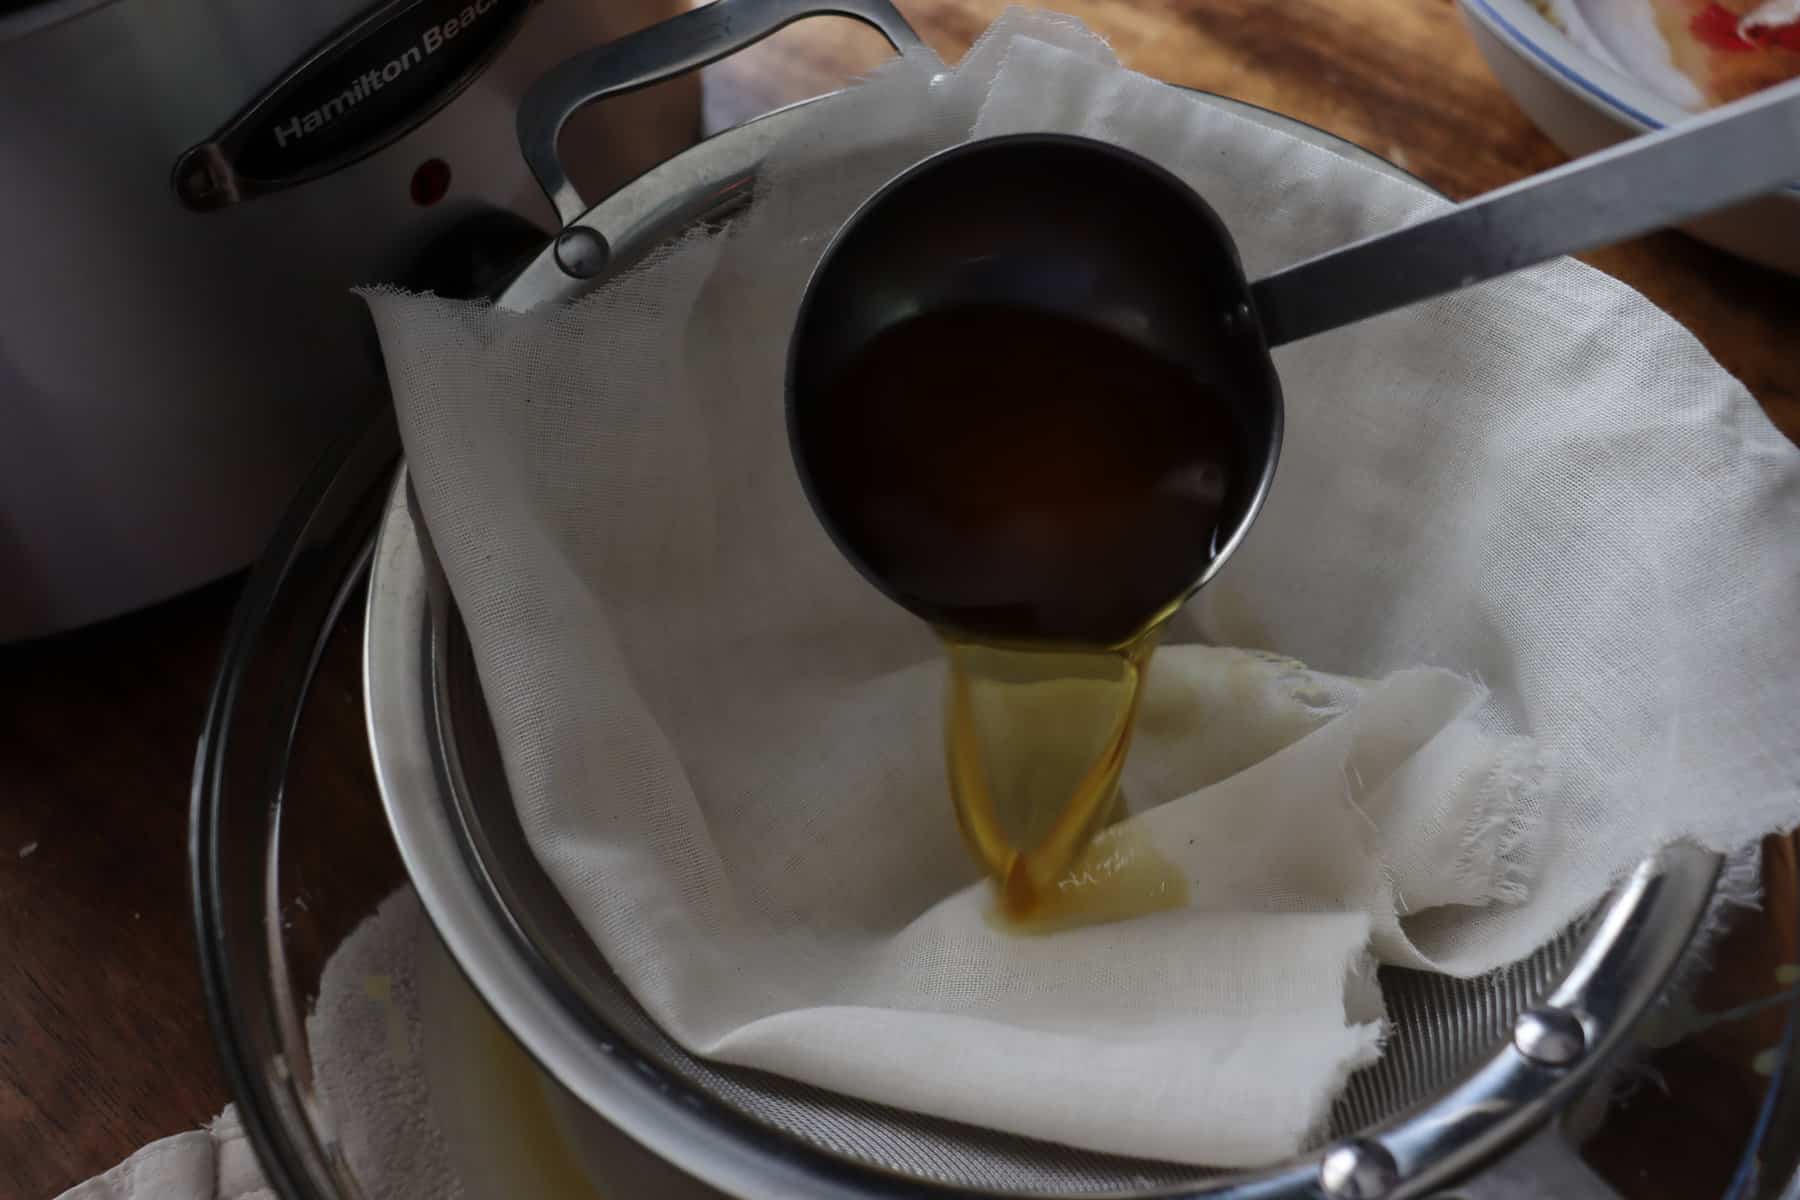
4. Use your ladle to carefully pour your beeswax through the cheesecloth-lined mesh strainer.
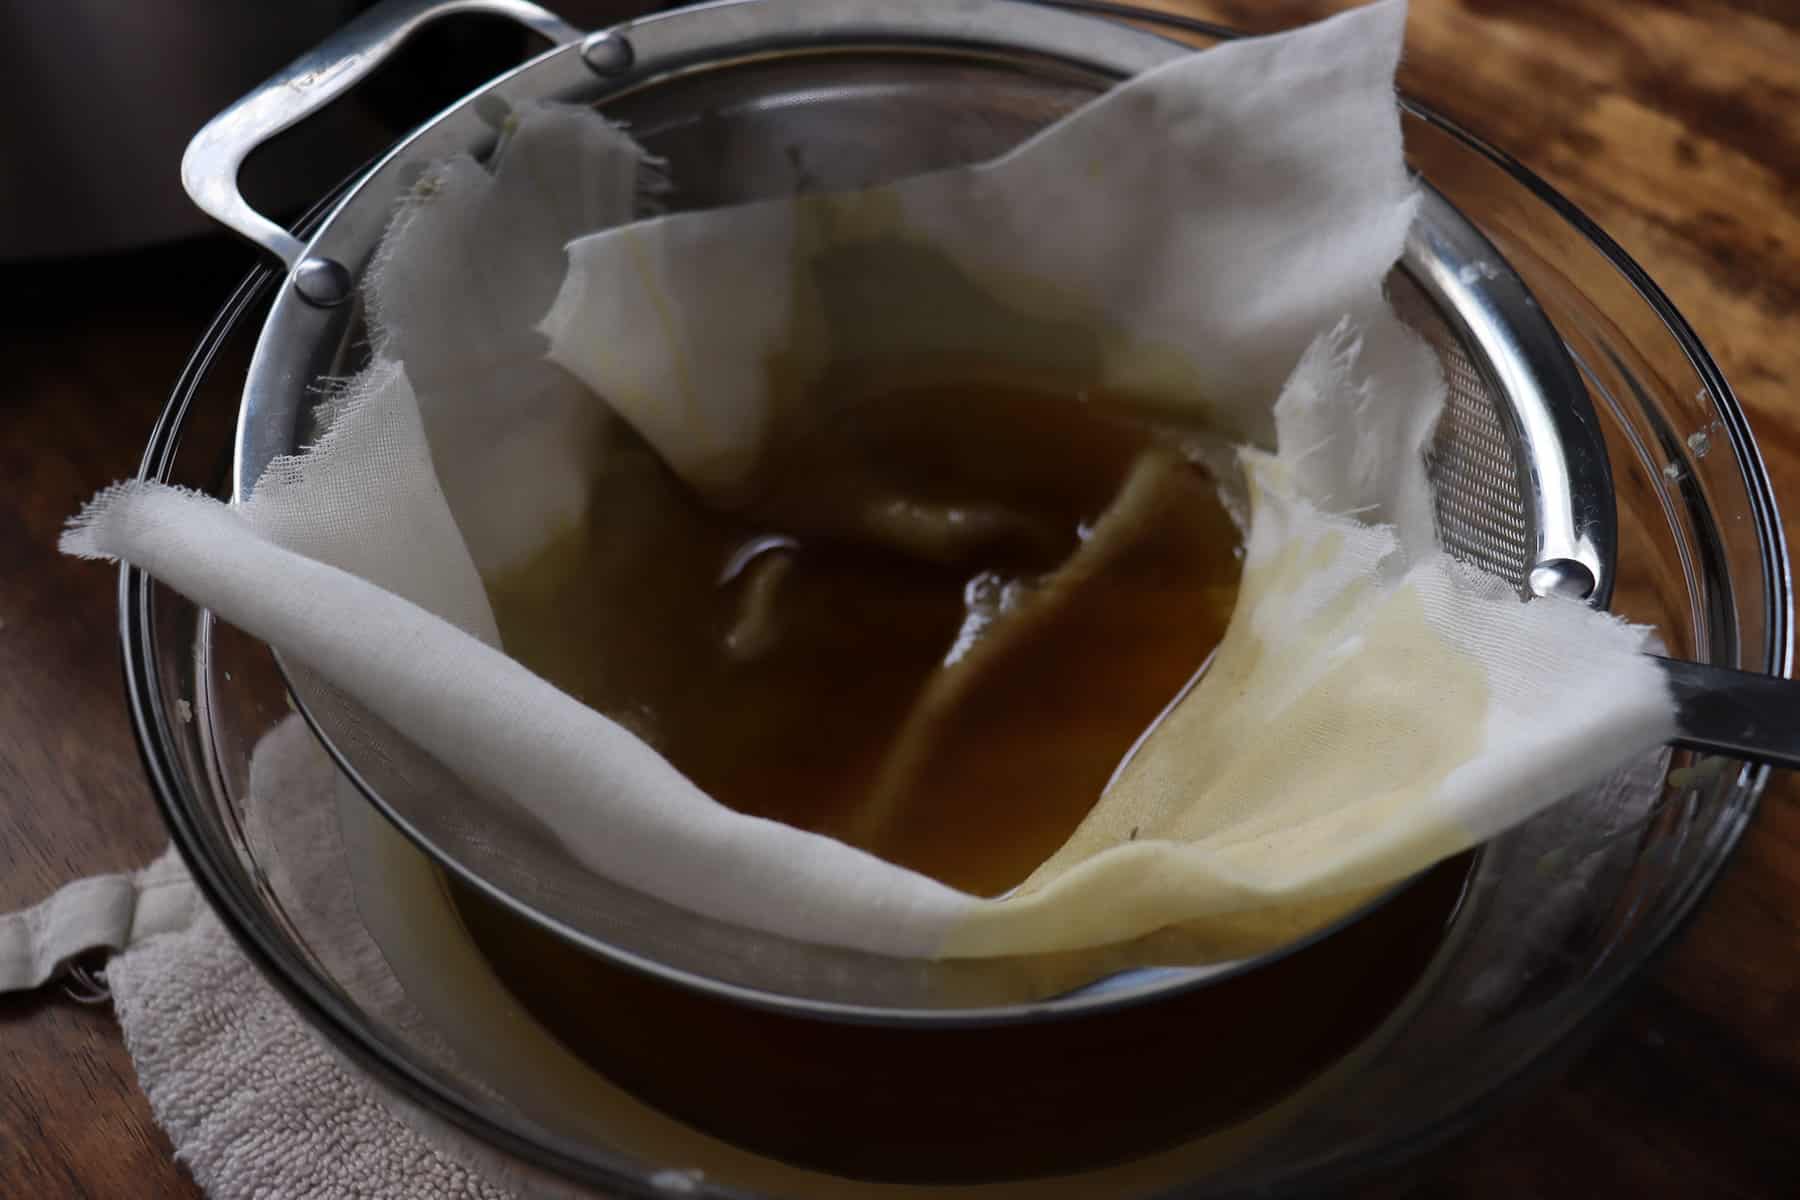
5. Repeat if necessary. (Check the wax for any debris. If you see little brown/black specks, do it again!)
6. Carefully pour your beeswax into your molds of choice. Use a bench scraper to spread the wax across the molds and fill the spaces.

7. Allow it to harden overnight, store in air-tight containers or glass jars, and then it is ready for use! Any excess wax that gets on your parchment paper can be stored in air-tight containers for use as well or you can melt it down again to pour it back into the mold(s.)
Notes
- Be very careful when working with hot beeswax to avoid burns.
- Any excess wax that gets on your parchment paper can be stored in air-tight containers for use as well or you can melt it down again to pour it back into the mold(s.)
- Scrape the tops of the molds/trivets with a bench scraper to spread it and to even off the tops.
- Clean up notes -
- The crockpot: I warm it again by turning it back on, allowing it to melt the wax a little, and I use a paper towel to soak up what’s left. Be careful, the crockpot and wax will be hot!
- The tools: Your bench scraper, strainer, and ladle probably have hard was on them. I clean mine by filling a bowl with hot water and letting them sit in it then I scrape it off with a butter knife and/or wipe it with a paper towel. Be careful working with hot water!
- The bowl: Use a microwave or the oven at 200°F to warm the bowl, melt the wax a bit, and wipe it clean with a paper towel. Be careful, the bowl and wax will be hot!
Shop this post
You may also like...
- Handmade Beeswax Ornaments
- Calendula Salve
- Beeswax Letters
- Dandelion Salve
- Beeswax Numbers
- DIY Wax Melts
What is your next beeswax project?
Now that you have learned how to filter beeswax and have the pellets and/or cubes setting, you're ready to plan your project! Leave a comment below and inspire others to get creative!

How to Filter Beeswax (the Easy Way!)
Equipment
- Crockpot.
- Ladle
- Mesh strainer
- Cheesecloth
- Scissors
- Potholder
- Large bowl
- Silicone trivet and/or molds
- Baking sheet.
- Optional: parchment paper
Ingredients
- Beeswax
Instructions
- Lay your beeswax block or bars in the bottom of a crockpot. Place the lid on and set it to high.
- As it melts, prepare a mesh strainer over a glass bowl or a pot. Line the strainer with cheesecloth. Prepare a baking sheet with parchment paper and your silicone molds of choice.
- Check on your wax periodically as the time will vary based on the size and amount of wax in the crockpot.
- Use your ladle to carefully pour your beeswax through the cheesecloth-lined mesh strainer.
- Repeat if necessary. (Check the wax for any debris. If you see little brown/black specks, do it again!)
- Carefully pour your beeswax into your molds of choice. Use a bench scraper to spread the wax across the molds and fill the spaces.
- Allow it to harden overnight, store in air-tight containers or glass jars, and then it is ready for use! Any excess wax that gets on your parchment paper can be stored in air-tight containers for use as well or you can melt it down again to pour it back into the mold(s.)
Notes
- Be very careful when working with hot beeswax to avoid burns.
- Any excess wax that gets on your parchment paper can be stored in air-tight containers for use as well or you can melt it down again to pour it back into the mold(s.)
- Scrape the tops of the molds/trivets with a bench scraper to spread it and to even off the tops.
- The crockpot: I warm it again by turning it back on, allowing it to melt the wax a little, and I use a paper towel to soak up what’s left. Be careful, the crockpot and wax will be hot!
- The tools: Your bench scraper, strainer, and ladle probably have hard was on them. I clean mine by filling a bowl with hot water and letting them sit in it then I scrape it off with a butter knife and/or wipe it with a paper towel. Be careful working with hot water!
- The bowl: Use a microwave or the oven at 200°F to warm the bowl, melt the wax a bit, and wipe it clean with a paper towel. Be careful, the bowl and wax will be hot!


Mariana
Anita,
When I use cheesecloth for filtering beeswax, I do throw it out after I'm done!
-Mariana
Anita Williams
What do I do with the used cheesecloth? Do I just throw it out?
Mariana
Sara,
I'm so glad this was helpful! It can be a messy process so keeping it simple is what I have found to be the best way to manage it!
-Mariana
Sara
Purchased some beeswax that needed to be filtered so I have we been researching how to go about doing that. I'm appreciate your step by step directions....I never thought of using a crock pot! Thank you for the idea.