
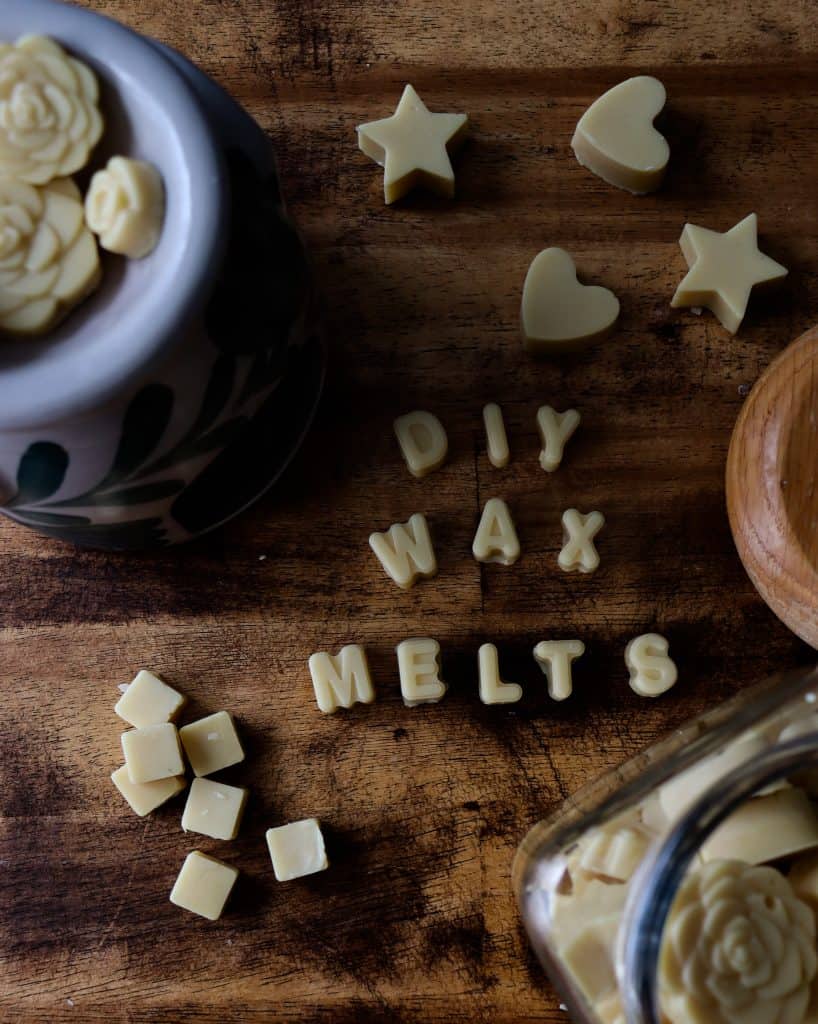
Making natural wax melts with beeswax is the easiest and most natural option for your home. It has a lovely and completely natural scent from the beeswax itself so there's no need for any artificial fragrances!
While at the thrift store, I picked up this adorable ceramic wax melt warmer. It uses the heat from a tealight to warm the wax cubes to make your home smell nice! Anything with a strong scent makes me a bit woozy, so I decided that it was a good idea to bring it home and make my own wax melts! I'm going to make some soy wax tealight candles as well as some beeswax candles for the warming component.
This Post May Contain Affiliate Links. Please Read Our Disclosure Policy.
Is beeswax good for candle melts?
Many storebought candle melts (aka wax melts or wax tarts) contain harmful toxic ingredients. Opting to make your own wax melts out of beeswax is the safer alternative.
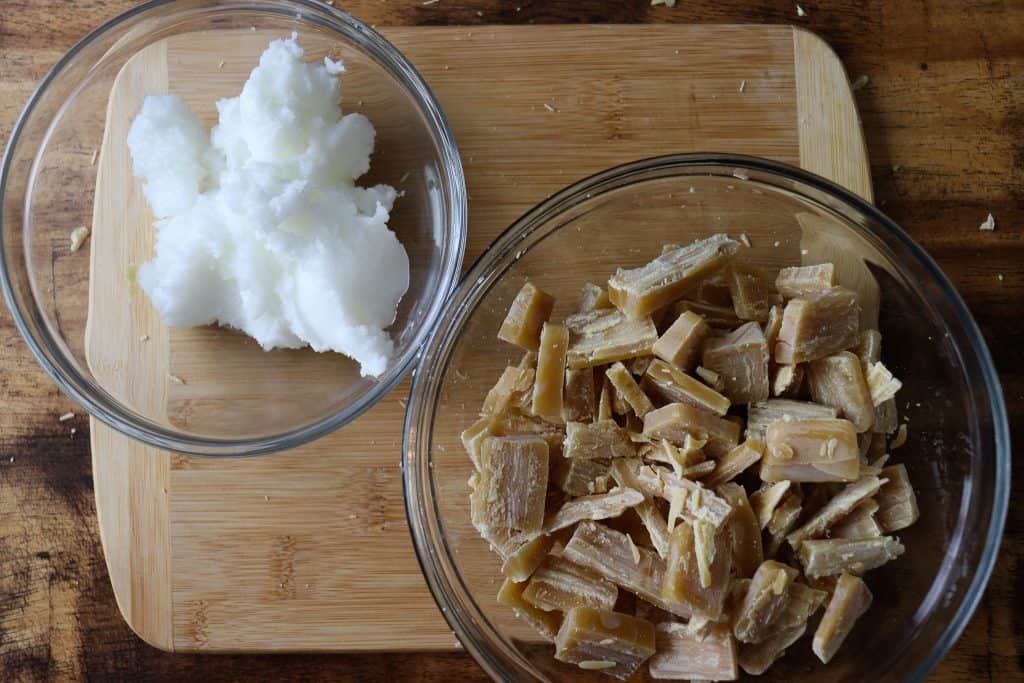
The answer to this question depends on what silicone mold you choose to work with as well as how many wax melts you want to make. The ratio of beeswax to coconut oil for this DIY is 2:1
Why you will love this DIY!
- Fire safety- You can choose to purchase an electric wax burner that doesn't use the open flame from a candle to melt the wax tarts. This helps to ensure there is no risk of young children and/or pets starting a fire.
- Non-toxic- Beeswax wax melts are a great non-toxic option for your home. Read the label on some commercial wax melts and do some research on the truth behind the word "fragrance" on products. You will be making these a lot more often after that!
- No paraffin wax- This DIY uses only 2 natural ingredients: beeswax and coconut oil. No paraffins here!

Tip: There are many different kinds of wax warmers out there to choose from. If using a wax melt warmer that requires a tea light candle to warm the wax tarts, I highly recommend using a beeswax or unscented soy wax candle. This will ensure there are no added fragrances overpowering the natural scent from your candle warmers!
What kinds of molds can you use to make candle wax melts?
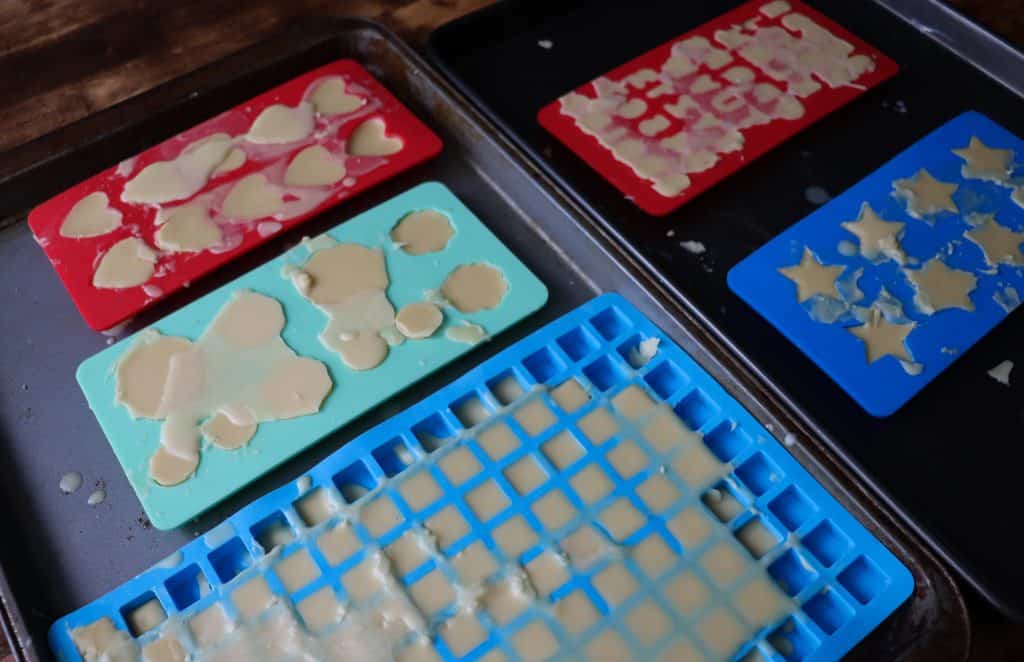
- Silicone molds- There are countless shapes and sizes of silicone molds out there! Choose your molds based on if the shape will fit in your wax melter. I like to add 2-3 candle melts into the top when I use mine so I opt for smaller silicone mold shapes typically! (I chose to make hearts, stars, succulents, letters/numbers, and small cubes!)
- Ice cube trays- These don't need to be fancy! Silicone ice cube trays will be easiest to work with but feel free to try out what you have at home.
I buy a pound of wax at a time from my local beekeeper! (Well, maybe a pound...or two...or three...) Sometimes it comes in the form of a block and other times it comes as smaller bars. Occasionally, I have to melt it down and run it through a mesh strainer lined with a cheesecloth before using it. Nothing beats that natural beeswax scent!
If you want to avoid the chopping and the straining, buy some beeswax pellets! They're small, easy to weigh out, and are easy to store in any airtight container you have on hand between projects.

Tools and materials
- 8 oz beeswax (block, bar, or beeswax pellets.)
- 4 oz coconut oil.
- Kitchen scale.
- Knife.
- Double boiler.
- Mixing spoon.
- Silicone mold (succulents, hearts, letters/numbers, cubes, etc.)
- Air-tight container.
How to make homemade wax melts using the double boiler method
- Chop your beeswax block or bars into small pieces to weigh or weigh your pellets.

2. Weigh your coconut oil.
3. Set up your double boiler with 1 inch of water in the bottom pan. Bring to a boil.

4. In the top pan, add your beeswax and coconut oil. Stir to combine.

5. Carefully pour your melted beeswax and coconut oil into each shape in your mold. Fill them to the top!
6. For best results, allow the mold to sit overnight at room temperature to let the wax cool.
7. Carefully remove each wax melt from the mold. To make it easier, move the sides a bit to gently pull the edges away from the wax. Slow and steady so you don’t crack them!

8. Store in an air-tight container until you are ready to use them!

Notes
- If you don't want to buy a bunch of fancy-shaped silicone molds, you can also use ice cube trays! (Silicone ice cube trays will work best.)
- If using a wax warmer that requires a tealight to warm the wax melts, I highly recommend using a beeswax candle or unscented soy wax candle. This will ensure there are no added fragrances overpowering the natural scent from your candle warmers!
- Gently tug the sides of the mold around each shape before removing them to ensure nothing is sticking too tightly.
- Be patient and work slowly as you take your candle melts out of the mold to avoid cracking.
- Be careful when working with melted wax. Keep some paper towels nearby to wipe up any spills before they harden! Don't burn yourself!
- Store in an air-tight container in a cool dark place. Glass jars are a great option!
Related posts
Shop this post
- Beeswax pellets
- Coconut oil
- Small cubes silicone mold
- Tiny letters and numbers silicone mold
- Kitchen scale
What shape mold will you be using for your own diy wax melts?
Leave a comment below to inspire others to get creative too! I hope you enjoyed this diy natural alternative to storebought wax melt cubes!
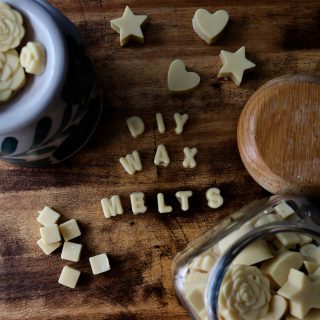
How to Make Wax Melts with Beeswax
Equipment
- Knife.
- Kitchen Scale.
- Double boiler.
- Spoon.
- Silicone mold.
- Air-tight container.
Ingredients
- 8 oz beeswax
- 4 oz coconut oil
Instructions
- Chop your beeswax block or bars into small pieces to weigh or weigh your pellets.
- Weigh your coconut oil.
- Set up your double boiler with 1 inch of water in the bottom pan. Bring to a boil.
- In the top pan, add your beeswax and coconut oil. Stir to combine.
- Carefully pour your melted beeswax and coconut oil into each shape in your mold. Fill them to the top!
- For best results, allow the mold to sit overnight at room temperature to let the wax cool.
- Carefully remove each wax melt from the mold. To make it easier, move the sides a bit to gently pull the edges away from the wax. Slow and steady so you don’t crack them!
- Store in an air-tight container until you are ready to use them!


Mariana
Shelby,
Great question! Pour anywhere between 155°-160°F (Fahrenheit) I have many posts coming up including essential oil scented wax melts and lots of other candle making! Be sure to sign up for my email list to be the first to know as I share more DIYs! For now, enjoy the light beeswax scent from these wax tarts!
-Mariana