
Homemade beeswax ornaments are sure to give your Christmas tree the old-fashioned charm your heart longs for. Make this simple beeswax craft this holiday season for your home or as a lovely handmade gift!
These are the most unique ornaments and I love that they're all natural! Every year when I pull out the Christmas decor and see my homemade ornaments and items passed down to me from family, my heart overflows with joy. The memories they bring back and the cozy feeling they create in my home make me so happy. Some of my most treasured ones are the salt dough ornaments I've made of my babies' hand prints. I also reuse festive paper buntings year after year to be less wasteful.
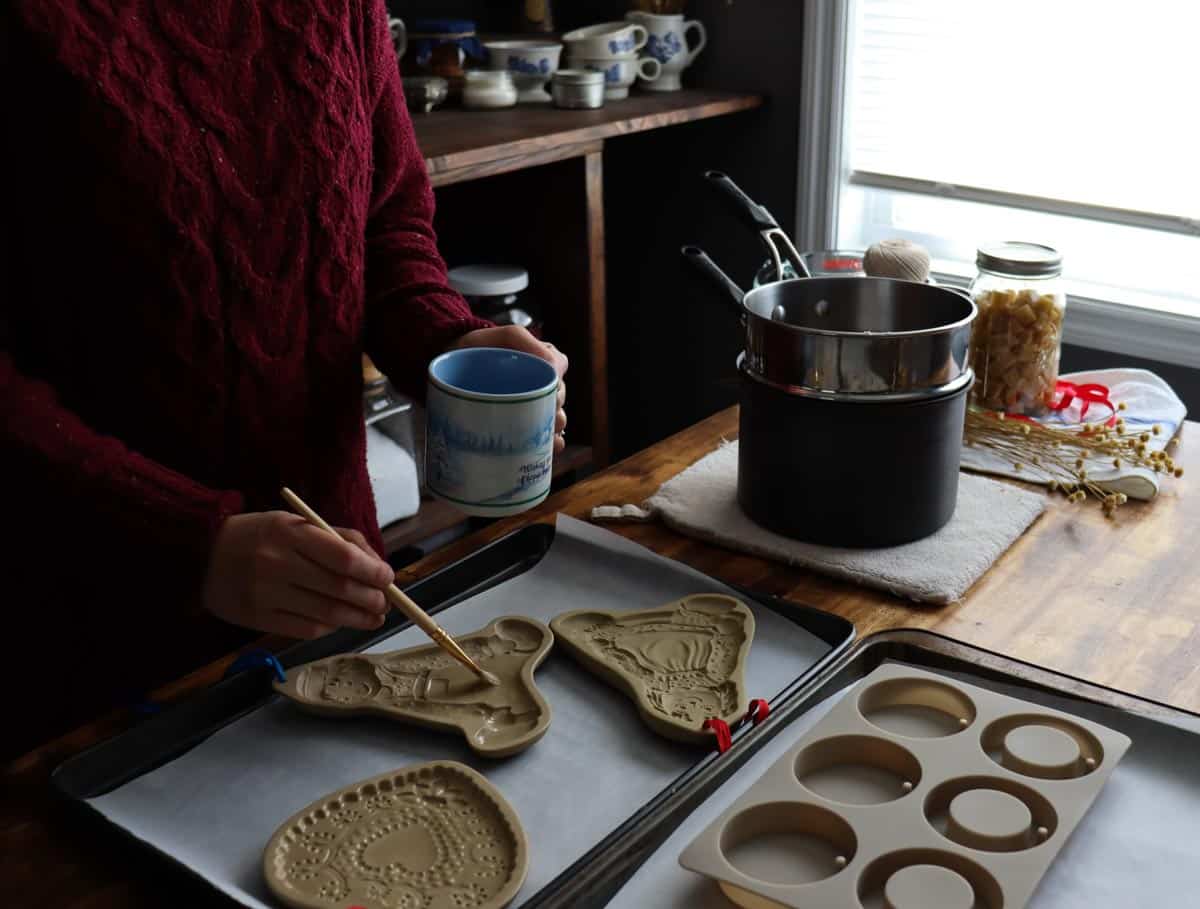
For these beeswax ornaments, you can buy a new mold to use every year if you so choose to mark another Christmas. I love using clay cookie molds so I can clean them and make very special cookies too. It's like getting two in one with that method!
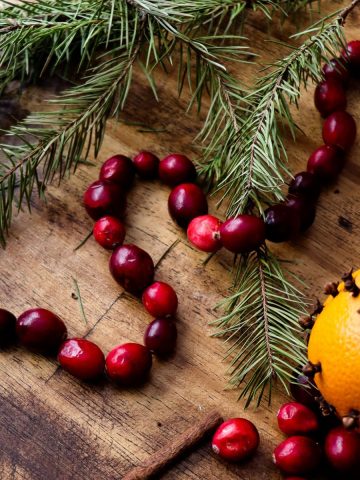
This year, string up a cranberry garland for your tree while your beeswax ornaments set in their molds! Give your tree or mantle an old fashioned feel this season.

This Post May Contain Affiliate Links. Please Read Our Disclosure Policy.
What molds should I use?
- Clay cookie molds
- Silicone molds

There are mold-release sprays out there that you can use to prevent sticking. I personally don't use them! I use melted coconut oil and a brush to lightly coat the mold before use. (Tip: Don't use too much if you are using a clay mold or silicone mold with a lot of detail! It can pool up in the design and change the end result.)
Why you'll love this project!
- All-natural - Beeswax is all natural! It's nice to make a project that is non-toxic and made from natural material.
- Customizable - Make these any way you want to suit your style. You can search for the perfect mold to reflect your family's traditions or simply to correlate with your other decor!
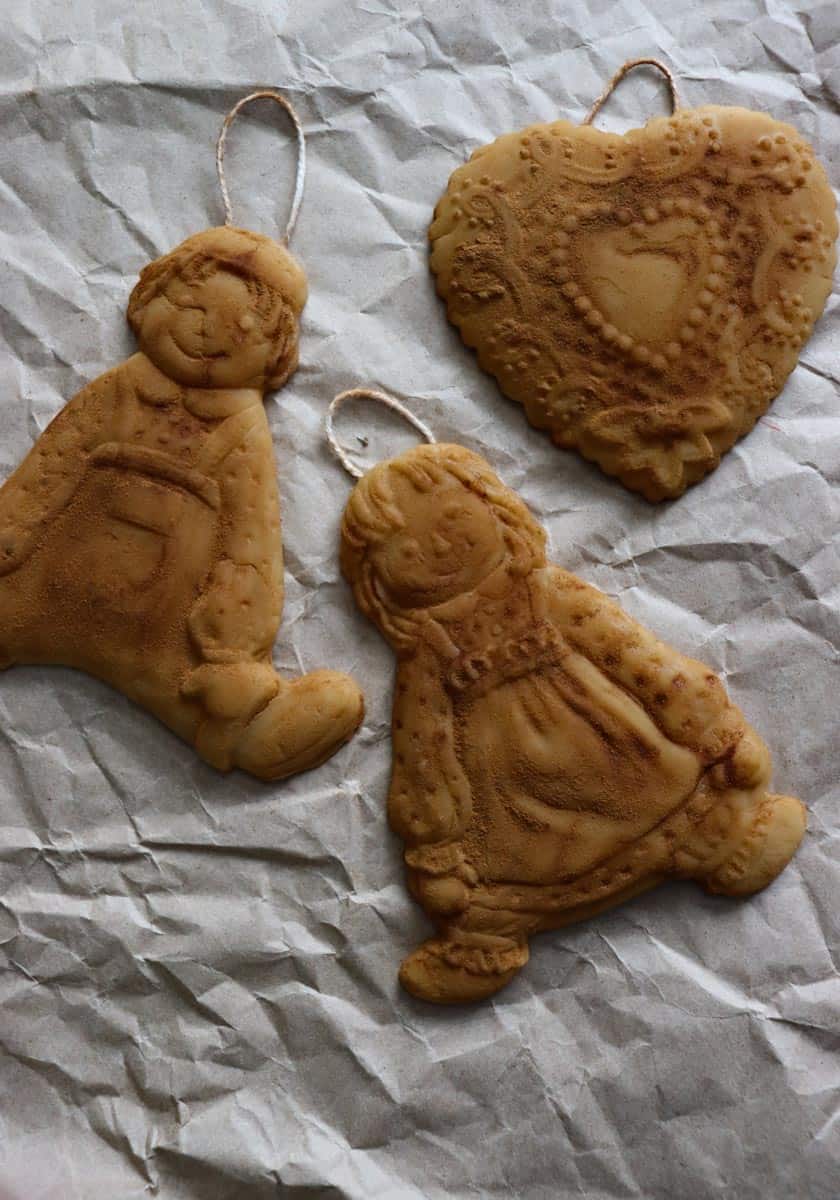
- Naturally Scented - The light beeswax scent is so nice alongside all the other holiday aromas in your home. If you would like, you can lightly sprinkle some cinnamon on your beeswax ornament while it is still a little bit warm. I usually wait until my ornaments are fully cooled and then I use a hair dryer to gently warm the surface and sprinkle my cinnamon.
- Unique - Since these are handmade, you likely won't see them anywhere else! These are a special touch to your home for the holidays. Inspiration for decorating: cinnamon for blackened beeswax, pressed flowers, dried herbs, star anise, decorative bow, dried flowers, a small branch of pine needles, mini pine cones, holly, etc! I wonder if they will become a part of anyone's memories of time around your tree...

This is the term for when you use cinnamon on your beeswax ornaments! It darkens the color a bit and is referred to as being blackened. Not only does this create a different variation to these old-world Christmas ornaments, but it also gives off the cinnamon scent in the room it’s in!
What you need
- Double boiler
- Kitchen scale
- Beeswax
- Mold
- Coconut oil
- Brush
- Parchment paper
- Baking sheet
- Wooden or metal skewer
- Ribbon, jute cord, butcher twine, or whatever string you like!
- Optional: hair dryer
- Optional: cinnamon
- Optional: dried herbs of choice (rose, lavender, etc)
- Optional: pressed flowers/other decorative objects.
Steps
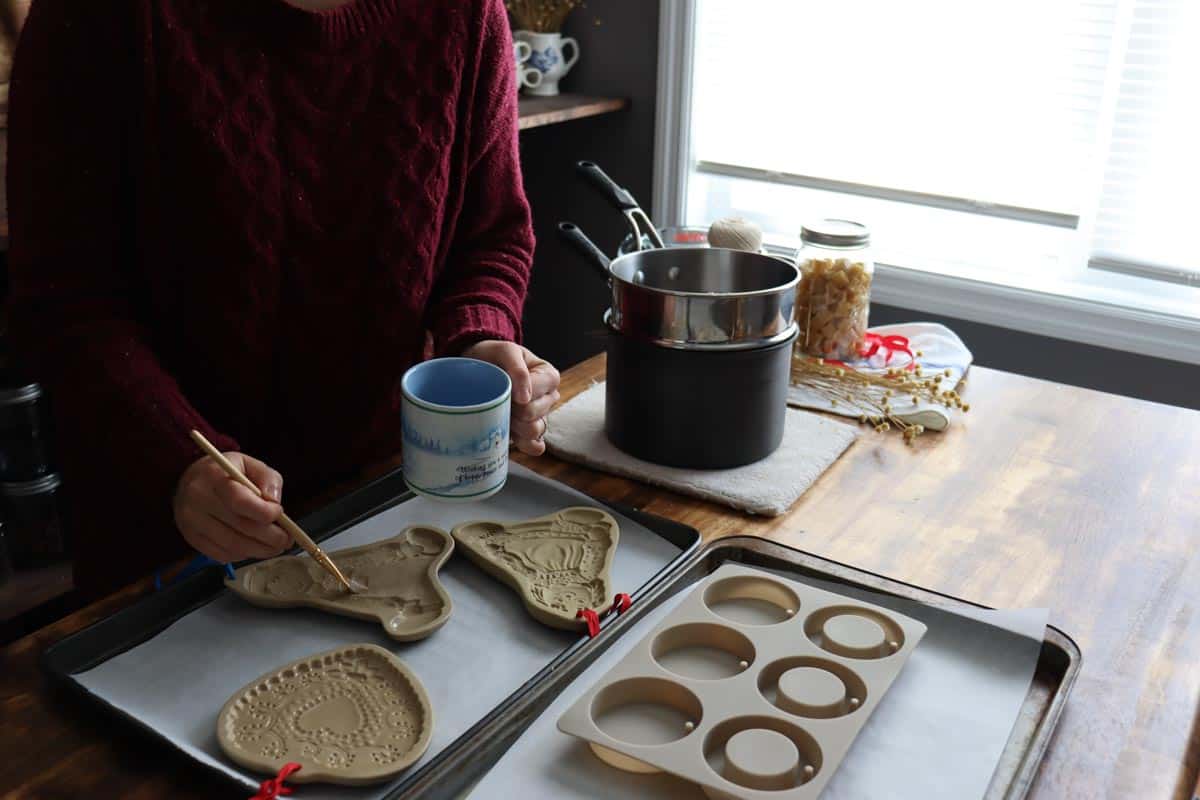
- Line a baking sheet with parchment paper and lay your molds out on them.

2. Set up your double boiler and melt your beeswax.
3. Coat your molds with a layer of coconut oil.
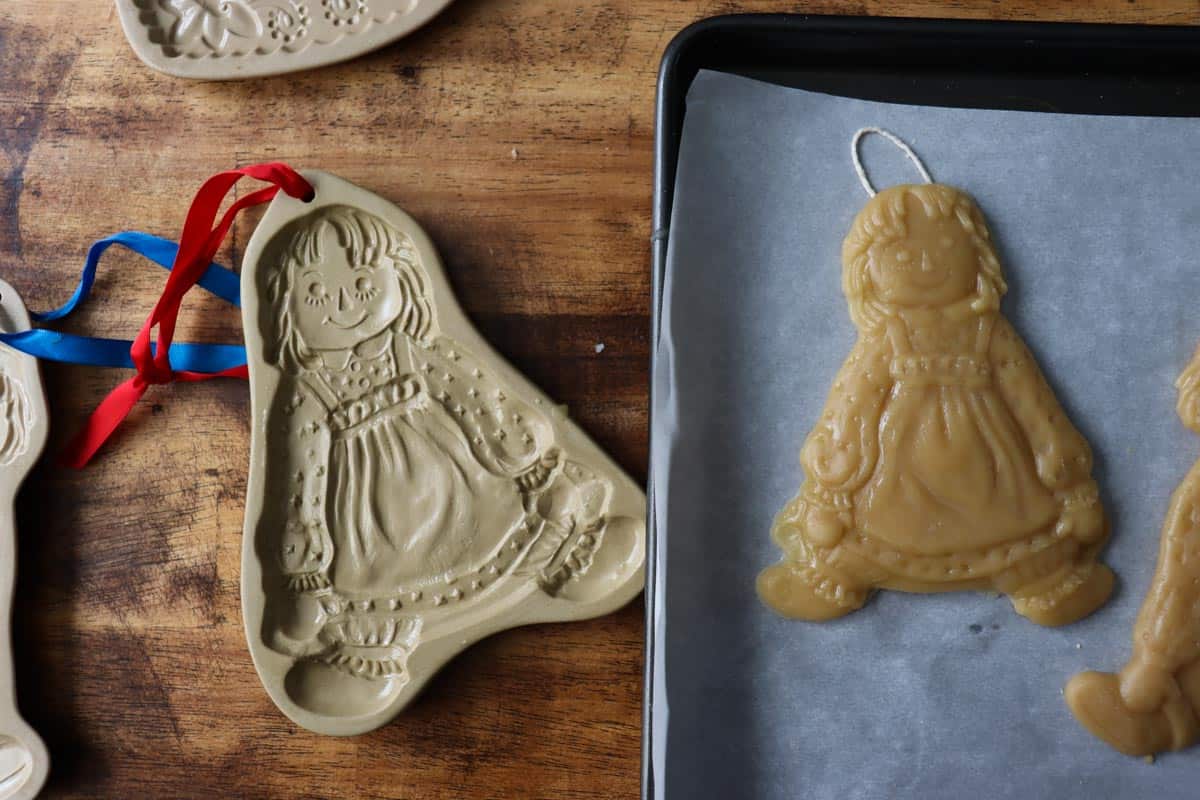
4. Remove your melted beeswax from the heat and fill each mold to the desired height (see notes for details.)

5. If using a clay mold: cut butcher twine to length. For this method: you can cut a long piece and shape it like a "U" at the top of the ornament to hang it or you can cut a smaller length for your "U" shape and use another type of string to hang. Use your wooden or metal skewer to move your twine into place. (Be sure it doesn't go all the way to the face of the ornament.)


6. If using a silicone mold: leave it to set since there is space for a string or ribbon in the shape itself. If there is not a premade hole for the ribbon, follow the same steps above!
7. Allow them to cool at room temperature overnight.
8. The next day, carefully remove the ornaments from the molds.
9. Optional: use a hair dryer to gently heat the face of the ornament and sprinkle cinnamon on them to "blacken" them or add dried herbs or other decorative touches to them.


Tips for success
- Don't use too much coconut oil to coat your clay or silicone mold! It can pool up in the design and change the end result.
- To blacken your beeswax, carefully warm the surface of your ornament with a hairdryer and lightly sprinkle with cinnamon until you reach your desired level of aroma and color!
- Note about filling molds: for clay cookie molds, typically you will want to fill them to the top as they are thinner in nature. When working with a silicone mold, this can vary! If it is a deep mold, you may want to experiment with filling it halfway or slightly more or less to achieve your desired sizing. Remember, you don't want it too heavy!
- Inspiration for decorating: cinnamon for blackened beeswax, pressed flowers, dried herbs, star anise, decorative bow, dried flowers, a small branch of pine needles, mini pine cones, holly, etc!
- Any beeswax that spilled over onto your parchment paper while pouring it into your molds can be kept in a jar with other beeswax pellets and bars for your next project. Zero waste!
Shop this post
- Kitchen scale
- Beeswax
- Silicone Mold
- Coconut oil
- Brush
- Parchment paper
- Wooden or metal skewer
- Ribbons
- Jute cord
- Butcher twine
- Cinnamon
Related posts
- Homemade Salt Dough Christmas Ornaments
- DIY Wax Melts with Beeswax
- Unscented Soy Wax Candles
- Homemade Paper Bunting
- DIY Beeswax Letters
What kind of mold will you be using for your ornaments?
Leave a comment below and tell us what kind and shape of mold you'll be using for your project! I hope they bring you and your family so much joy.
Pin for later!


Beeswax Ornaments
Equipment
- Double boiler.
- Kitchen Scale.
- Mold
- Brush
- Coconut oil
- Baking sheet.
- Parchment paper.
- Wooden or metal skewer
- Ribbon, jute cord, butcher twine, or whatever string you like!
- Optional: hair dryer
Ingredients
- Beeswax
- Optional: cinnamon
- Optional: dried herbs/other decorative items
Instructions
- Line a baking sheet with parchment paper and lay your molds out on them.
- Set up your double boiler and melt your beeswax.
- Coat your molds with a layer of coconut oil.
- Remove your melted beeswax from the heat and fill each mold to the desired height (see notes for details.)
- If using a clay mold: cut butcher twine to length. For this method: you can cut a long piece and shape it like a "U" at the top of the ornament to hang it or you can cut a smaller length for your "U" shape and use another type of string to hang. Use your wooden or metal skewer to move your twine into place. (Be sure it doesn't go all the way to the face of the ornament.)
- If using a silicone mold: leave it to set since there is space for a string or ribbon in the shape itself. If there is not a premade hole for the ribbon, follow the same steps above!
- Allow them to cool at room temperature overnight.
- The next day, carefully remove the ornaments from the molds.
- Optional: use a hair dryer to gently heat the face of the ornament and sprinkle cinnamon on them to "blacken" them or add dried herbs or other decorative touches to them.


Mariana
Derevaun,
Thank you so much for sharing this! So many people worry they will melt in storage! It's almost shocking how well they stay beautiful. I bet your ornaments are beautiful!
-Mariana
Derevaun
I have these same molds and made beeswax ornaments with them over 20 years ago and they are still great! I even store them in my hot attic!